MELISSA AND DOUG GROCERY STAND MAKEOVER
I’ve wanted to add a market stand to the playroom for some time now but was struggling to find one that I loved, that fit into our price range and that was sustainably made. I ended up lucking out and had a friend who sold me one for super cheap.
That’s how we ended up in this Melissa and Doug Grocery Stand makeover adventure!
BEFORE

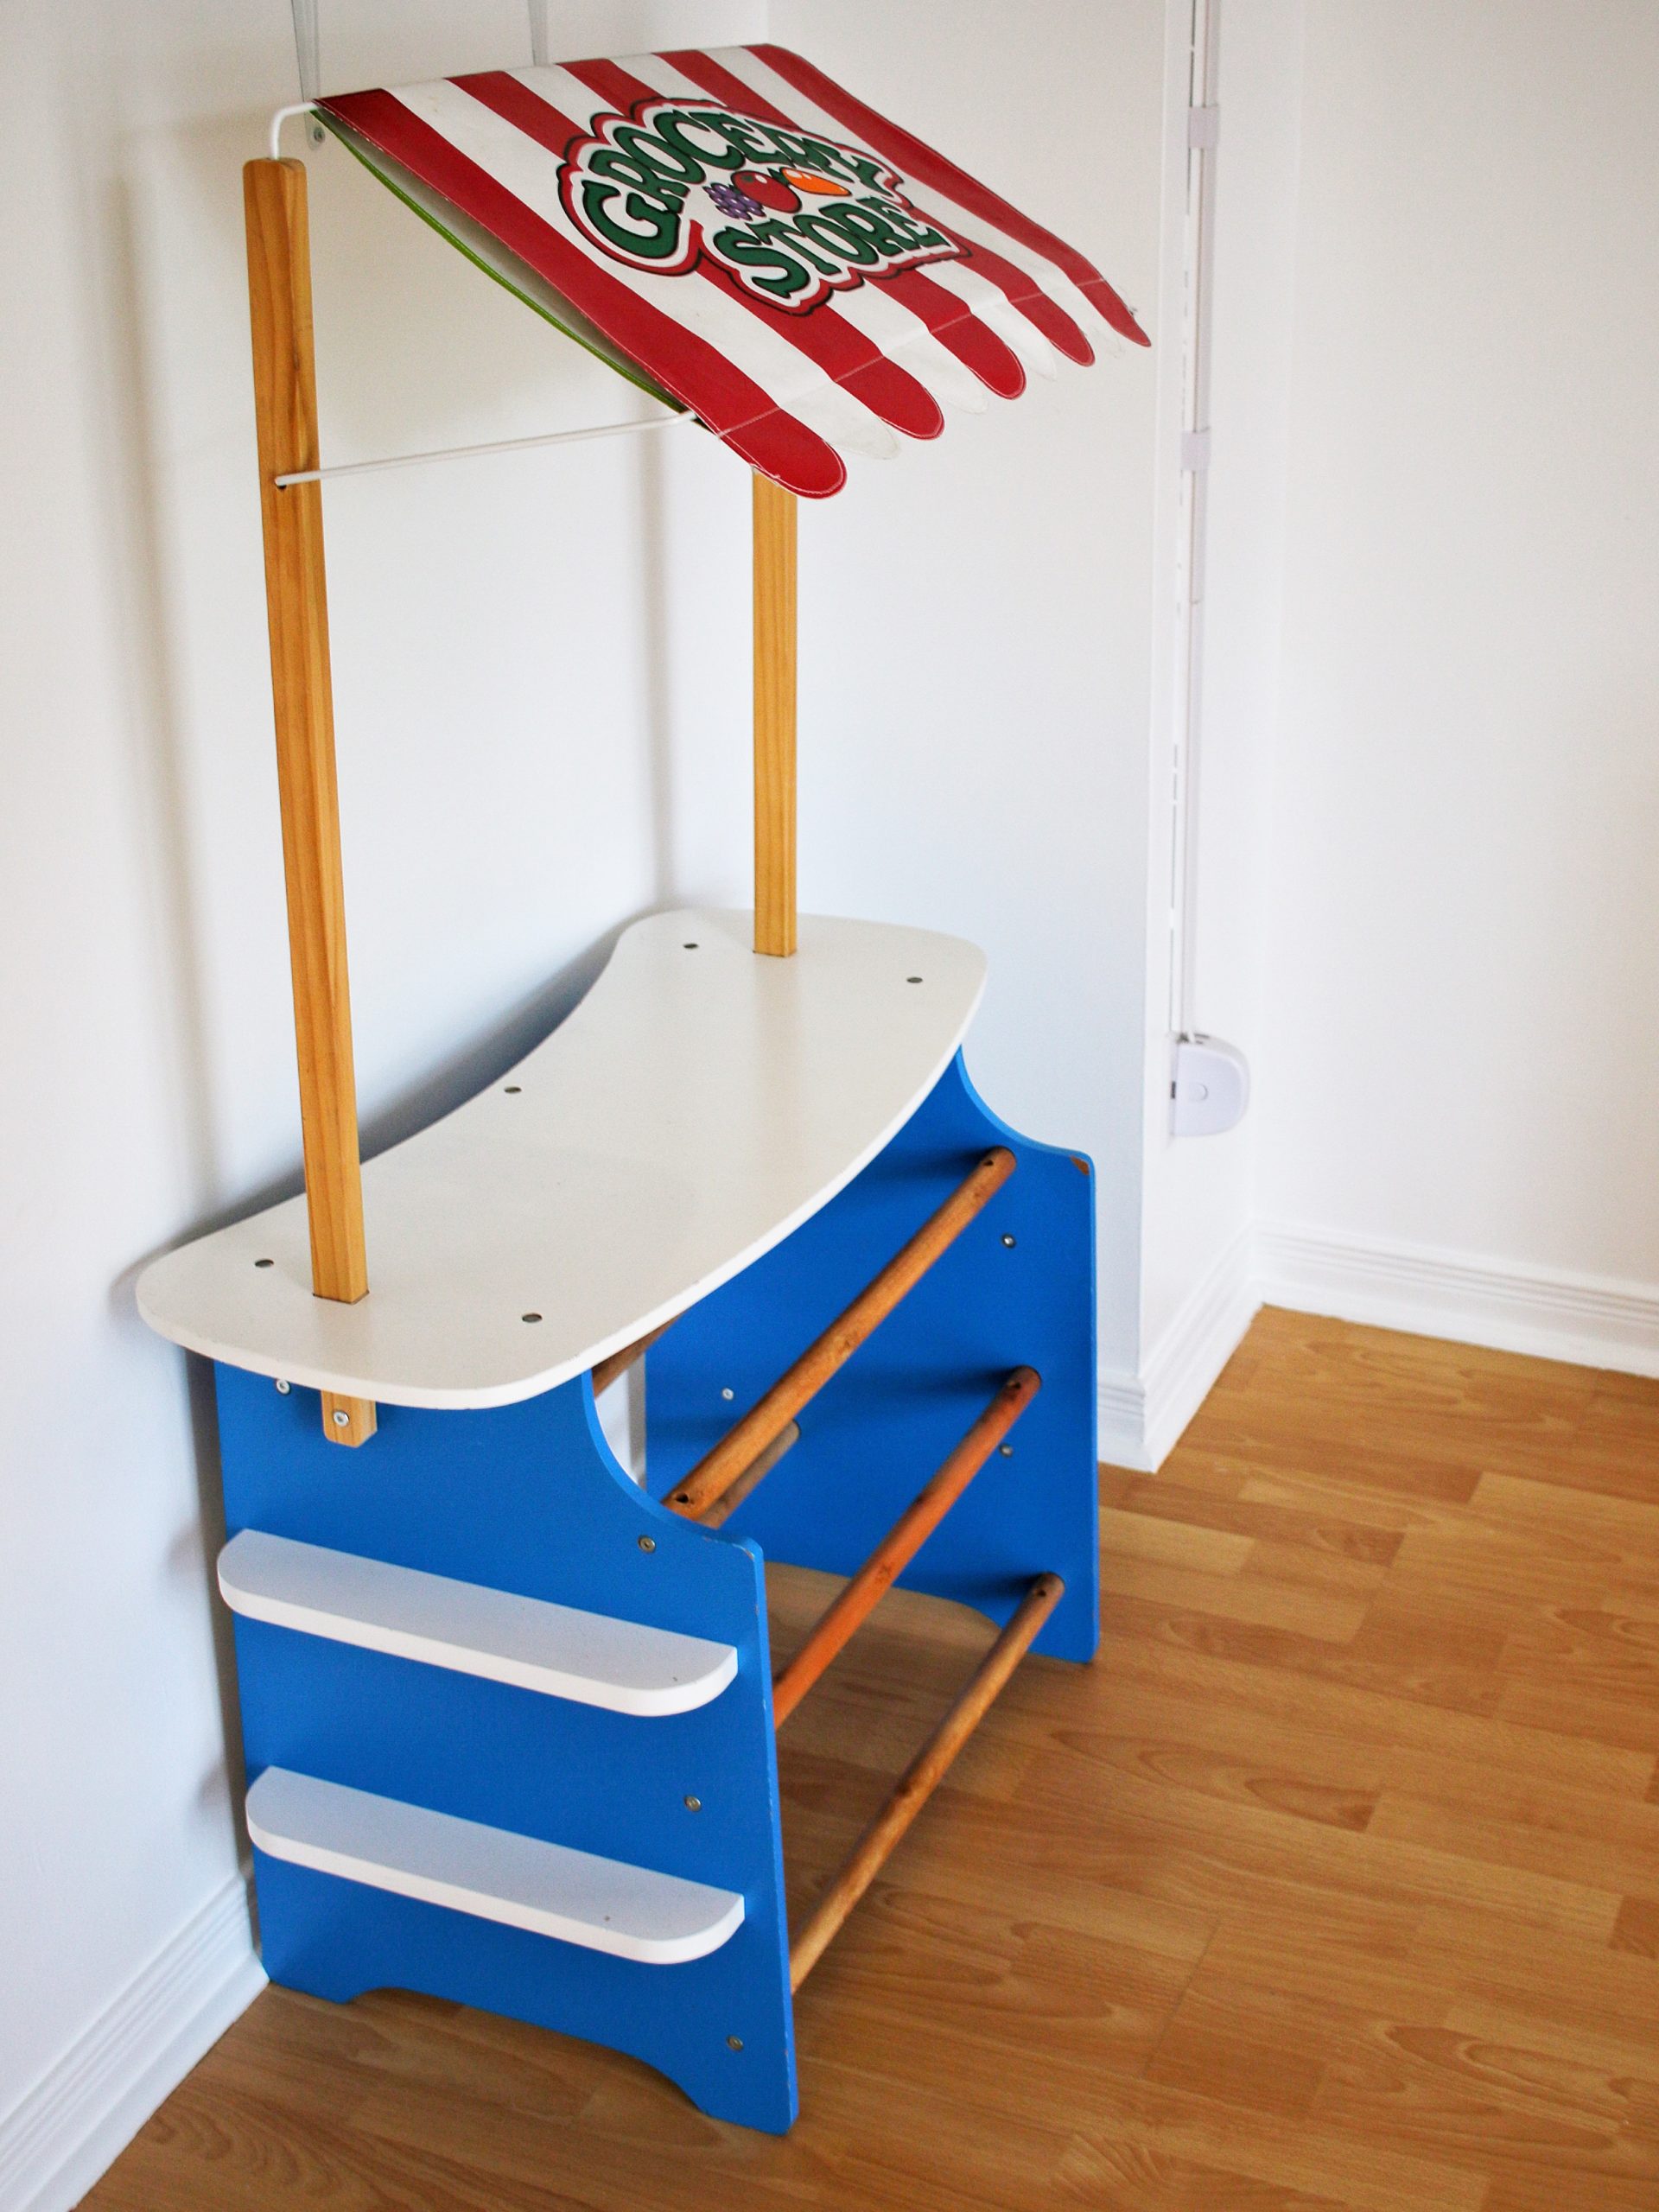
Here it was in all it’s glory before I changed it. Melissa and Doug toys are usually bright and fun which I love – but it didn’t fit into the playroom colour scheme very well. I also wanted to change it into a simpler set up so we can use it for more than just a grocery store or lemonade stand.
It was in perfect condition. No scratches or dents or missing pieces (though the baskets are missing from the photos) so I didn’t have to do much prep work.
THE PREP WORK
I think my partner was already fed up with my DIY projects when I dove head first into this Melissa and Doug Grocery Stand makeover so I wanted to try and keep it short, simple and sweet!
MATERIALS USED:
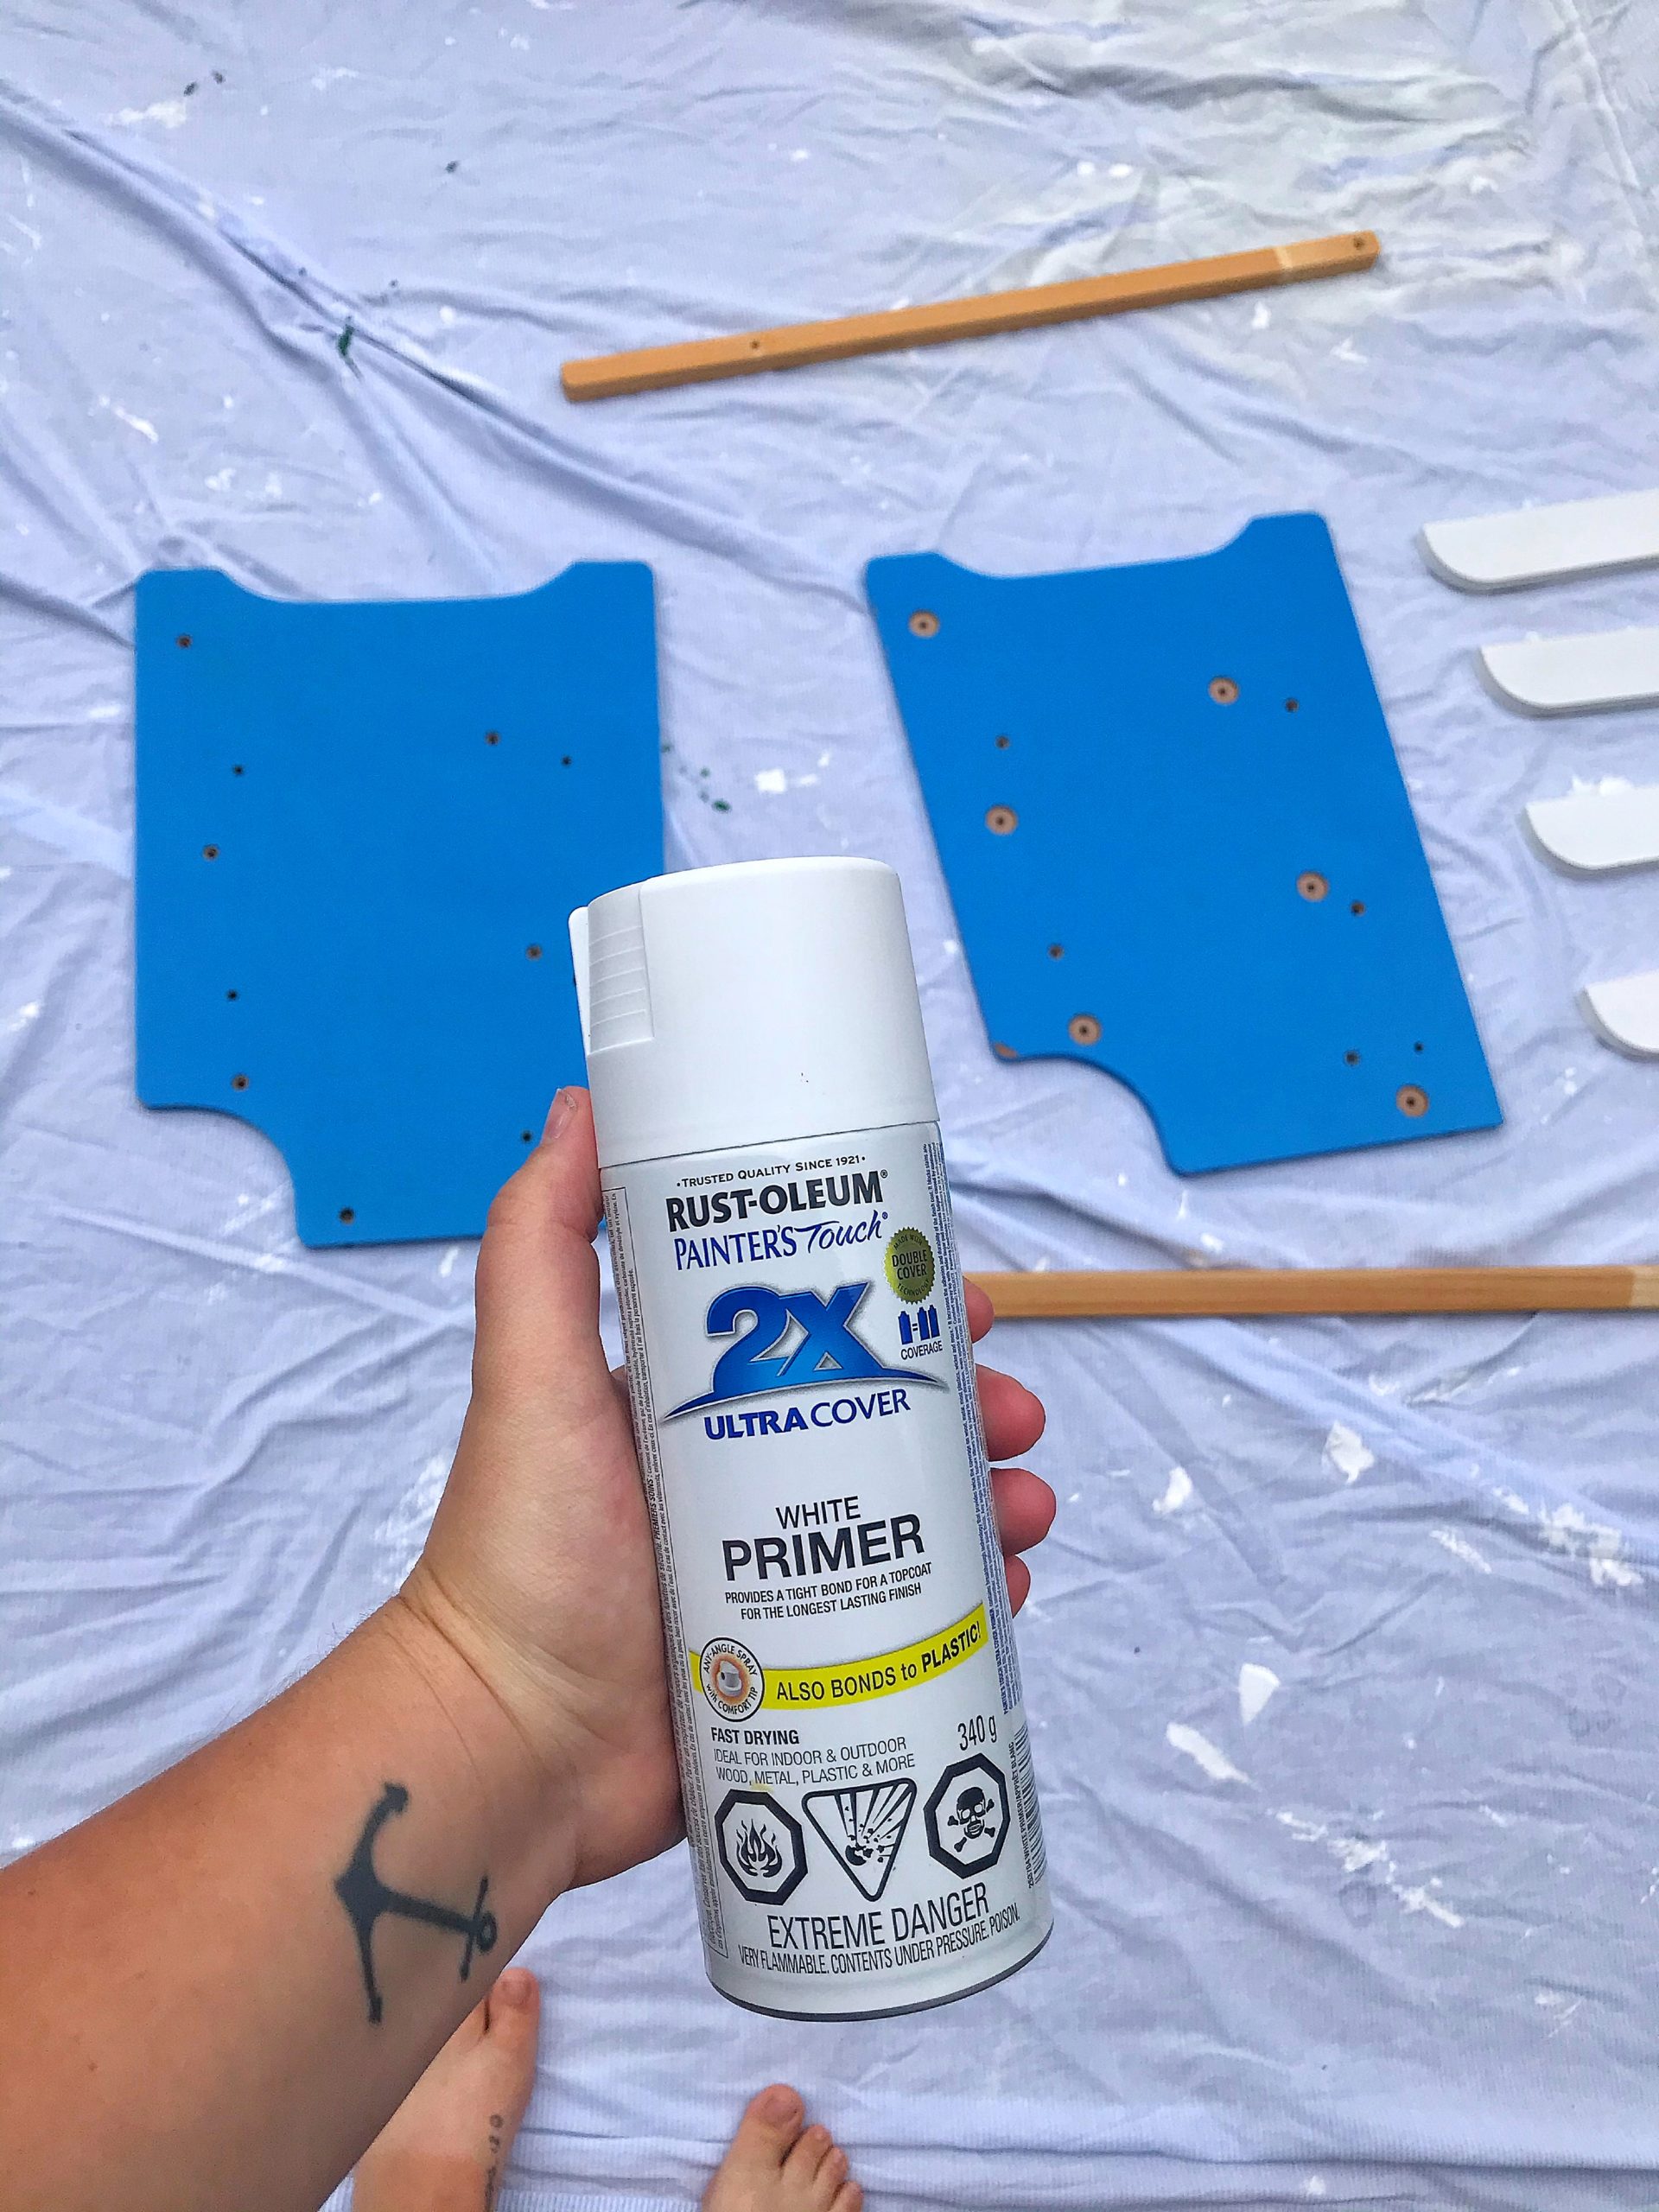
- Rust-Oleum Primer Spray Paint in White
- Rust-Oleum White Spray Paint – Flat
- Rust-Oleum Matte Clear Spray Paint
- Fabric for the canopy
- Sanding Paper
- Con-Tact Adhesive Liner in Faux Light Oak
- TSP Cleaner
Before I started any work, I disassembled the grocery stand. Even if you’re planning on painting the entire thing one colour I suggest taking it apart and painting it piece by piece – it’ll be the best way to assure even coats and no pieces drying stuck together.
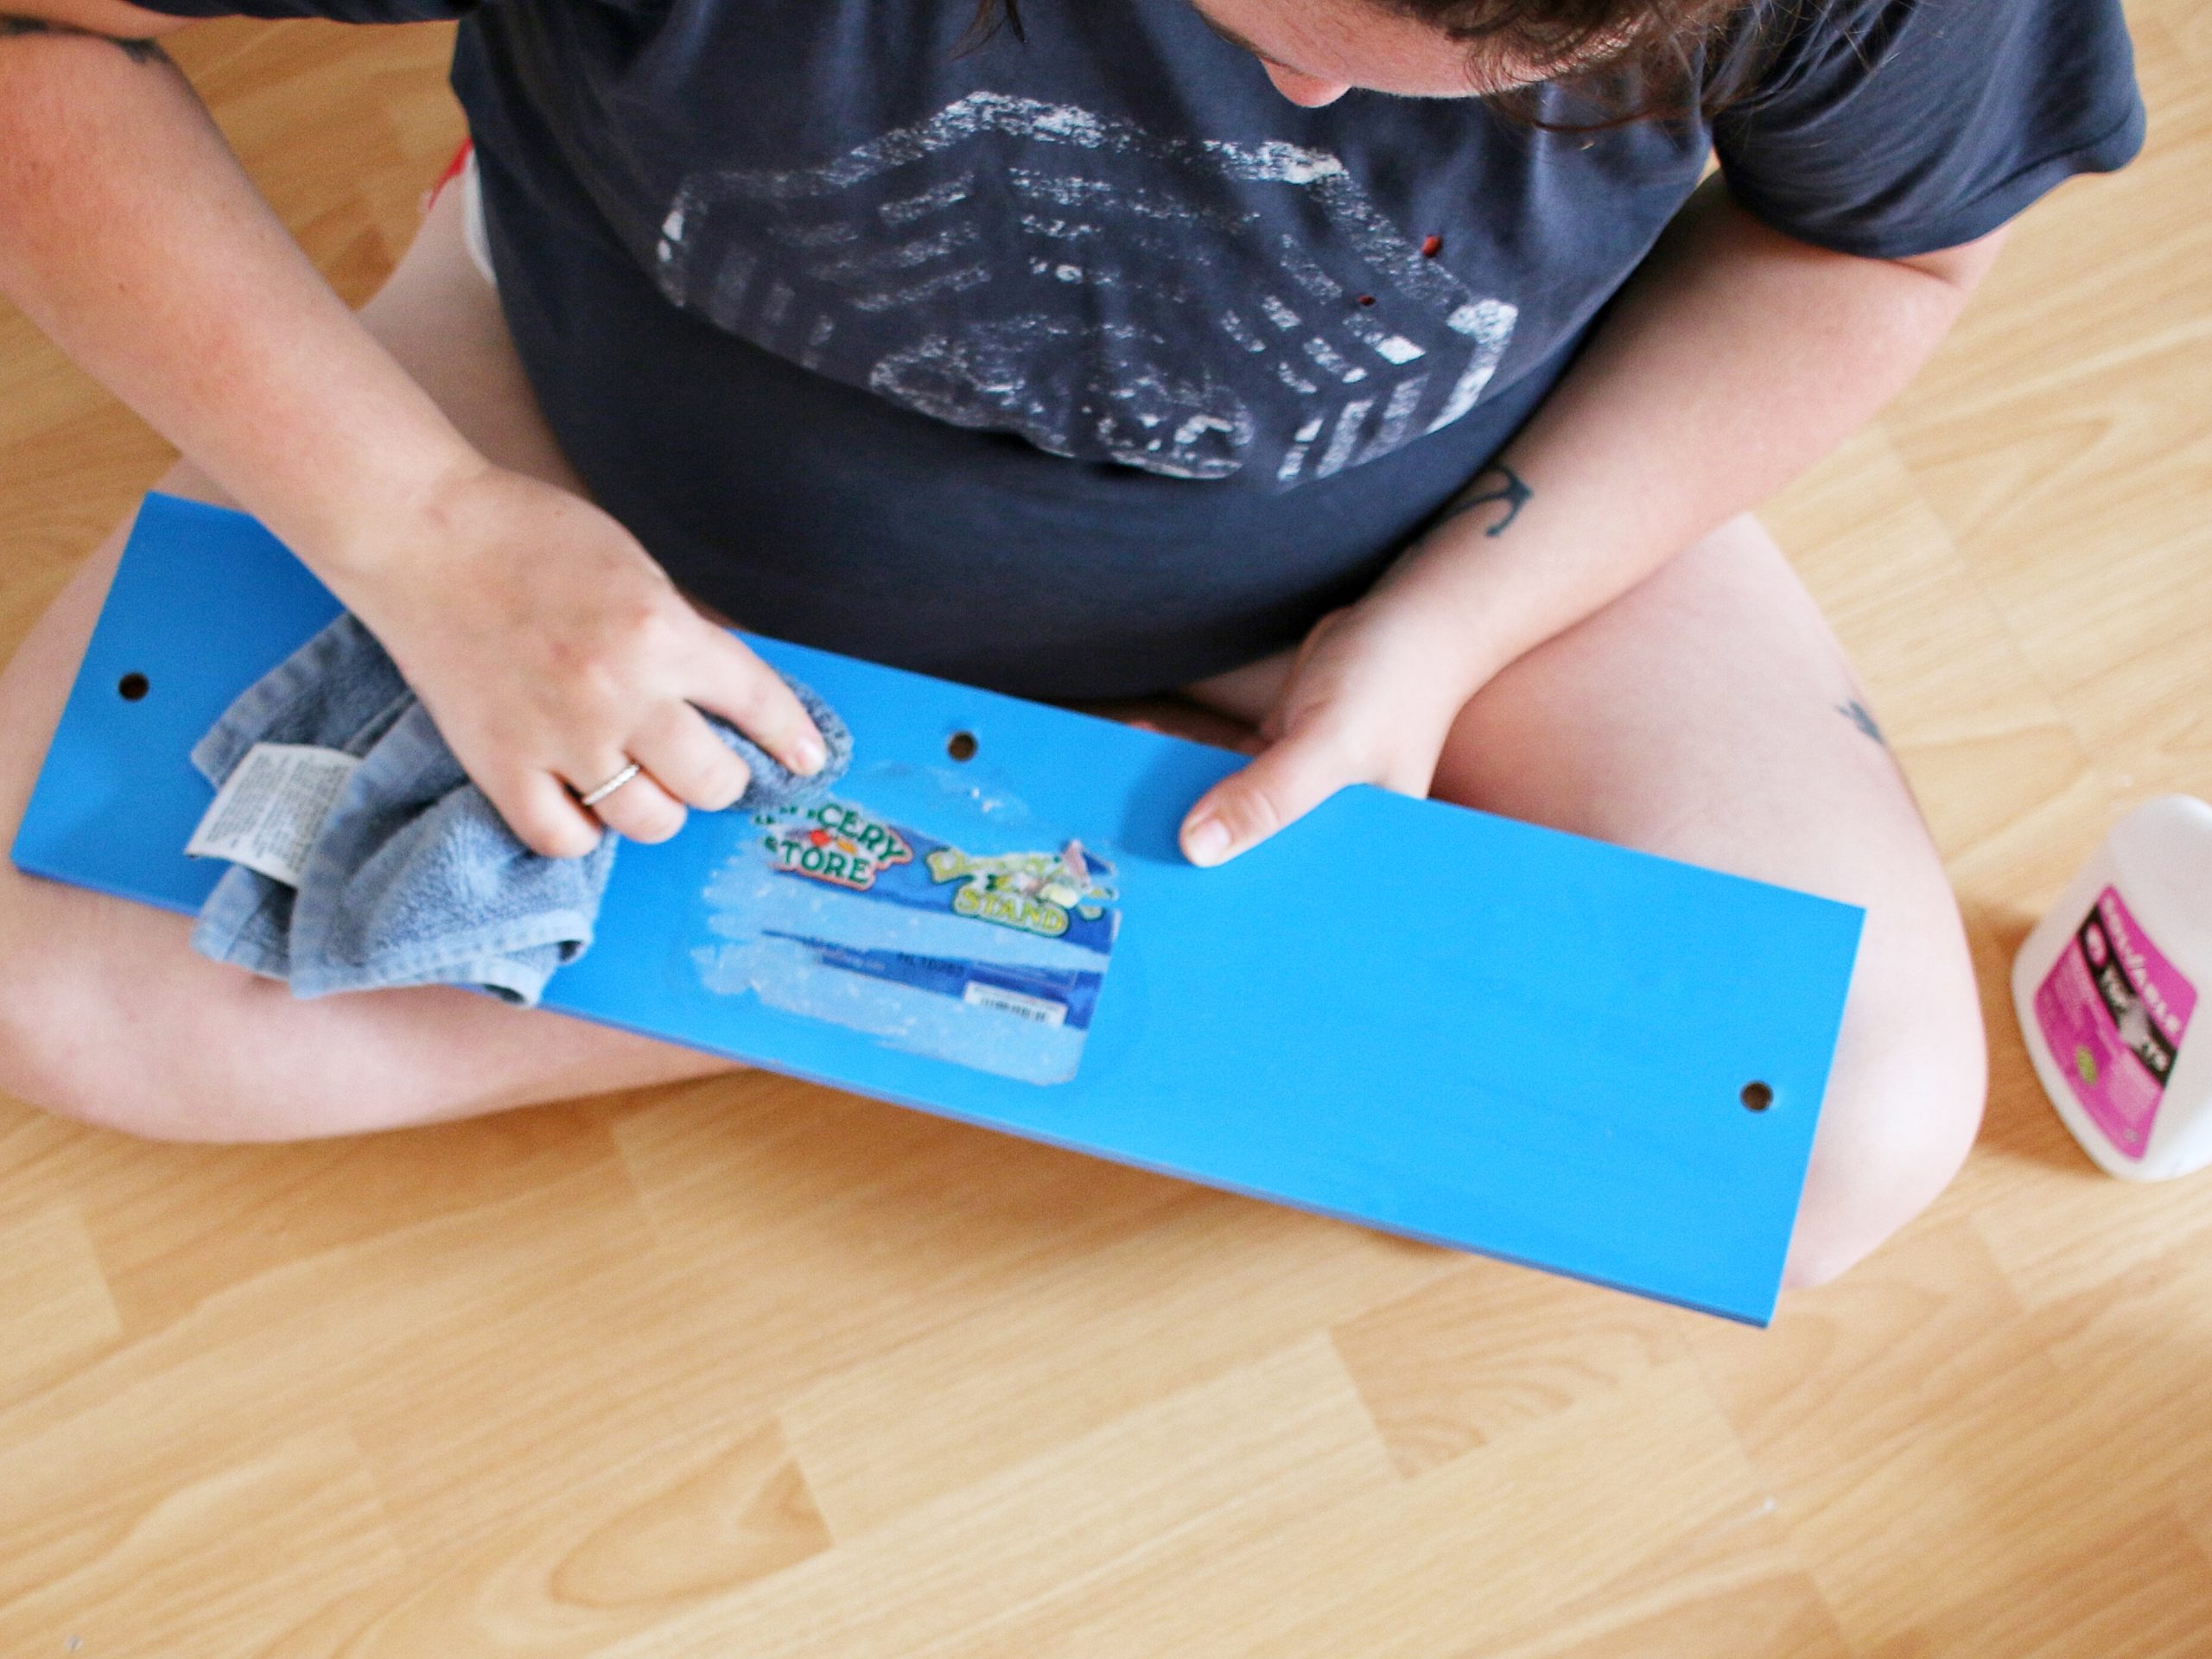
Once it was taken apart I washed all the pieces down with some TSP cleaner. I always use a TSP cleaner when I’m prepping a surface for a paint job. It does a fantastic job removing all the dirt, grease and grime you might not even see!
TSP cleaner is also one of the options I suggest for getting off those hard to remove stickers – which I did to remove the giant Melissa and Doug sticker.
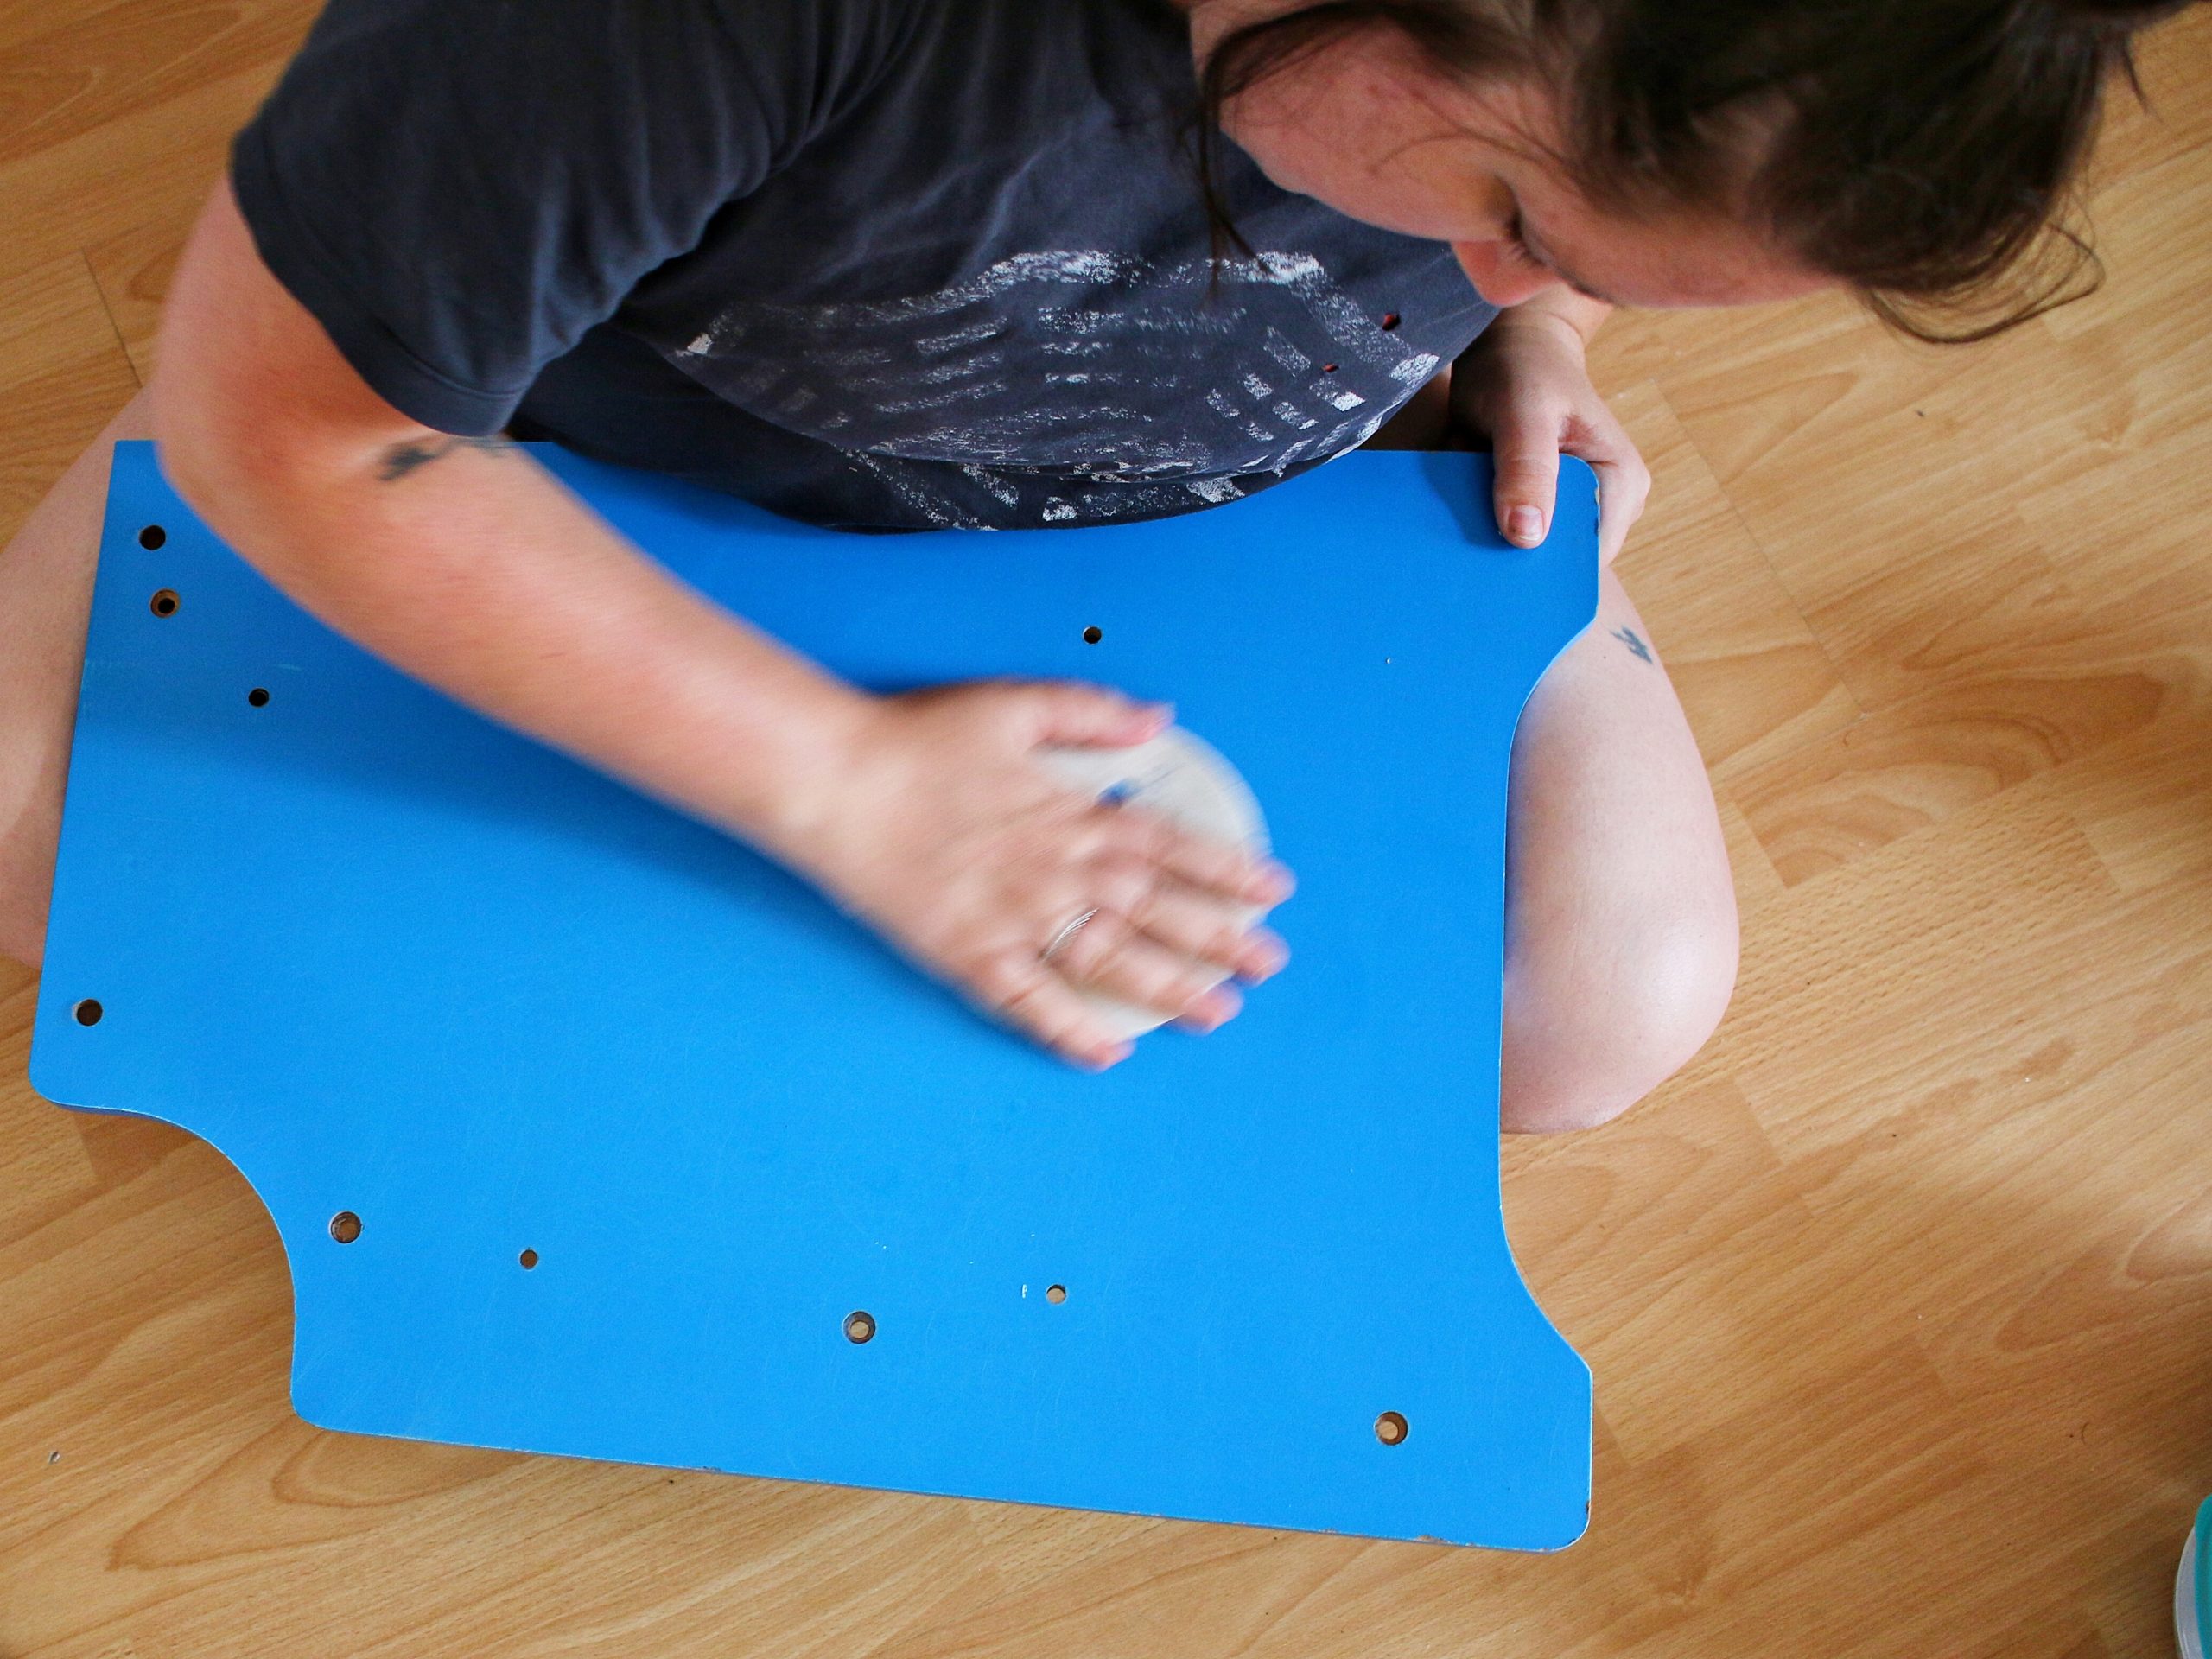
Once cleaned and dried I gave the pieces all a super light sanding job. Even though the spray paint is good for most surfaces without this step, sanding it down helps assure the paint will stick well. This was definitely not a project that I sanded away all the previous paint – just a light scrub to roughen up the surface.
Once I was done sanding I gave it a wipe down to remove any dust and debris.
Now it’s time for the fun part of this Melissa and Doug Grocery Stand makeover: painting!
So I painted the two blue sides, the side shelves and the two wood pieces that hold the canopy.
For the blue pieces + wood pieces:
- Two layers of primer
- Two layers of paint
- Two layers of clear coat
For the white pieces:
- One layer of primer
- One layer of white pieces
- Two layers of clear coat
I only painted in the afternoon during nap time, so it took me three days to finish it and dry completely. If you’re able to spray paint in a dedicated area like a garage, you’ll definitely be able to paint it in less time.
Then, I covered the table top.
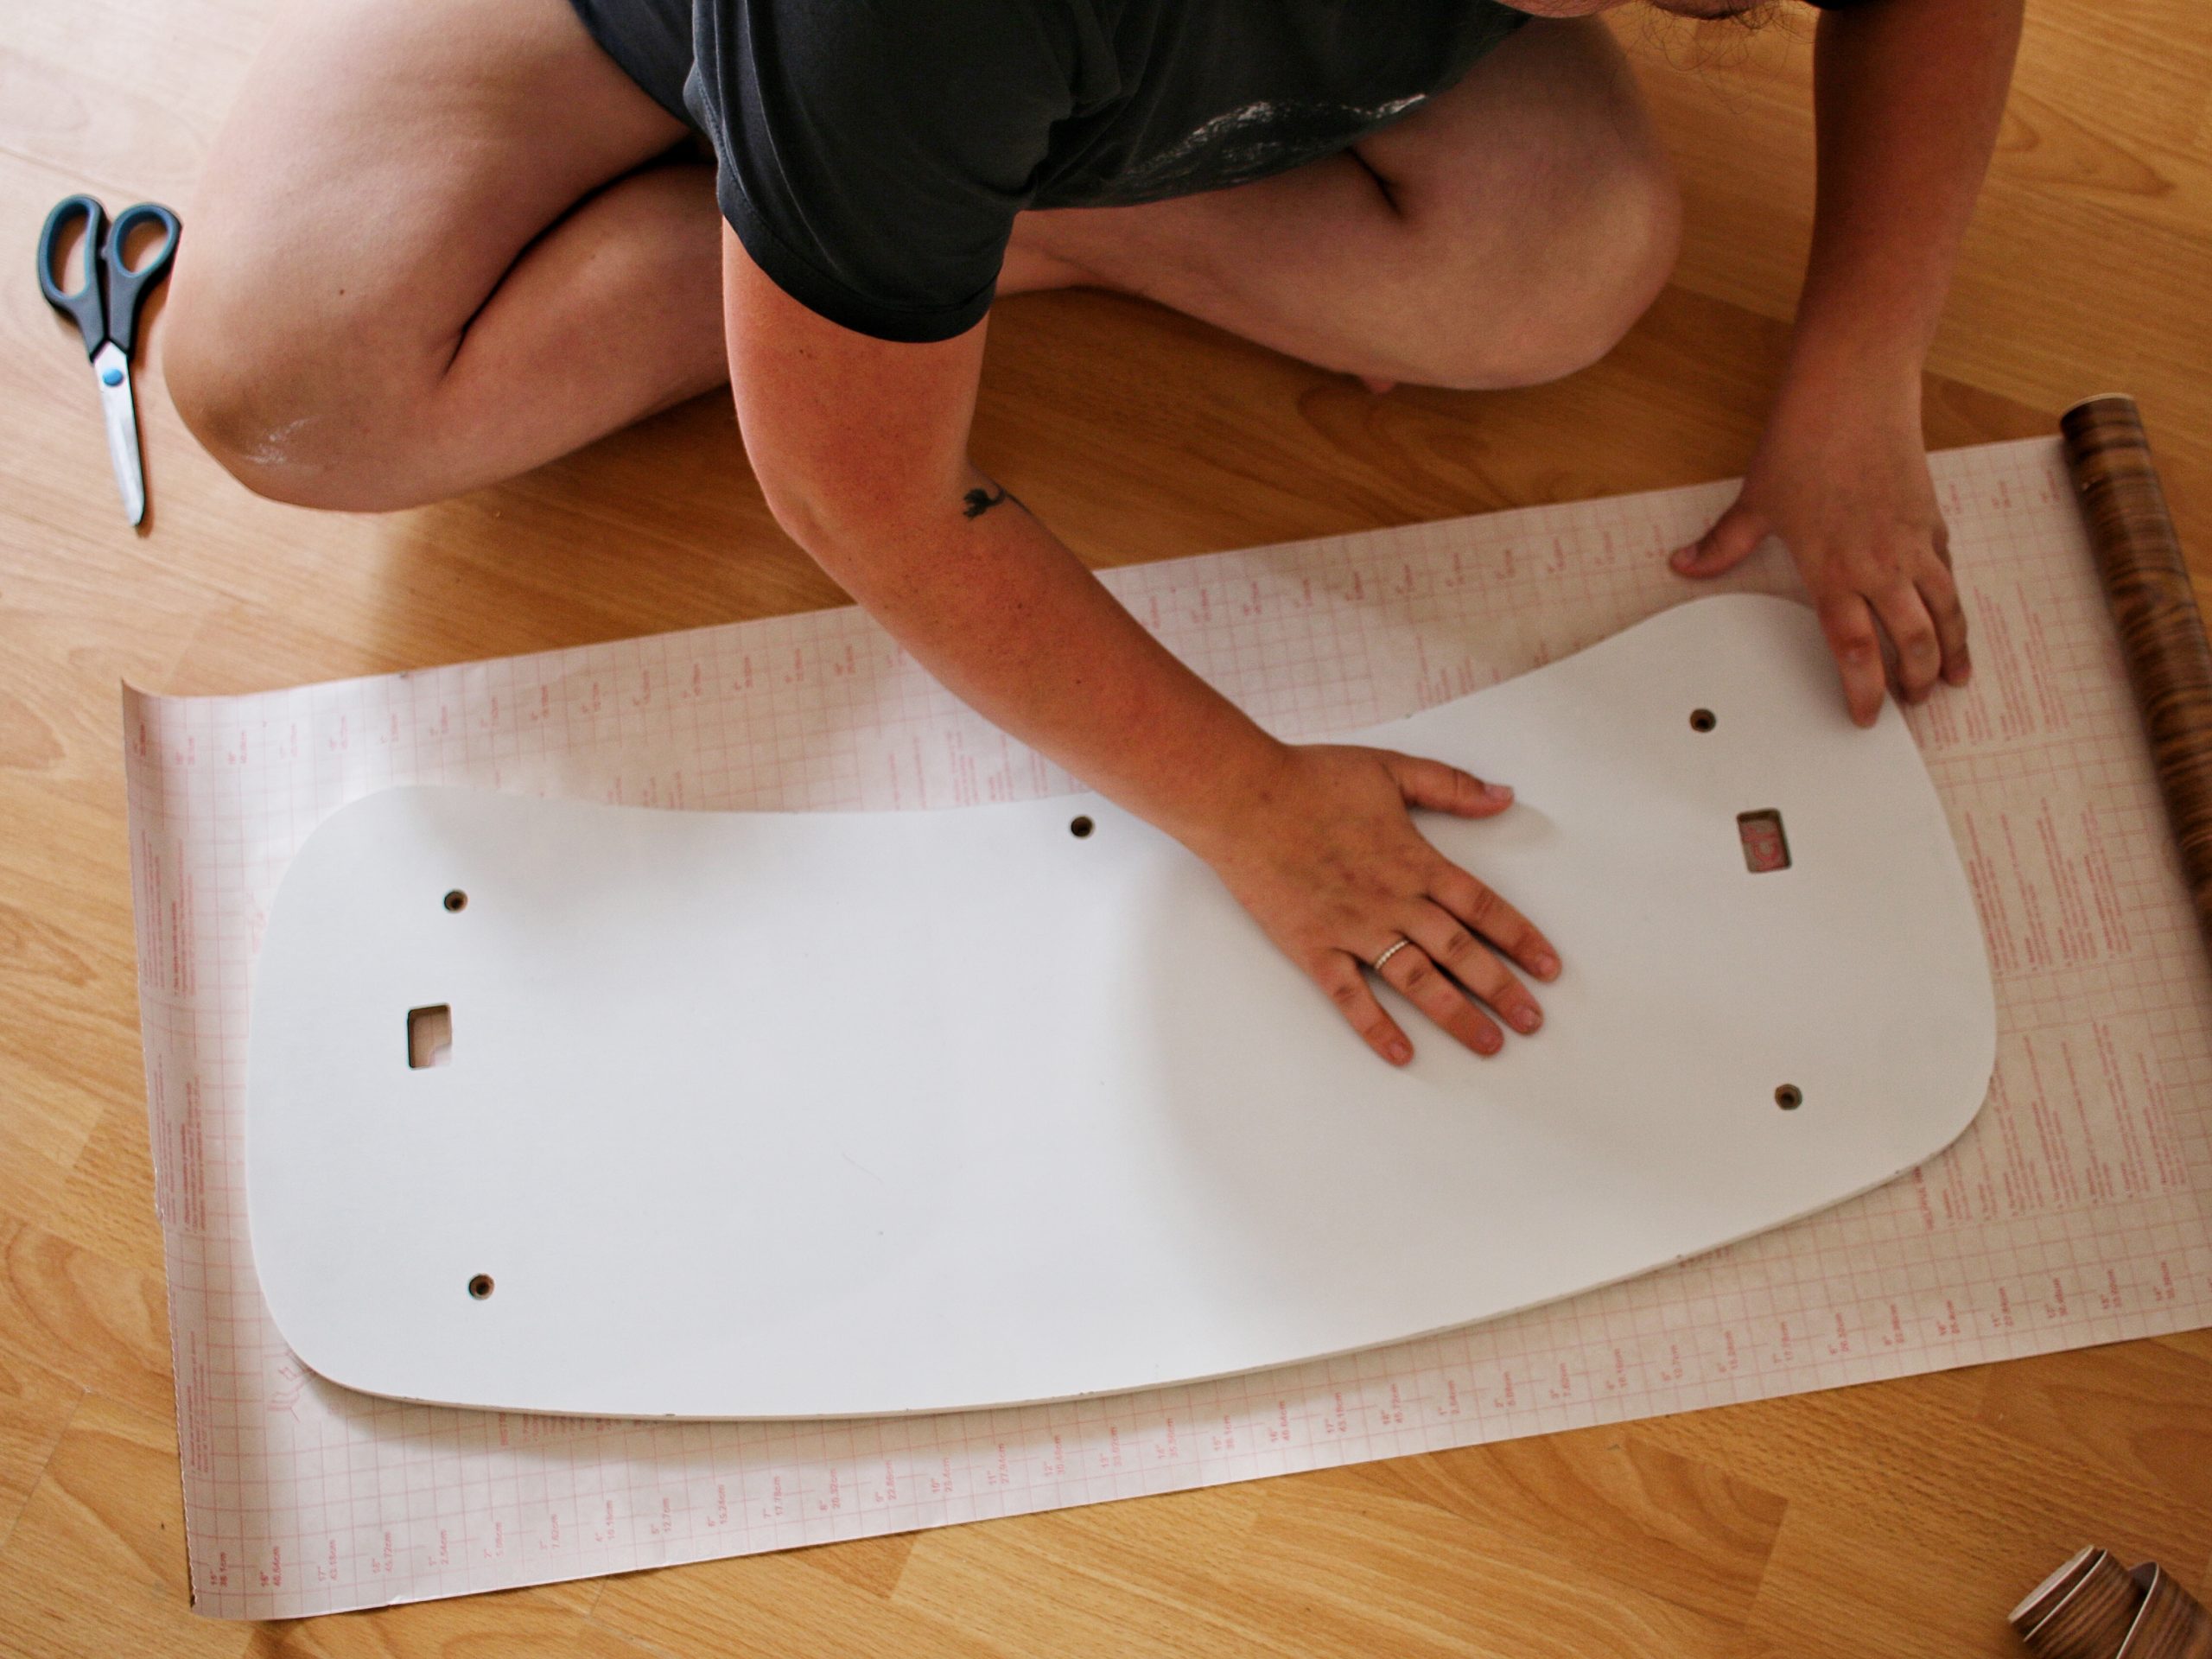
I lived out my dream of butcher block countertops by covering the tabletop of the grocery stand in Con-Tact paper!
Because of the way the tabletop curves I didn’t want to try and fold the contact paper around it. Okay that’s a lie – I tried, and it was not working no matter what method I attempted.
Instead, I laid the top down onto the contact paper and carefully cut around the edge with an Xacto knife.
The last piece of this Melissa and Doug Grocery Stand makeover was making a new canopy for it. Keeping on with the theme of keeping these projects as zero waste as possible, I dug around the house to see what we had. I ended up using the pieces of fabric from when I shortened a pair of curtains which may not be the absolute best looking solution, but it saved the fabric from heading to the trash. Bonus: the curtains are also in the playroom, so matching!
I don’t have a sewing machine so I hand sewed it. If you don’t have a sewing machine and aren’t comfortable hand sewing either, you could use a strong fabric glue or a fusible bonding tape.
THE FINAL RESULTS
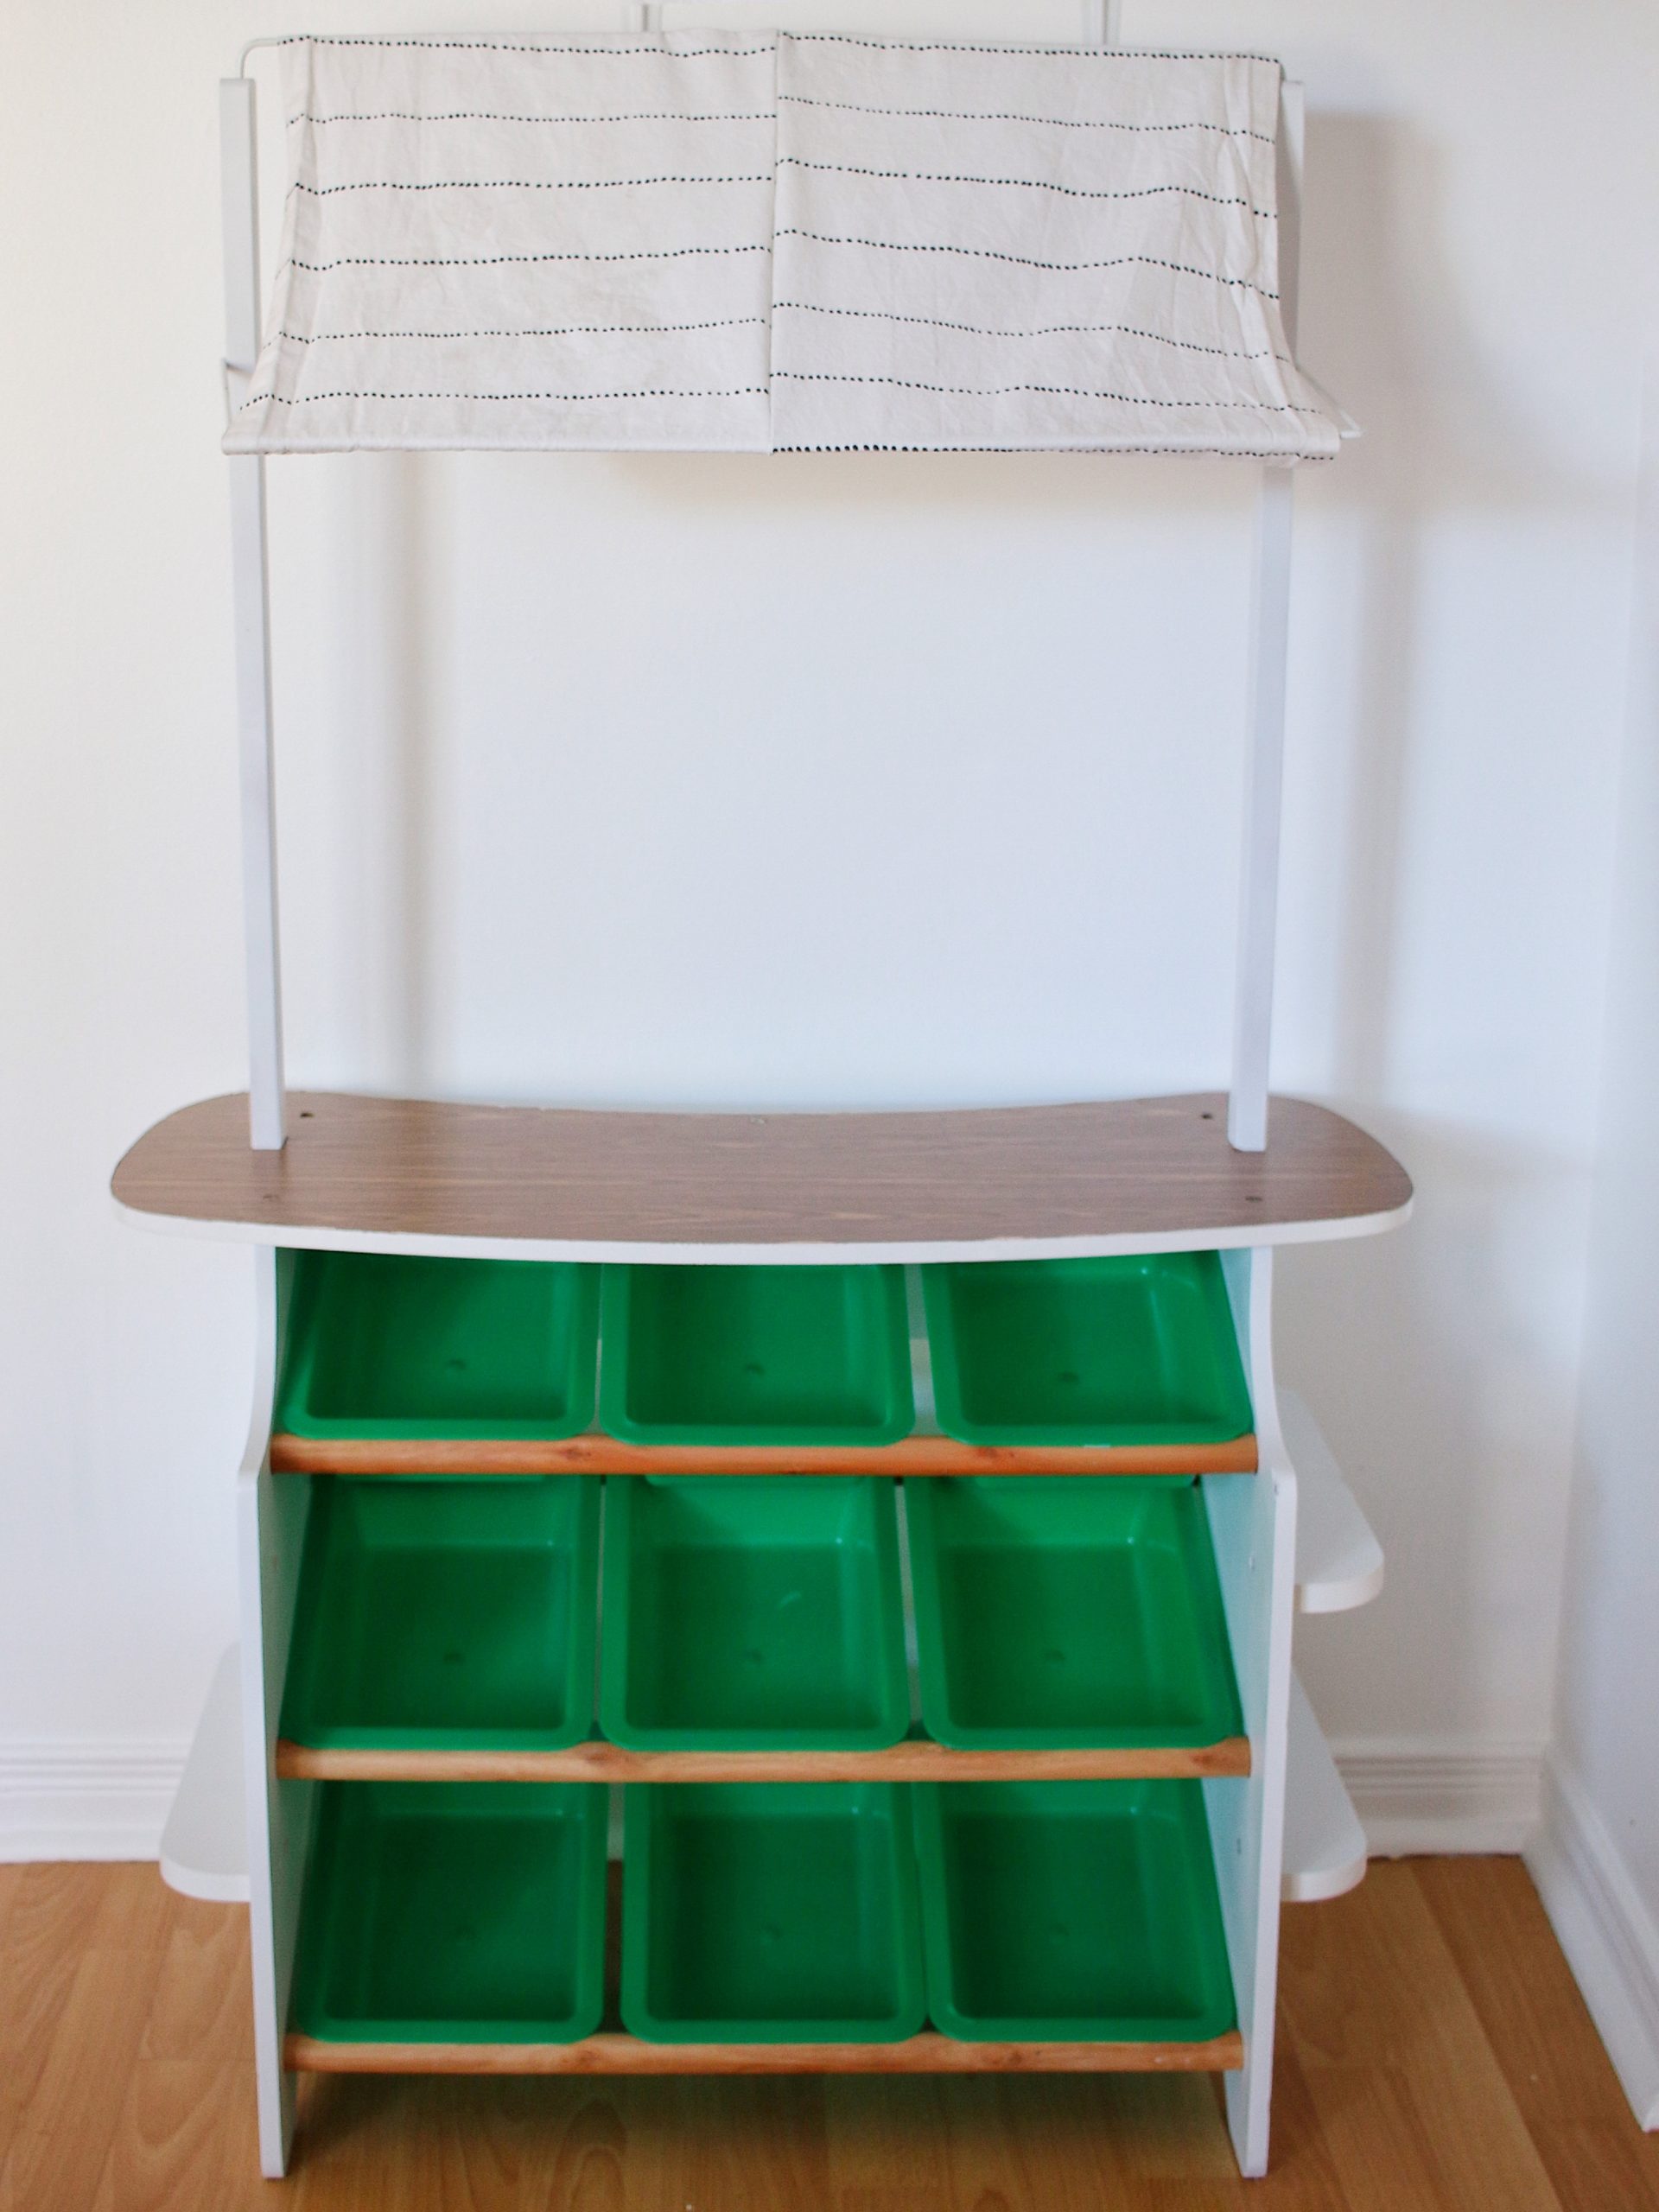
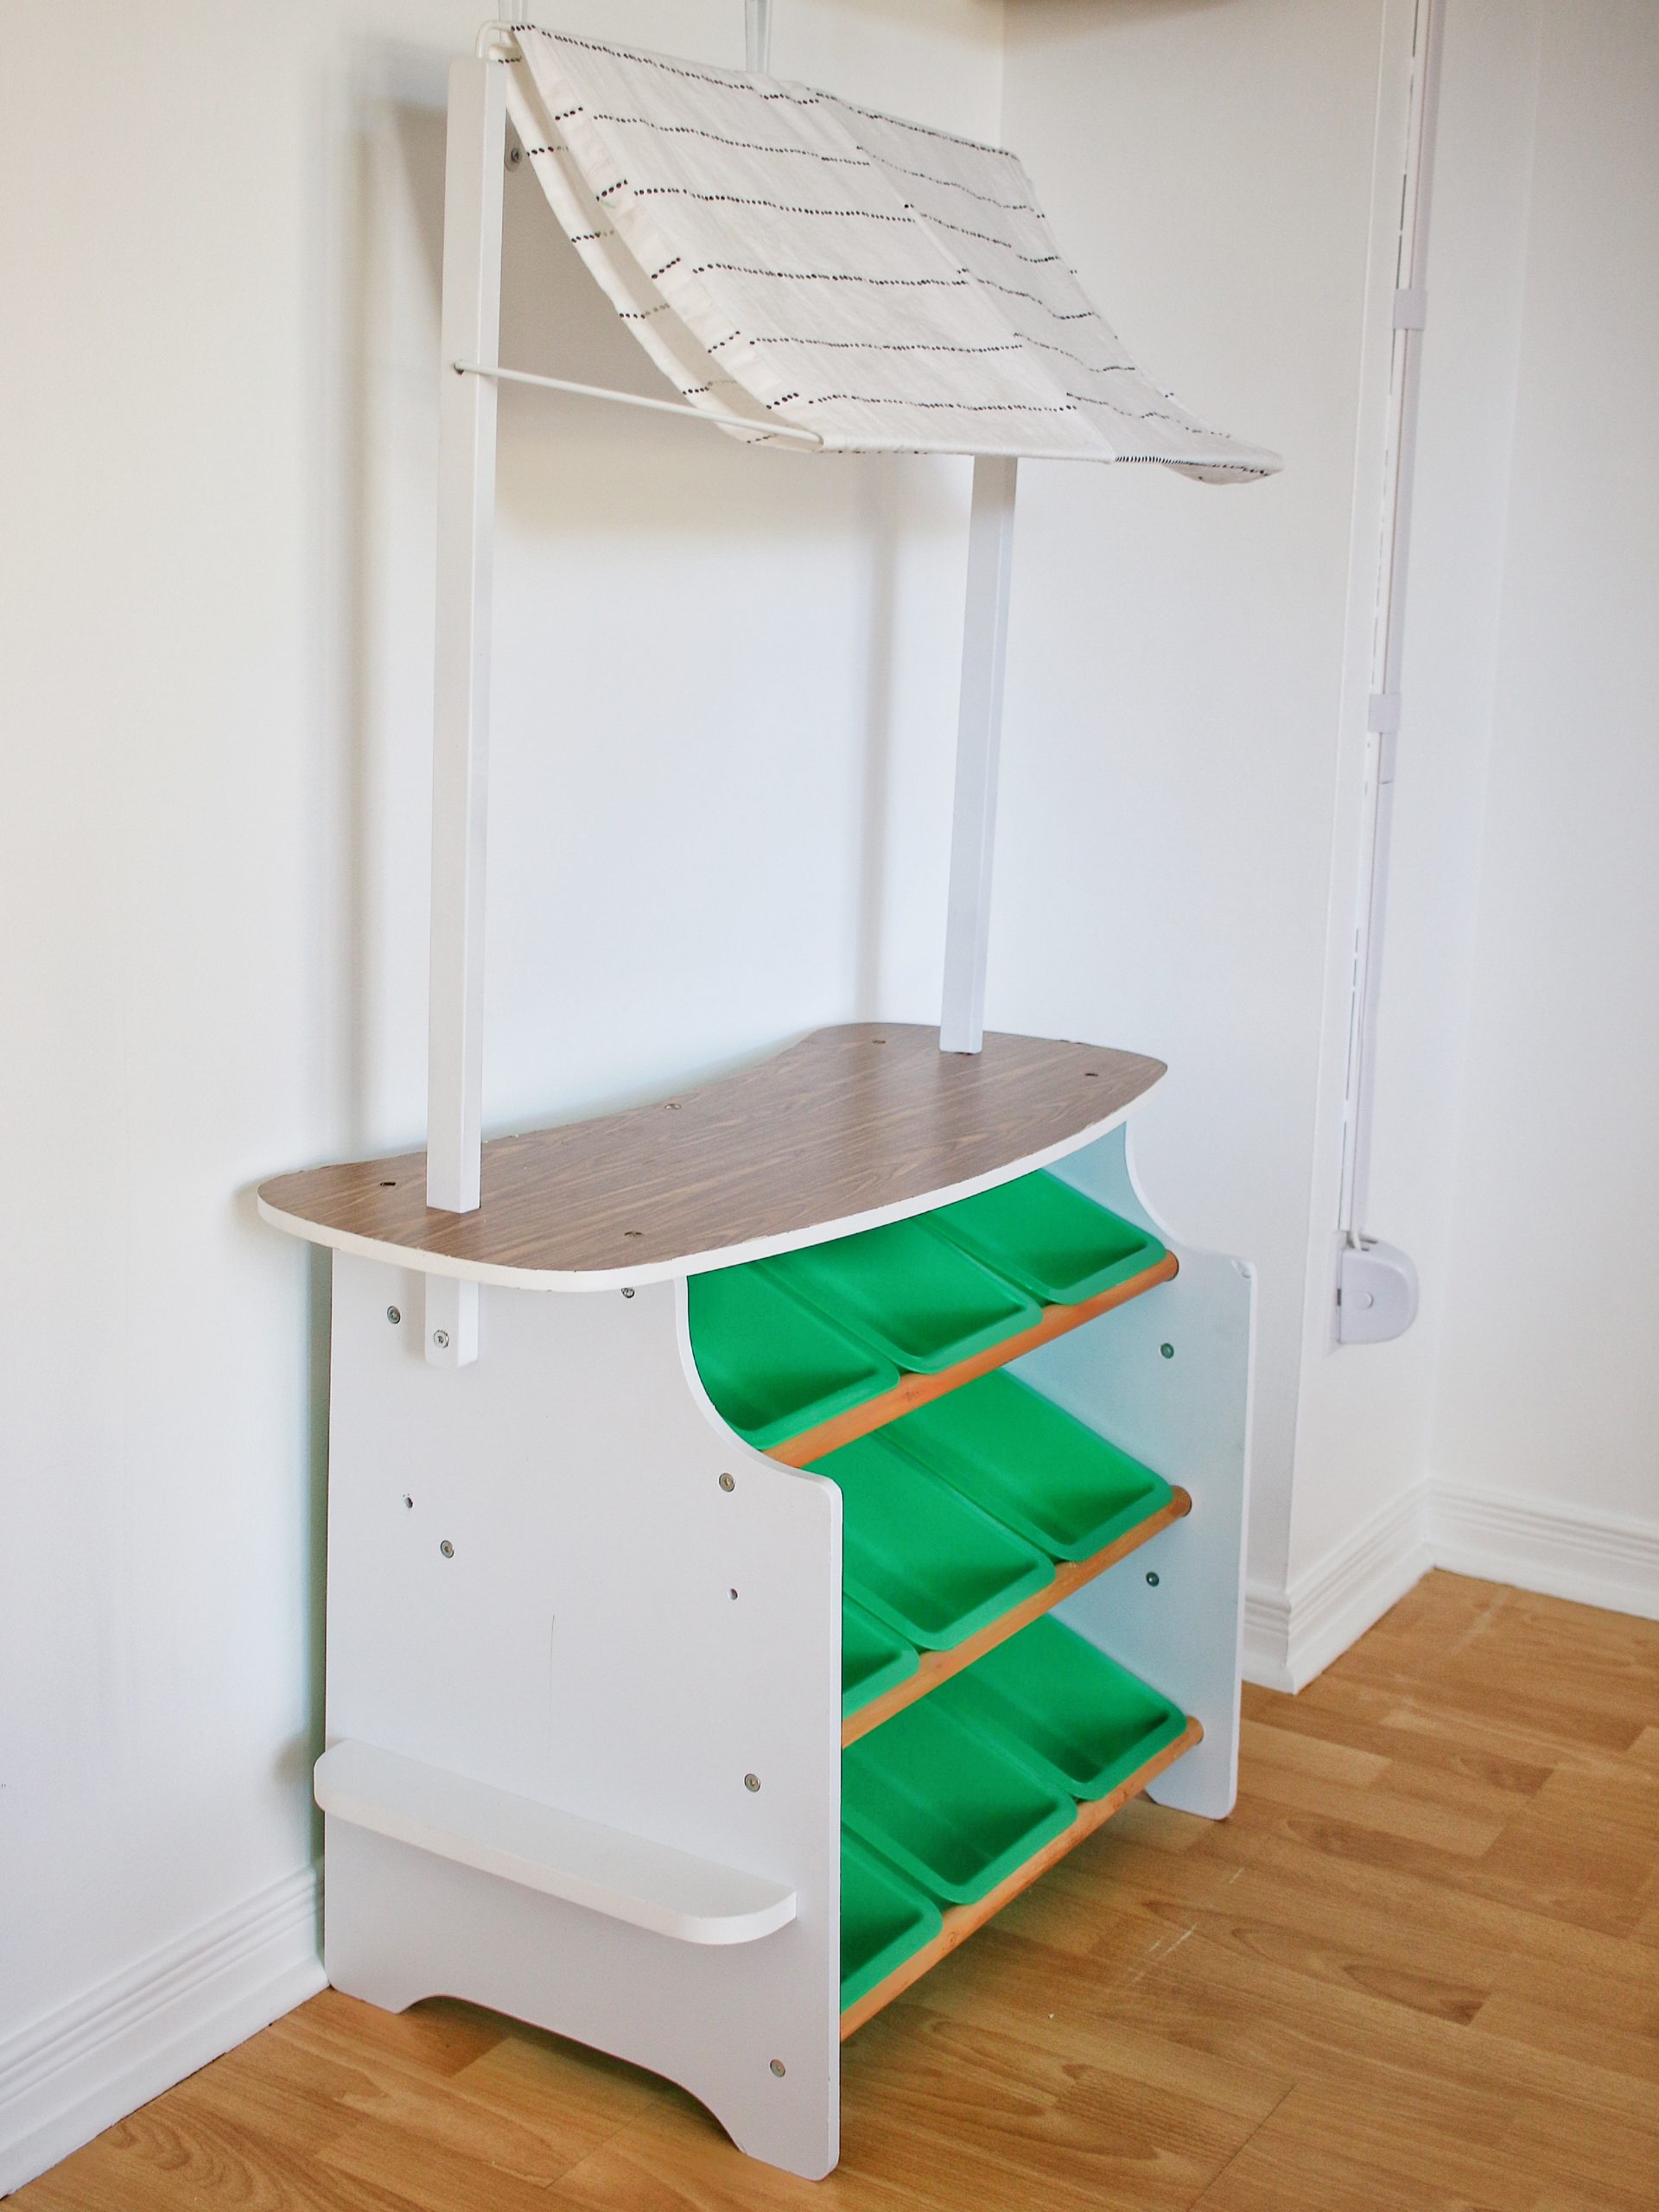
Here it is! The completed Melissa and Doug Grocery Stand makeover. I’m not 110% convinced that the Con-Tact paper is going to last without having it being wrapped around completely. But outside of that I’m so happy with how it turned out! Because of the space it’s fitting into I also removed a few of the side shelves – darned outlet cover.
Most importantly, the kids love it.
Be sure to check out some of our other DIY projects below!
The form you have selected does not exist.
Ale
October 16, 2020 at 1:27 amBeautiful finished look! Did the paint ever peel over time and use? I’ve used spray paint in many projects but it’s always chipped over time (or quickly).
beingthismama
October 17, 2020 at 2:47 pmso far, so good! The contact paper edges are a little rough and I’m starting to think I may need to redo it, but the paint is holding up well.