LAUNDRY ROOM TINS DIY
As I’ve been slowly working my way through redecorating, organizing and minimizing our house this year I knew the random nook in the basement was going to become a laundry nook to store the laundry hampers, keep all the laundry materials a home and become a space where our various laundry racks could live.
I couldn’t find the right storage tins for our laundry storage space, so instead I pulled together this laundry room tins DIY using the Cricut Joy and some dollar store tins!
Materials used:
- Cricut Joy
- Cricut Smart Vinyl – Permanent in White
- Cricut Starter Tool Set
- Cricut StrongGrip Transfer Tape
- Various tins from the Gardening section of Dollarama
- Nail polish remover (optional)
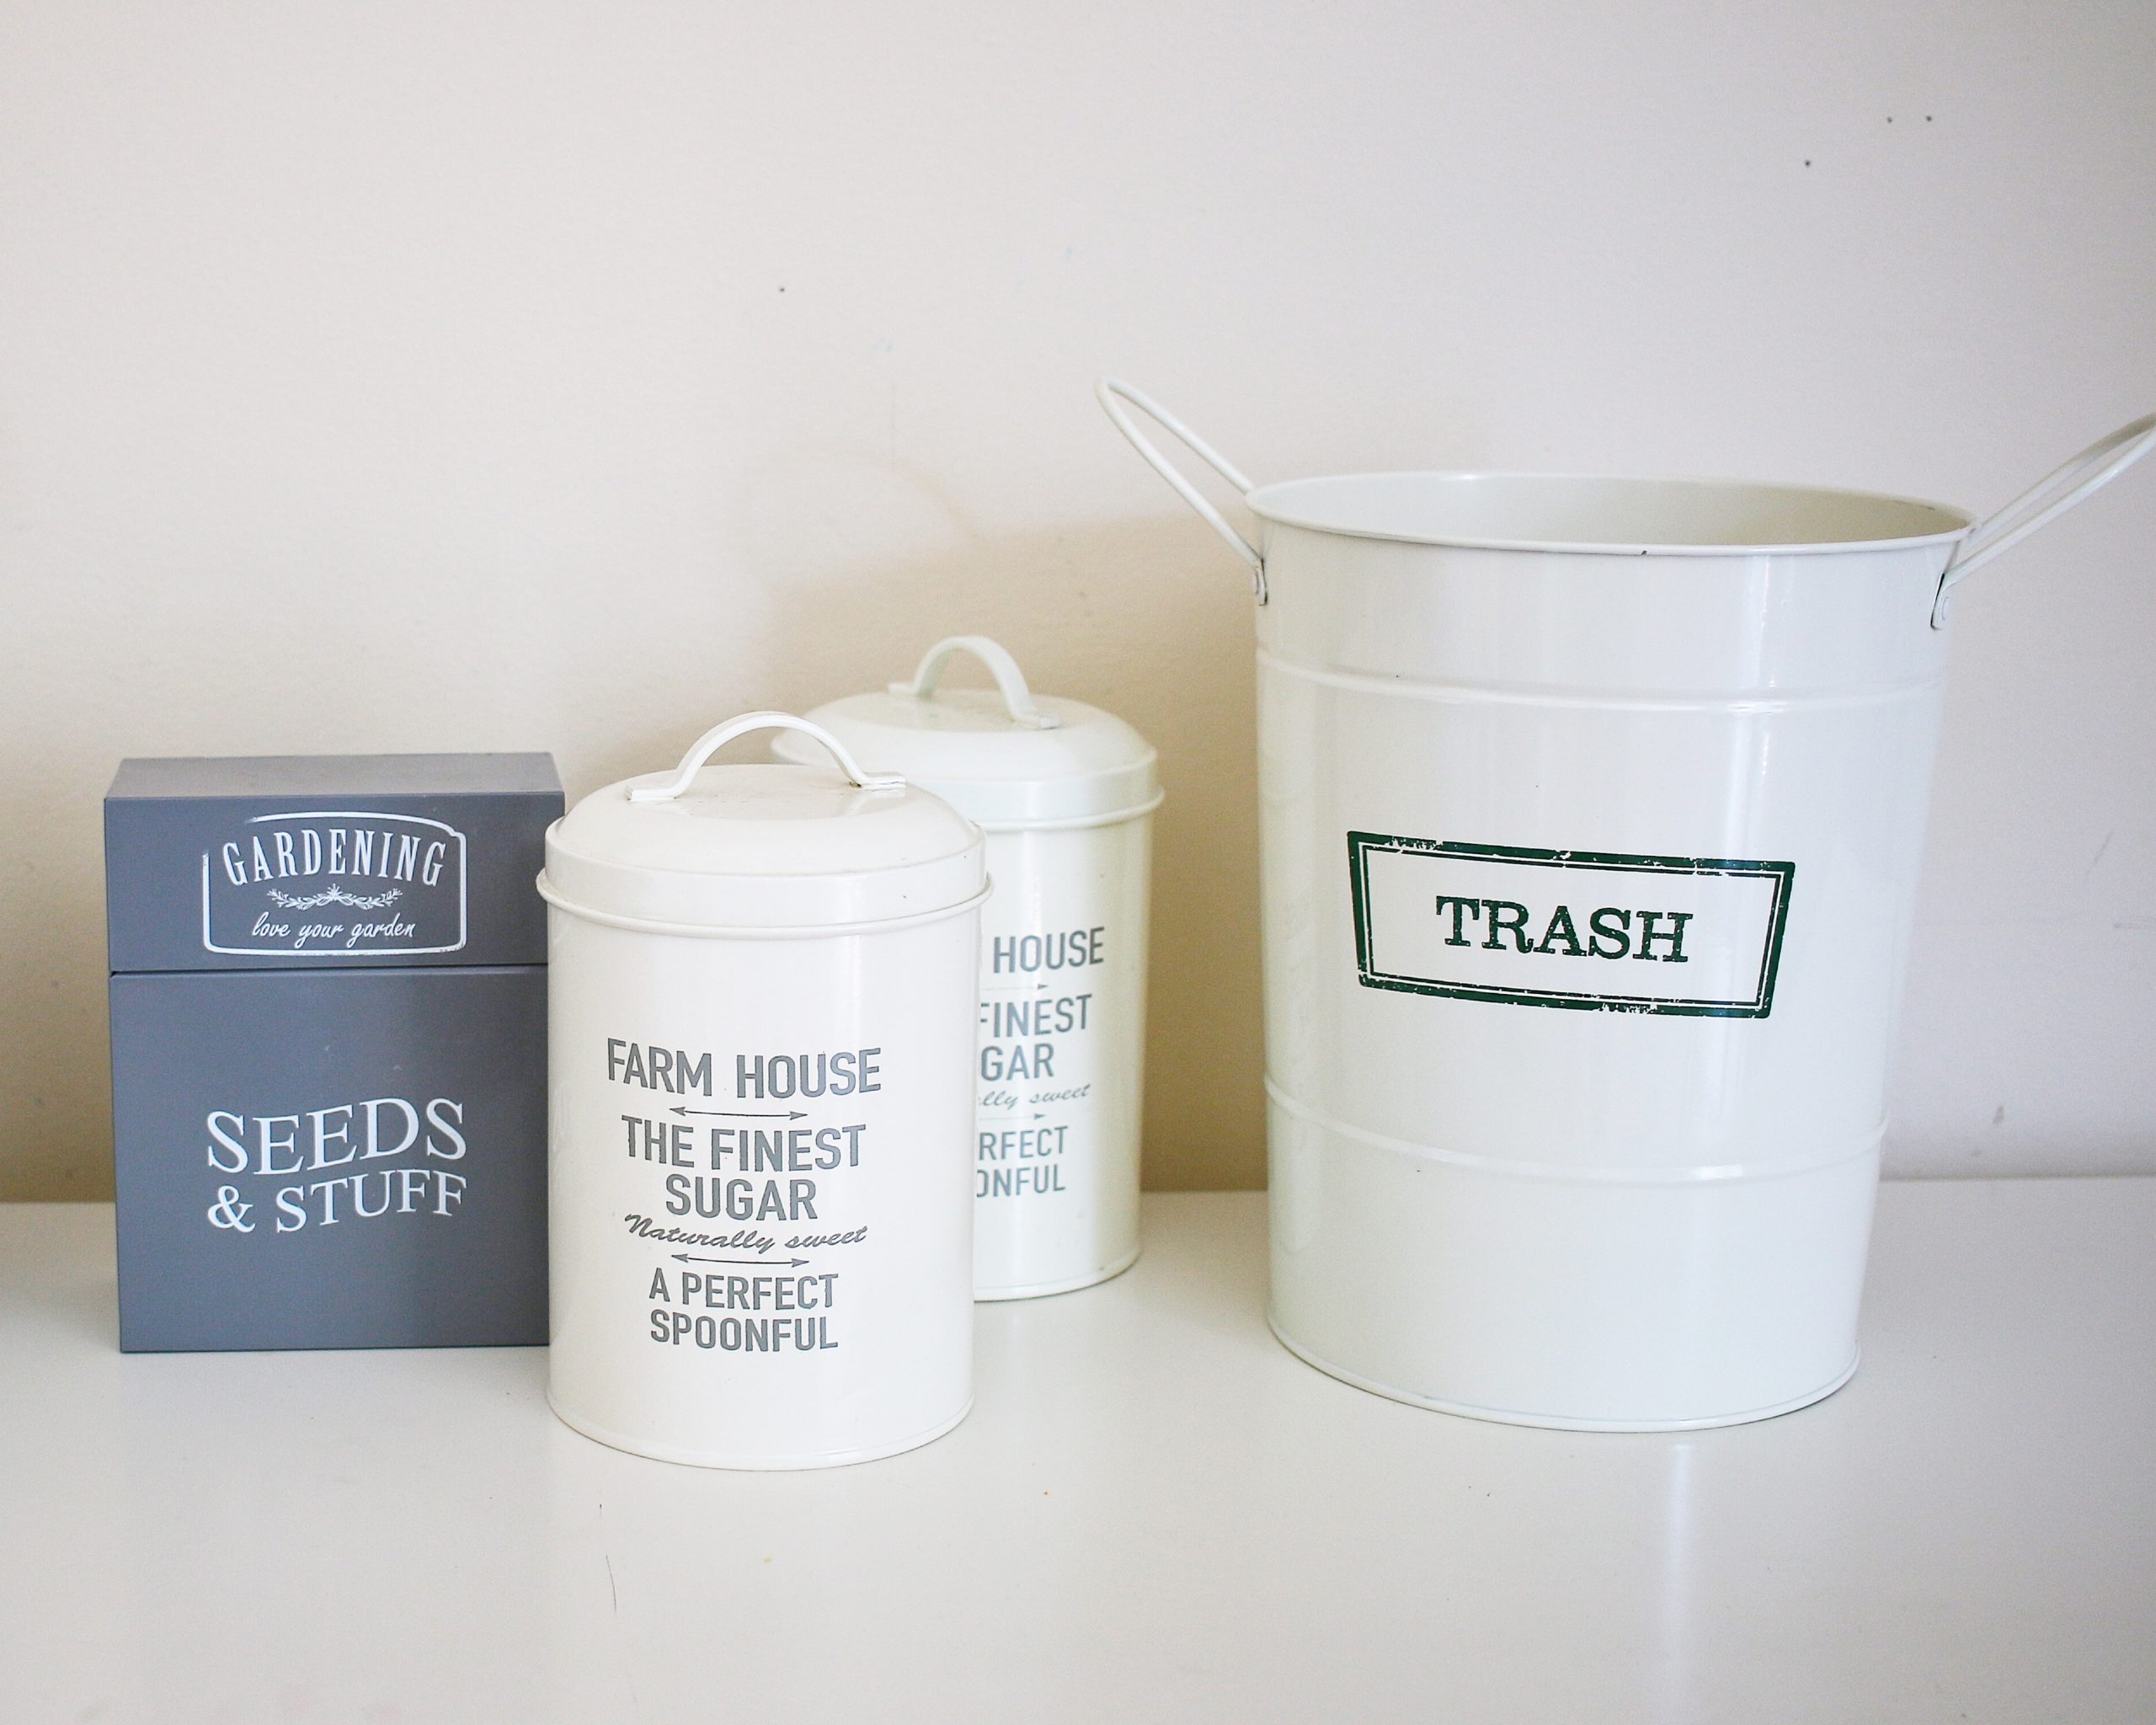
I used painted, decorated tins in various sizes and styles from Dollarama – mainly because I enjoyed their colour palates and it saved me from having to paint them. Since they had writing on them, I had the extra step in this laundry room tins DIY adventure of attempting to remove it. It worked!
STEP ONE : REMOVE WRITING
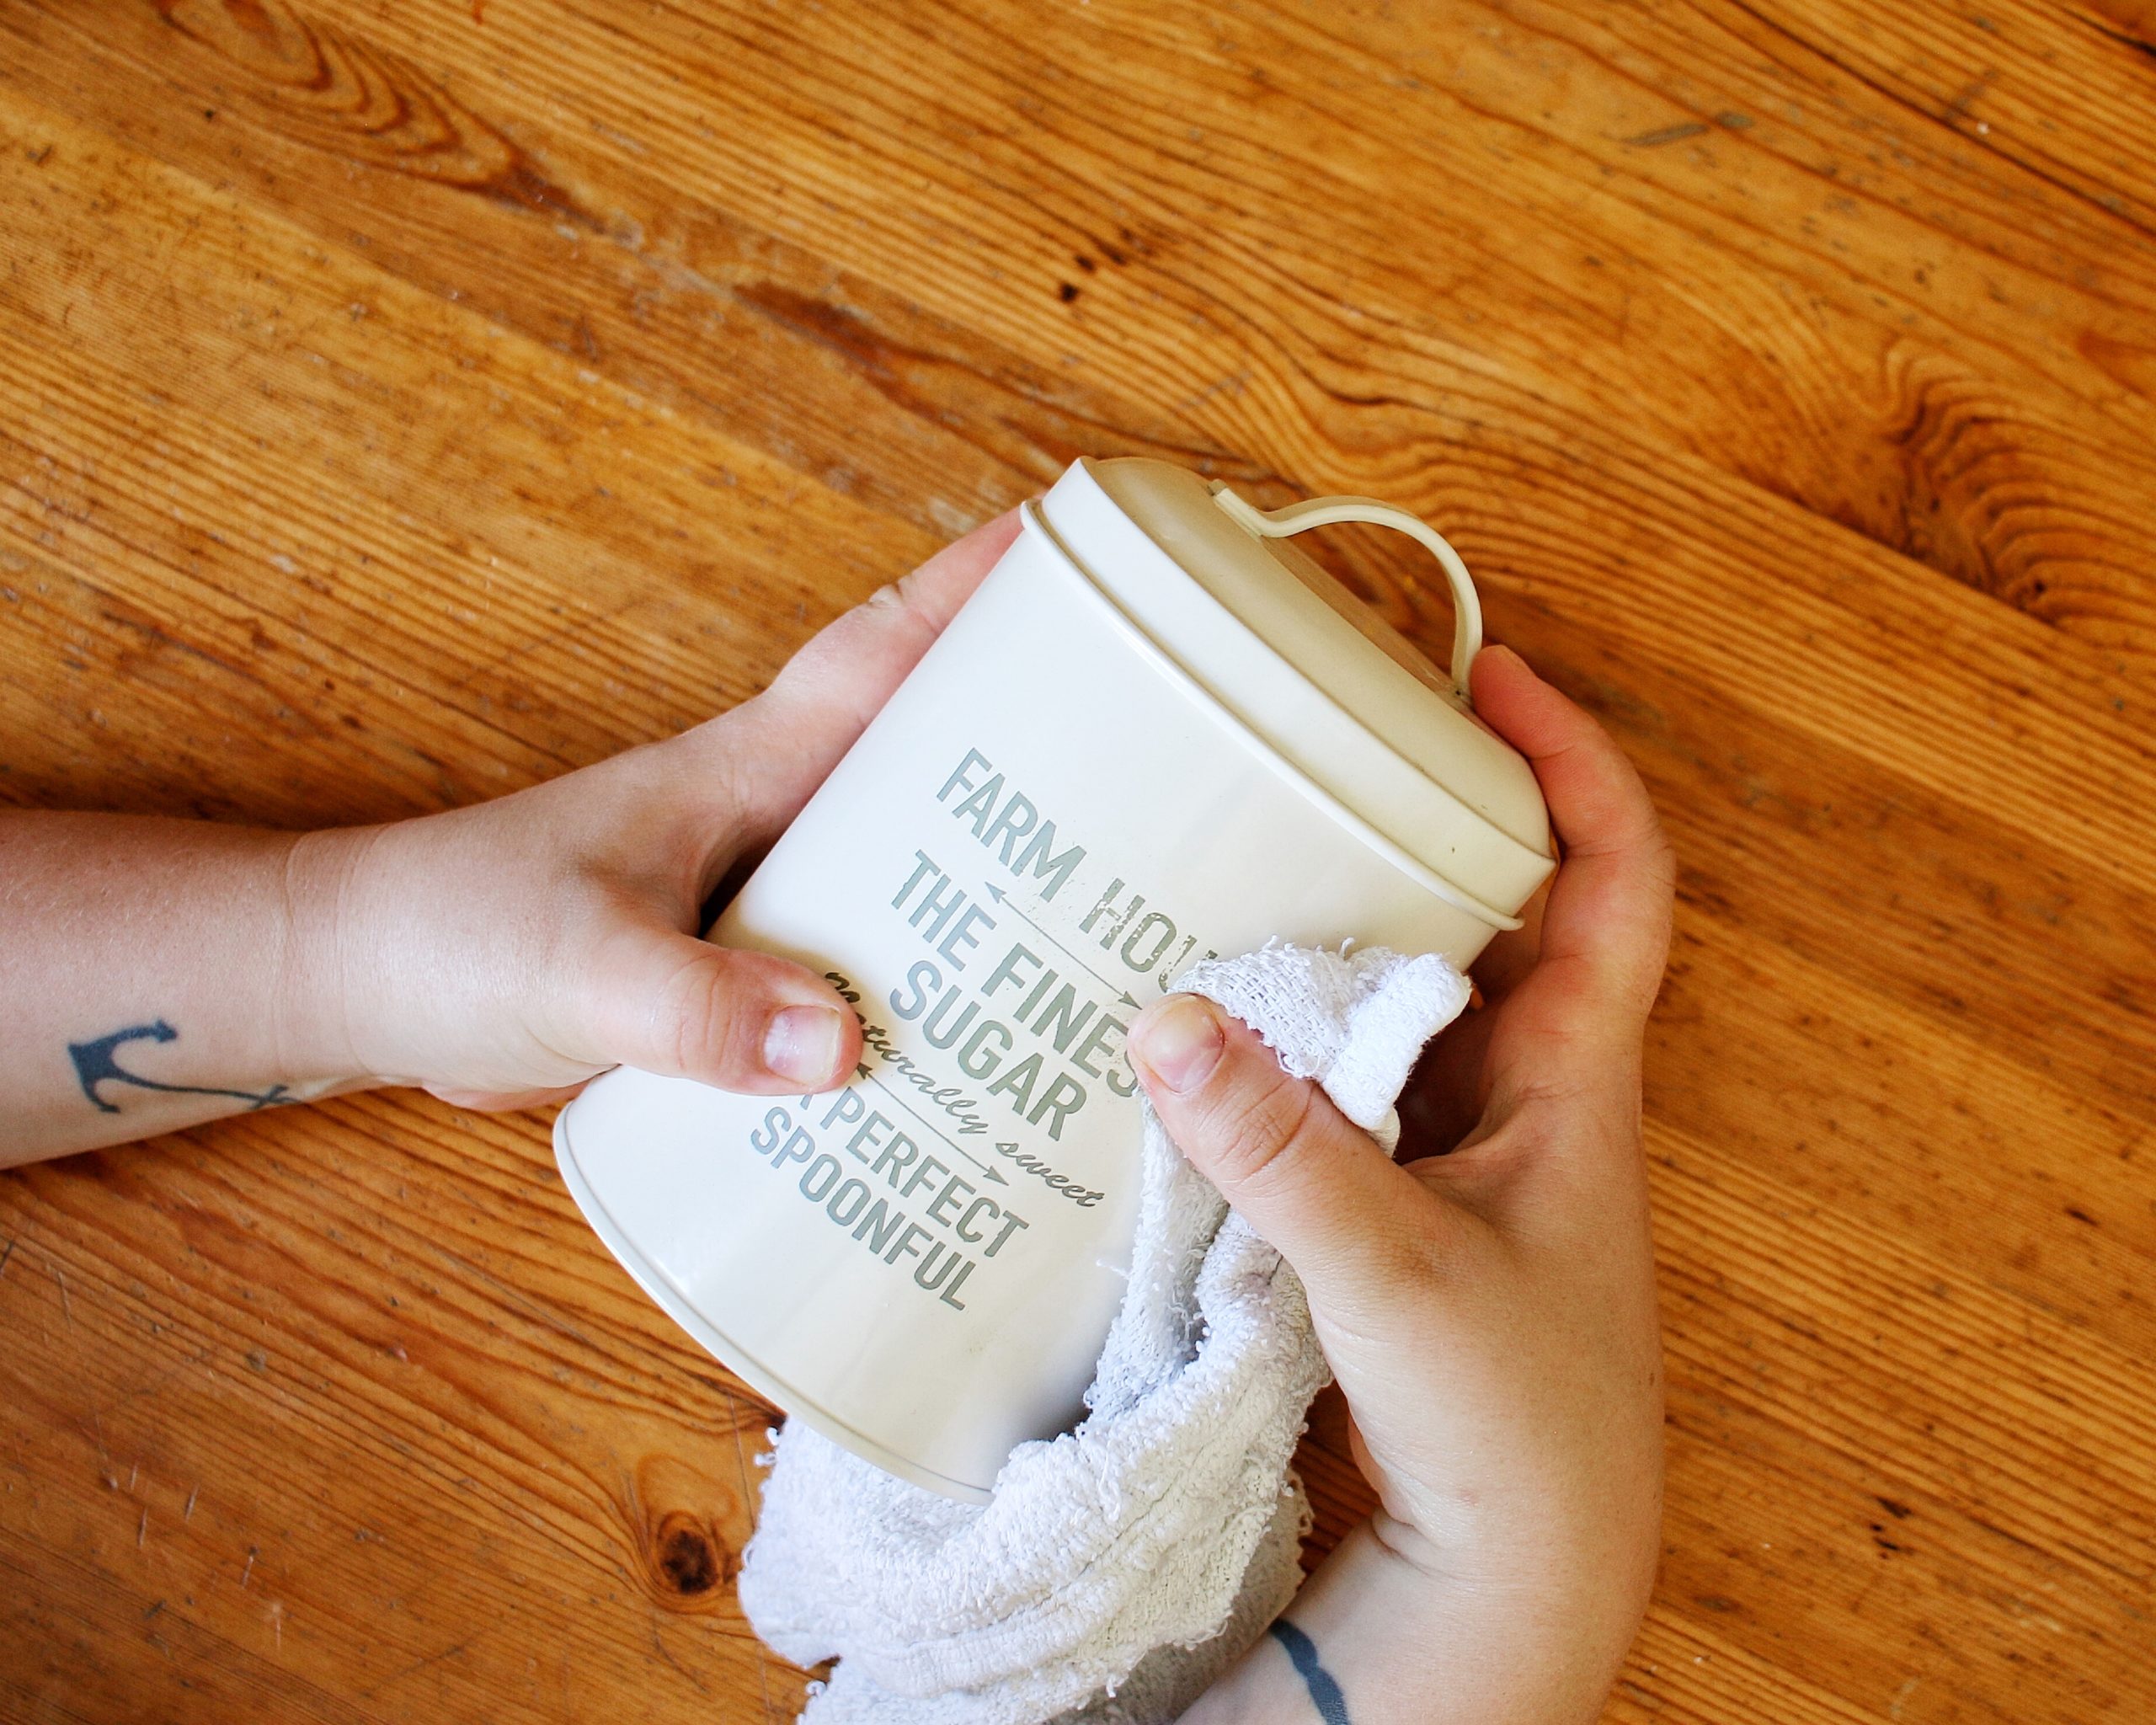
I had a feeling it wouldn’t be too hard to remove the writing, since they were cheap tins from a dollar store. So I draped an old rag on it and poured on some extra strength nail polish remover. There may be other removers that work well, but this is what I had on hand in the house!
After letting it soak in for a few minutes, I scrubbed it using the remover soaked cloth!
Letting it sit for a few minutes is the important step and I wouldn’t skip it. I tried scrubbing with a soaked cloth without the soak step and it was difficult to do and took a long time!
Once finished give it a quick rinse, let dry and then move onto step two of this laundry room tins DIY process!
STEP TWO: PREPARE YOUR LABELS
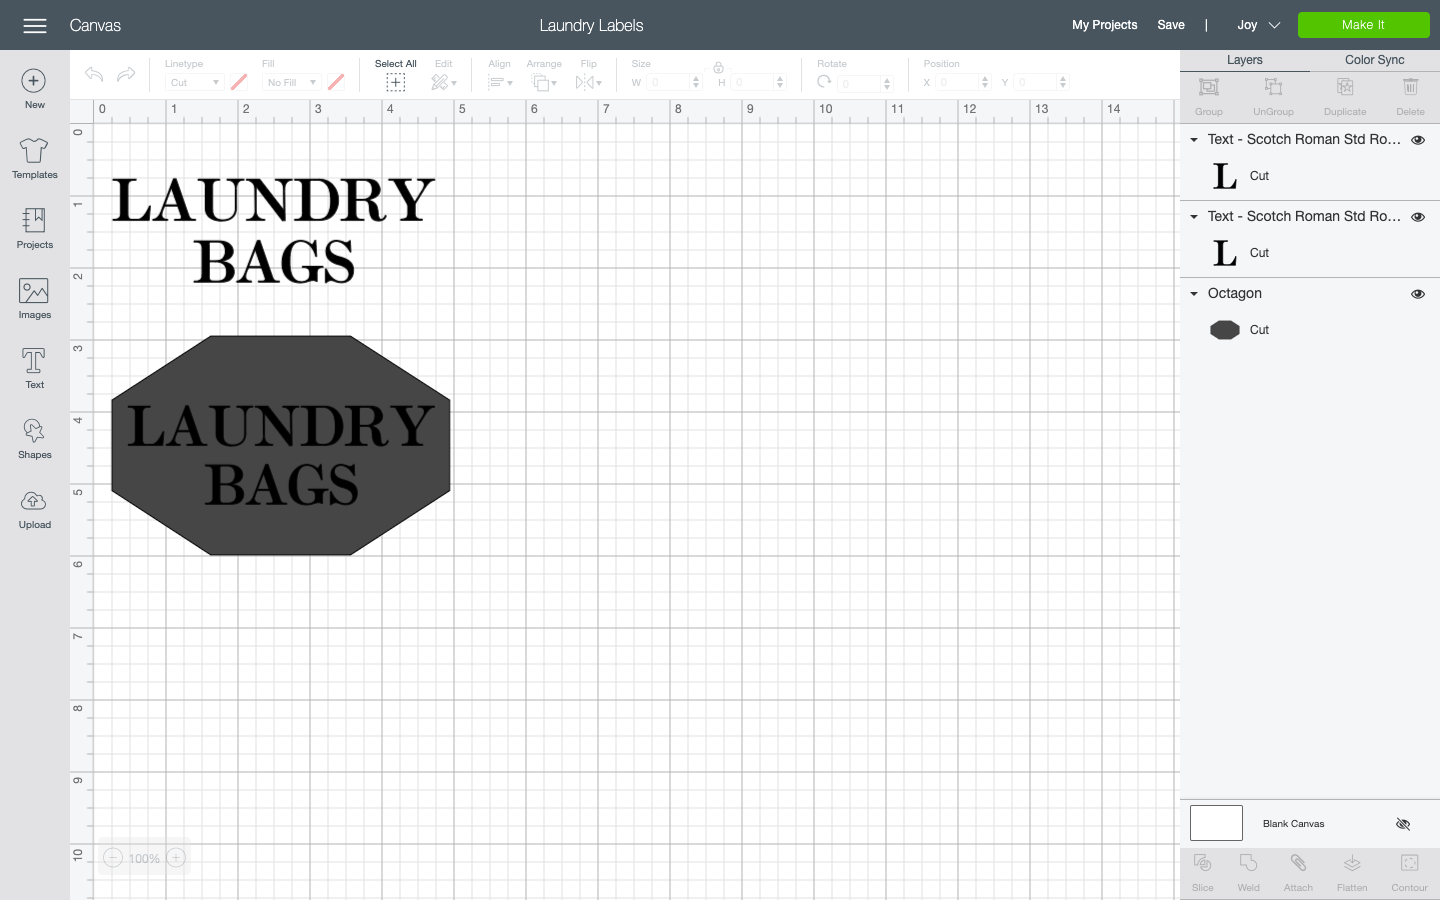
I used Cricut Design Space to prepare my labels. You can find my download h e r e.
Keep in mind the size of your tins and how you’ll want the words placed. Especially on round options – words stretched around a cylinder don’t always look great and you may want to consider vertical lettering!
Once you’re happy with your labels, go ahead and print them using your Cricut machine (I used the Cricut Joy!)
STEP THREE: PREP YOUR ABC’S

Once your labels have printed cut them out, saving as much spare vinyl being wasted as possible. Those scraps can always be used for other projects!
Using your Weeder tool, remove any of the hard to get pieces out. It’s important to use a tool like the Weeder instead of bending and using your nails as you can damage your vinyl lettering.
STEP FOUR: PREPARE FOR TRANSFER
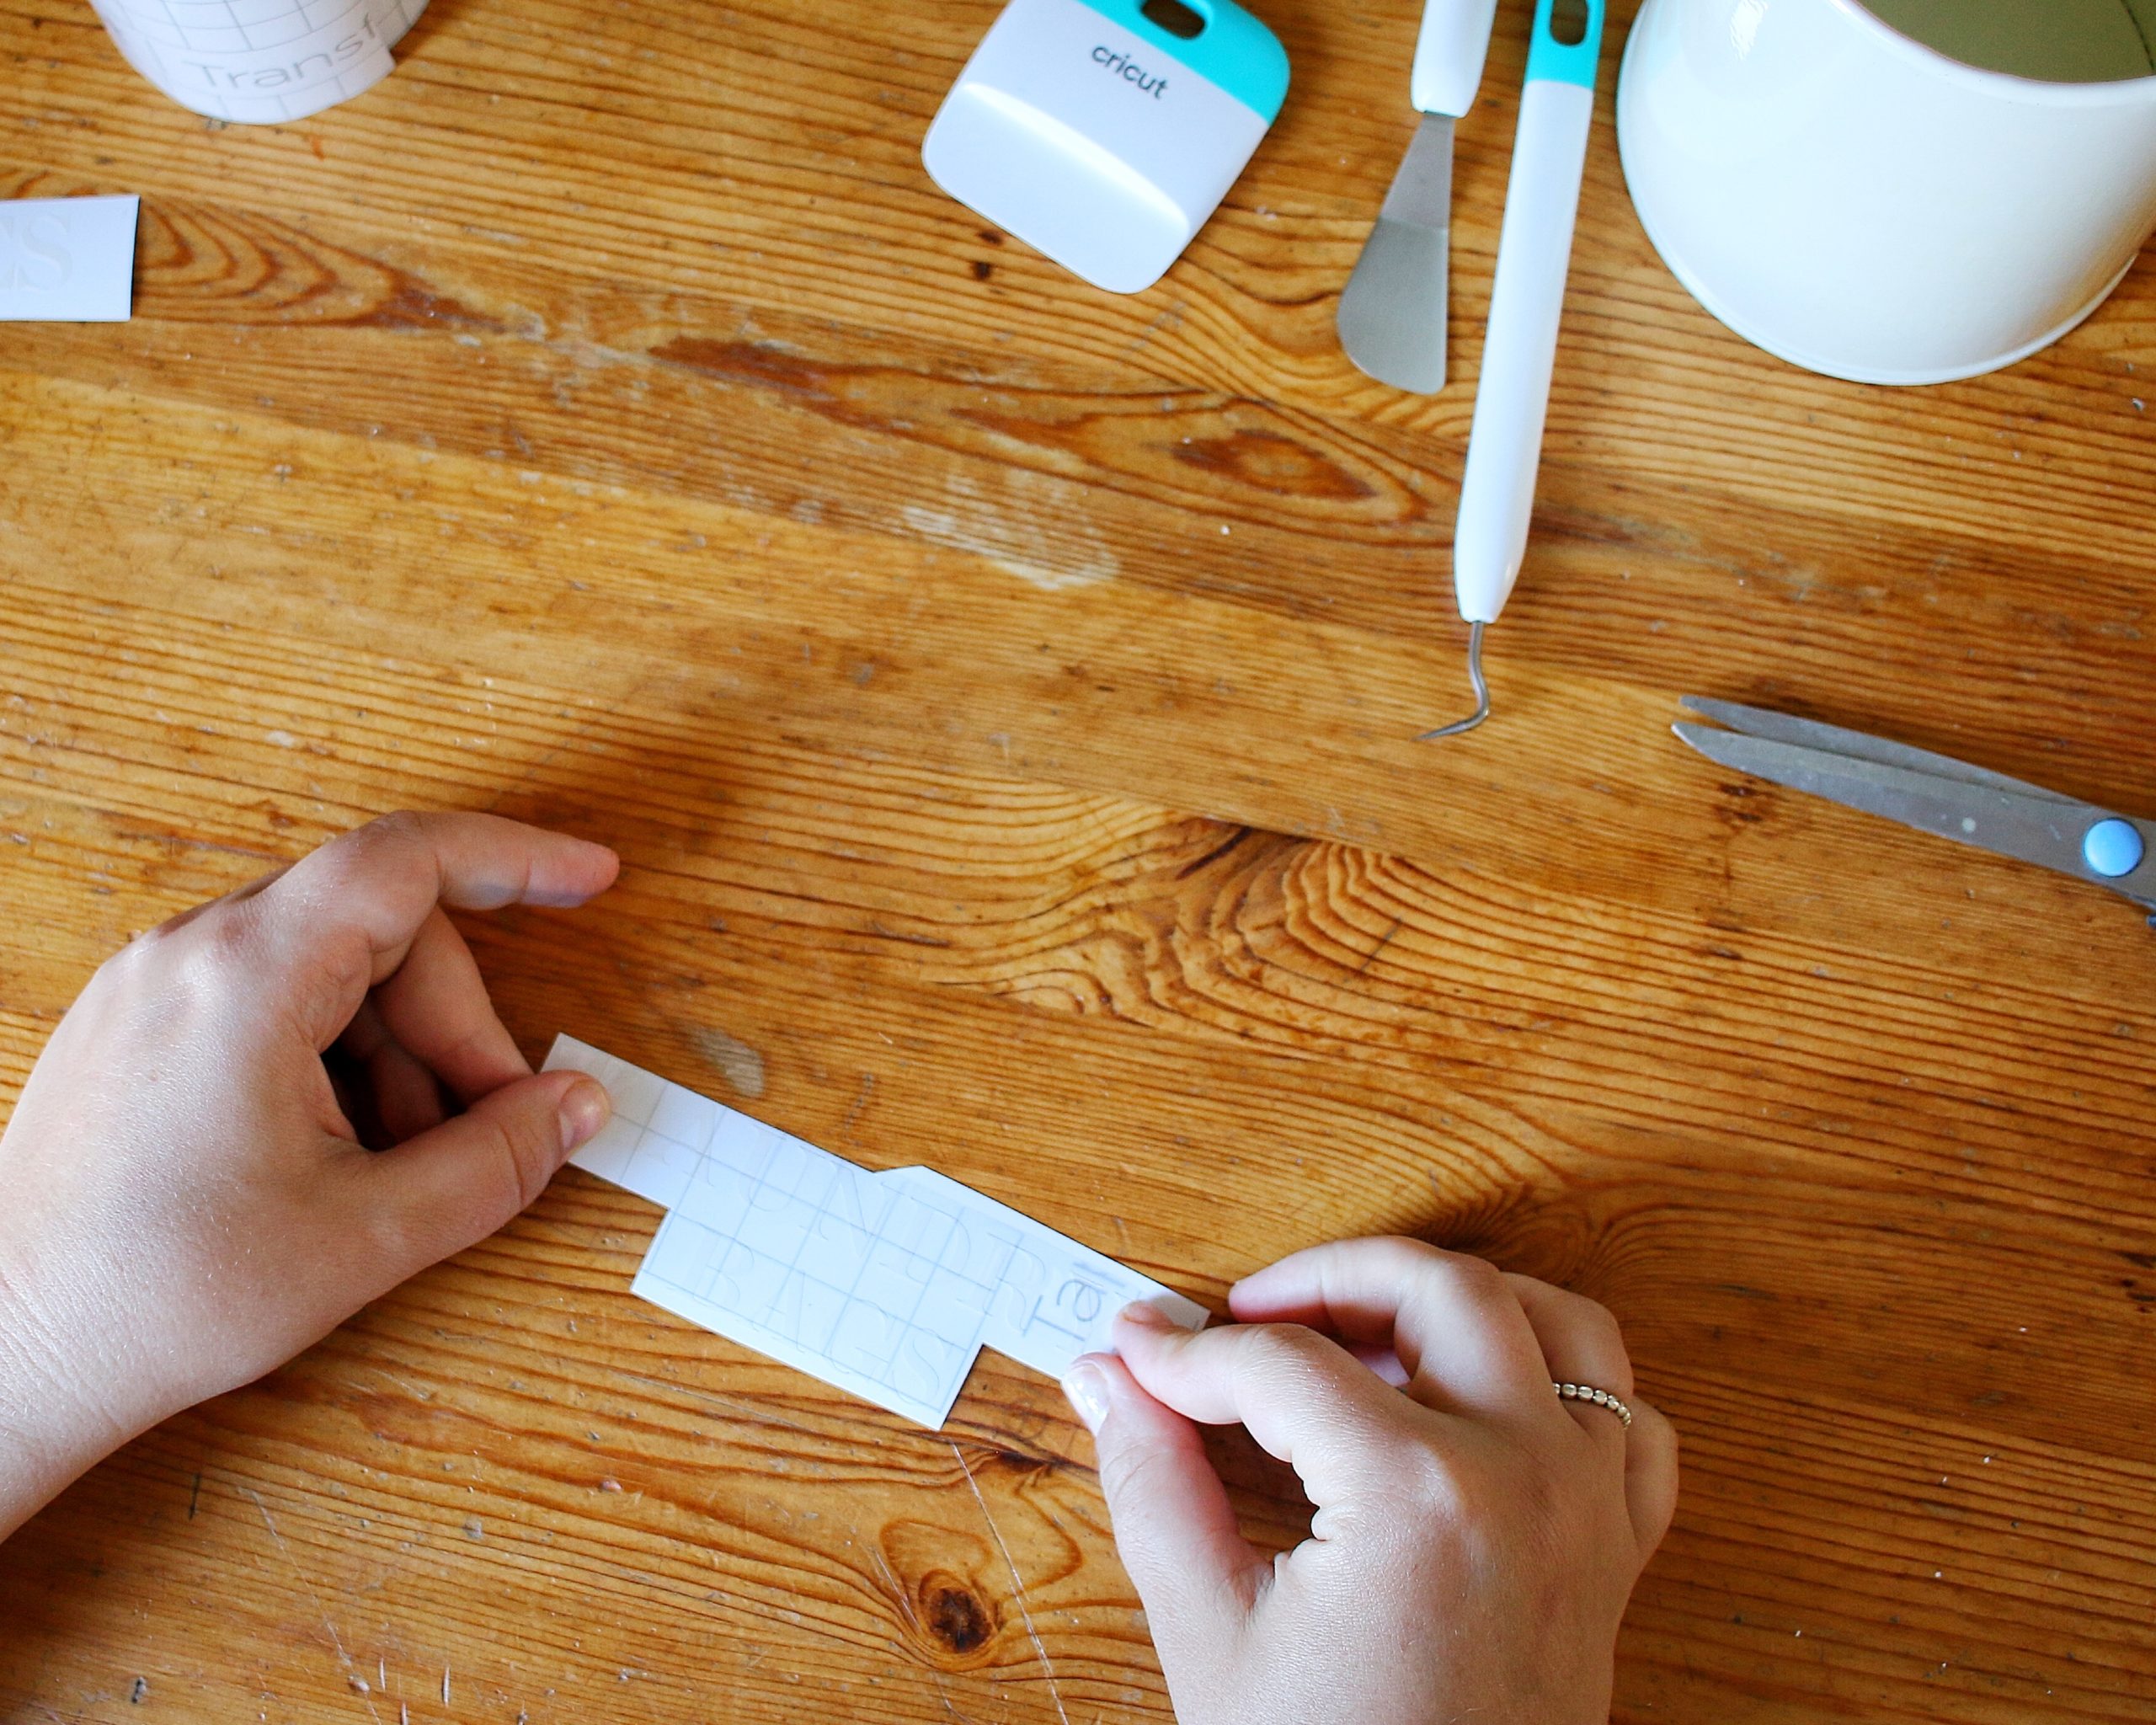
Once your lettering is ready to go, you’ll now need to cut out a piece of transfer tape. I like to keep my projects as low waste as possible, so I usually cut a rectangle that just fits my lettering.
If you’re new to doing Cricut transfers, I would make sure to leave a small edge of transfer tape around your lettering.
Use your Scraper tool to smooth down the Transfer Tape and make sure it’s well attached to the vinyl!
STEP FIVE: PLACEMENT
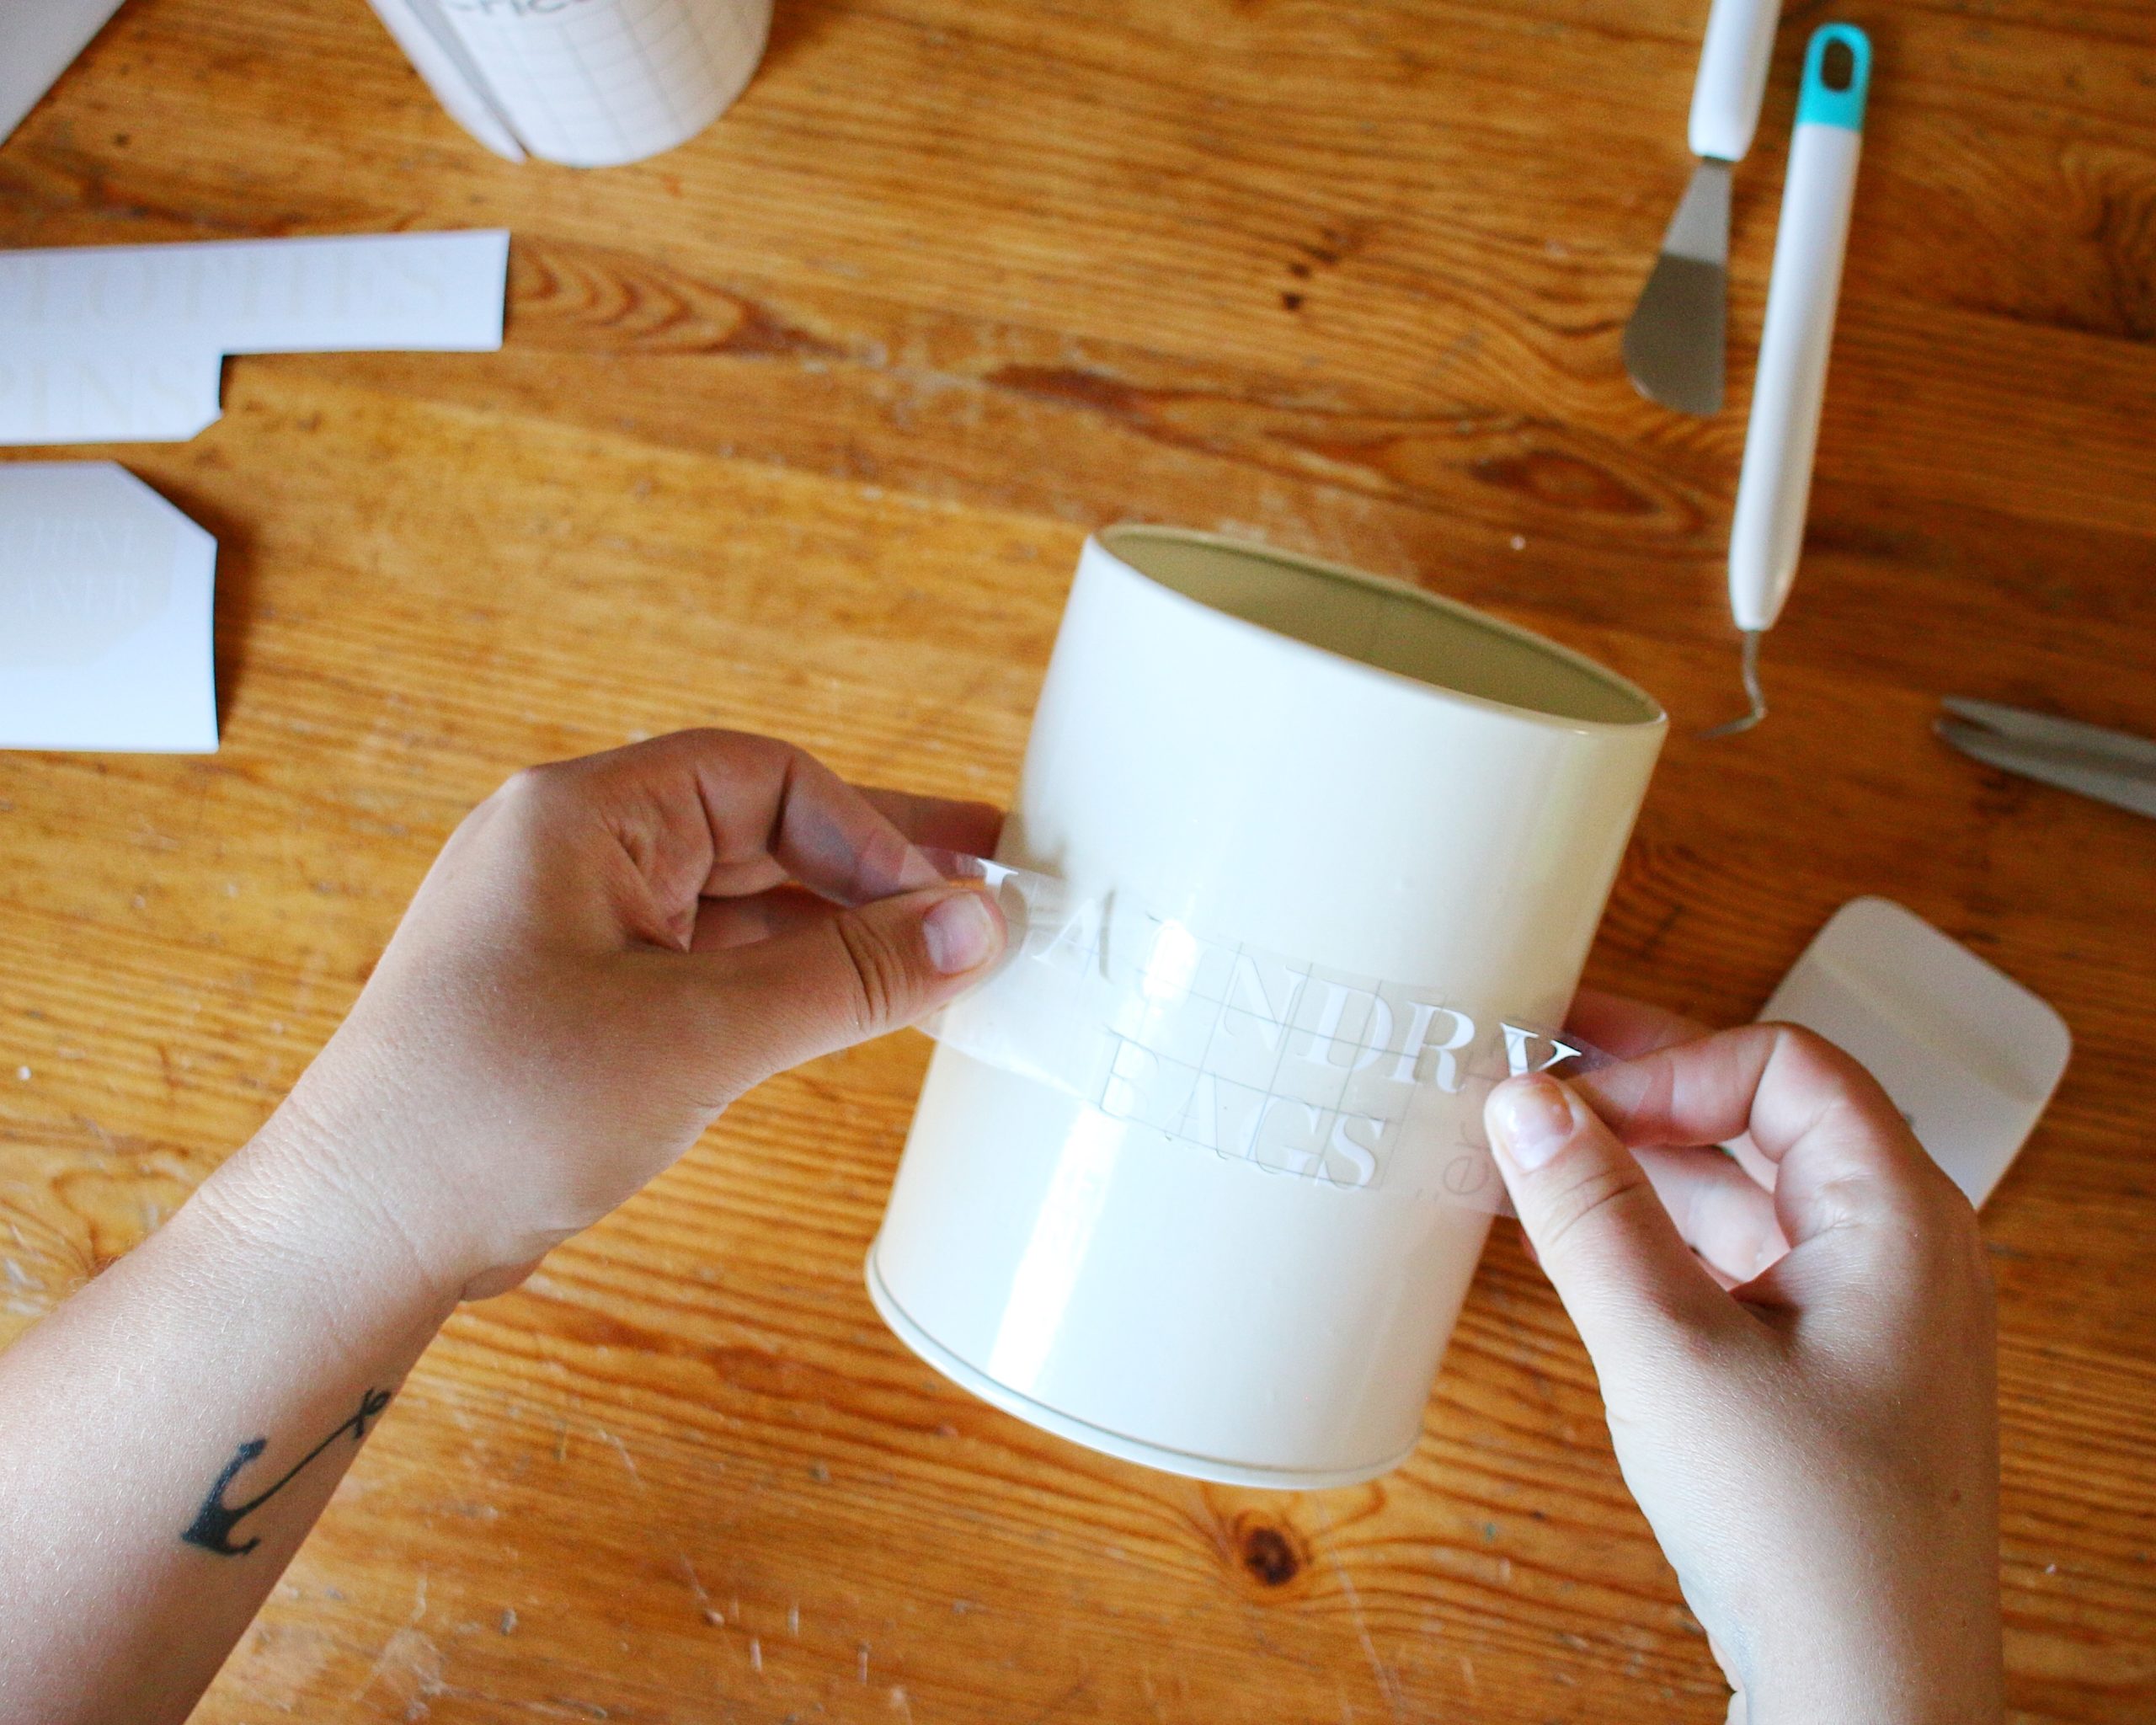
Take your time to line up your vinyl and assure that it’s straight. Once you’re sure it’s in the right place press it down and give it a quick rub with your hand.
STEP SIX: RUB, RUB!
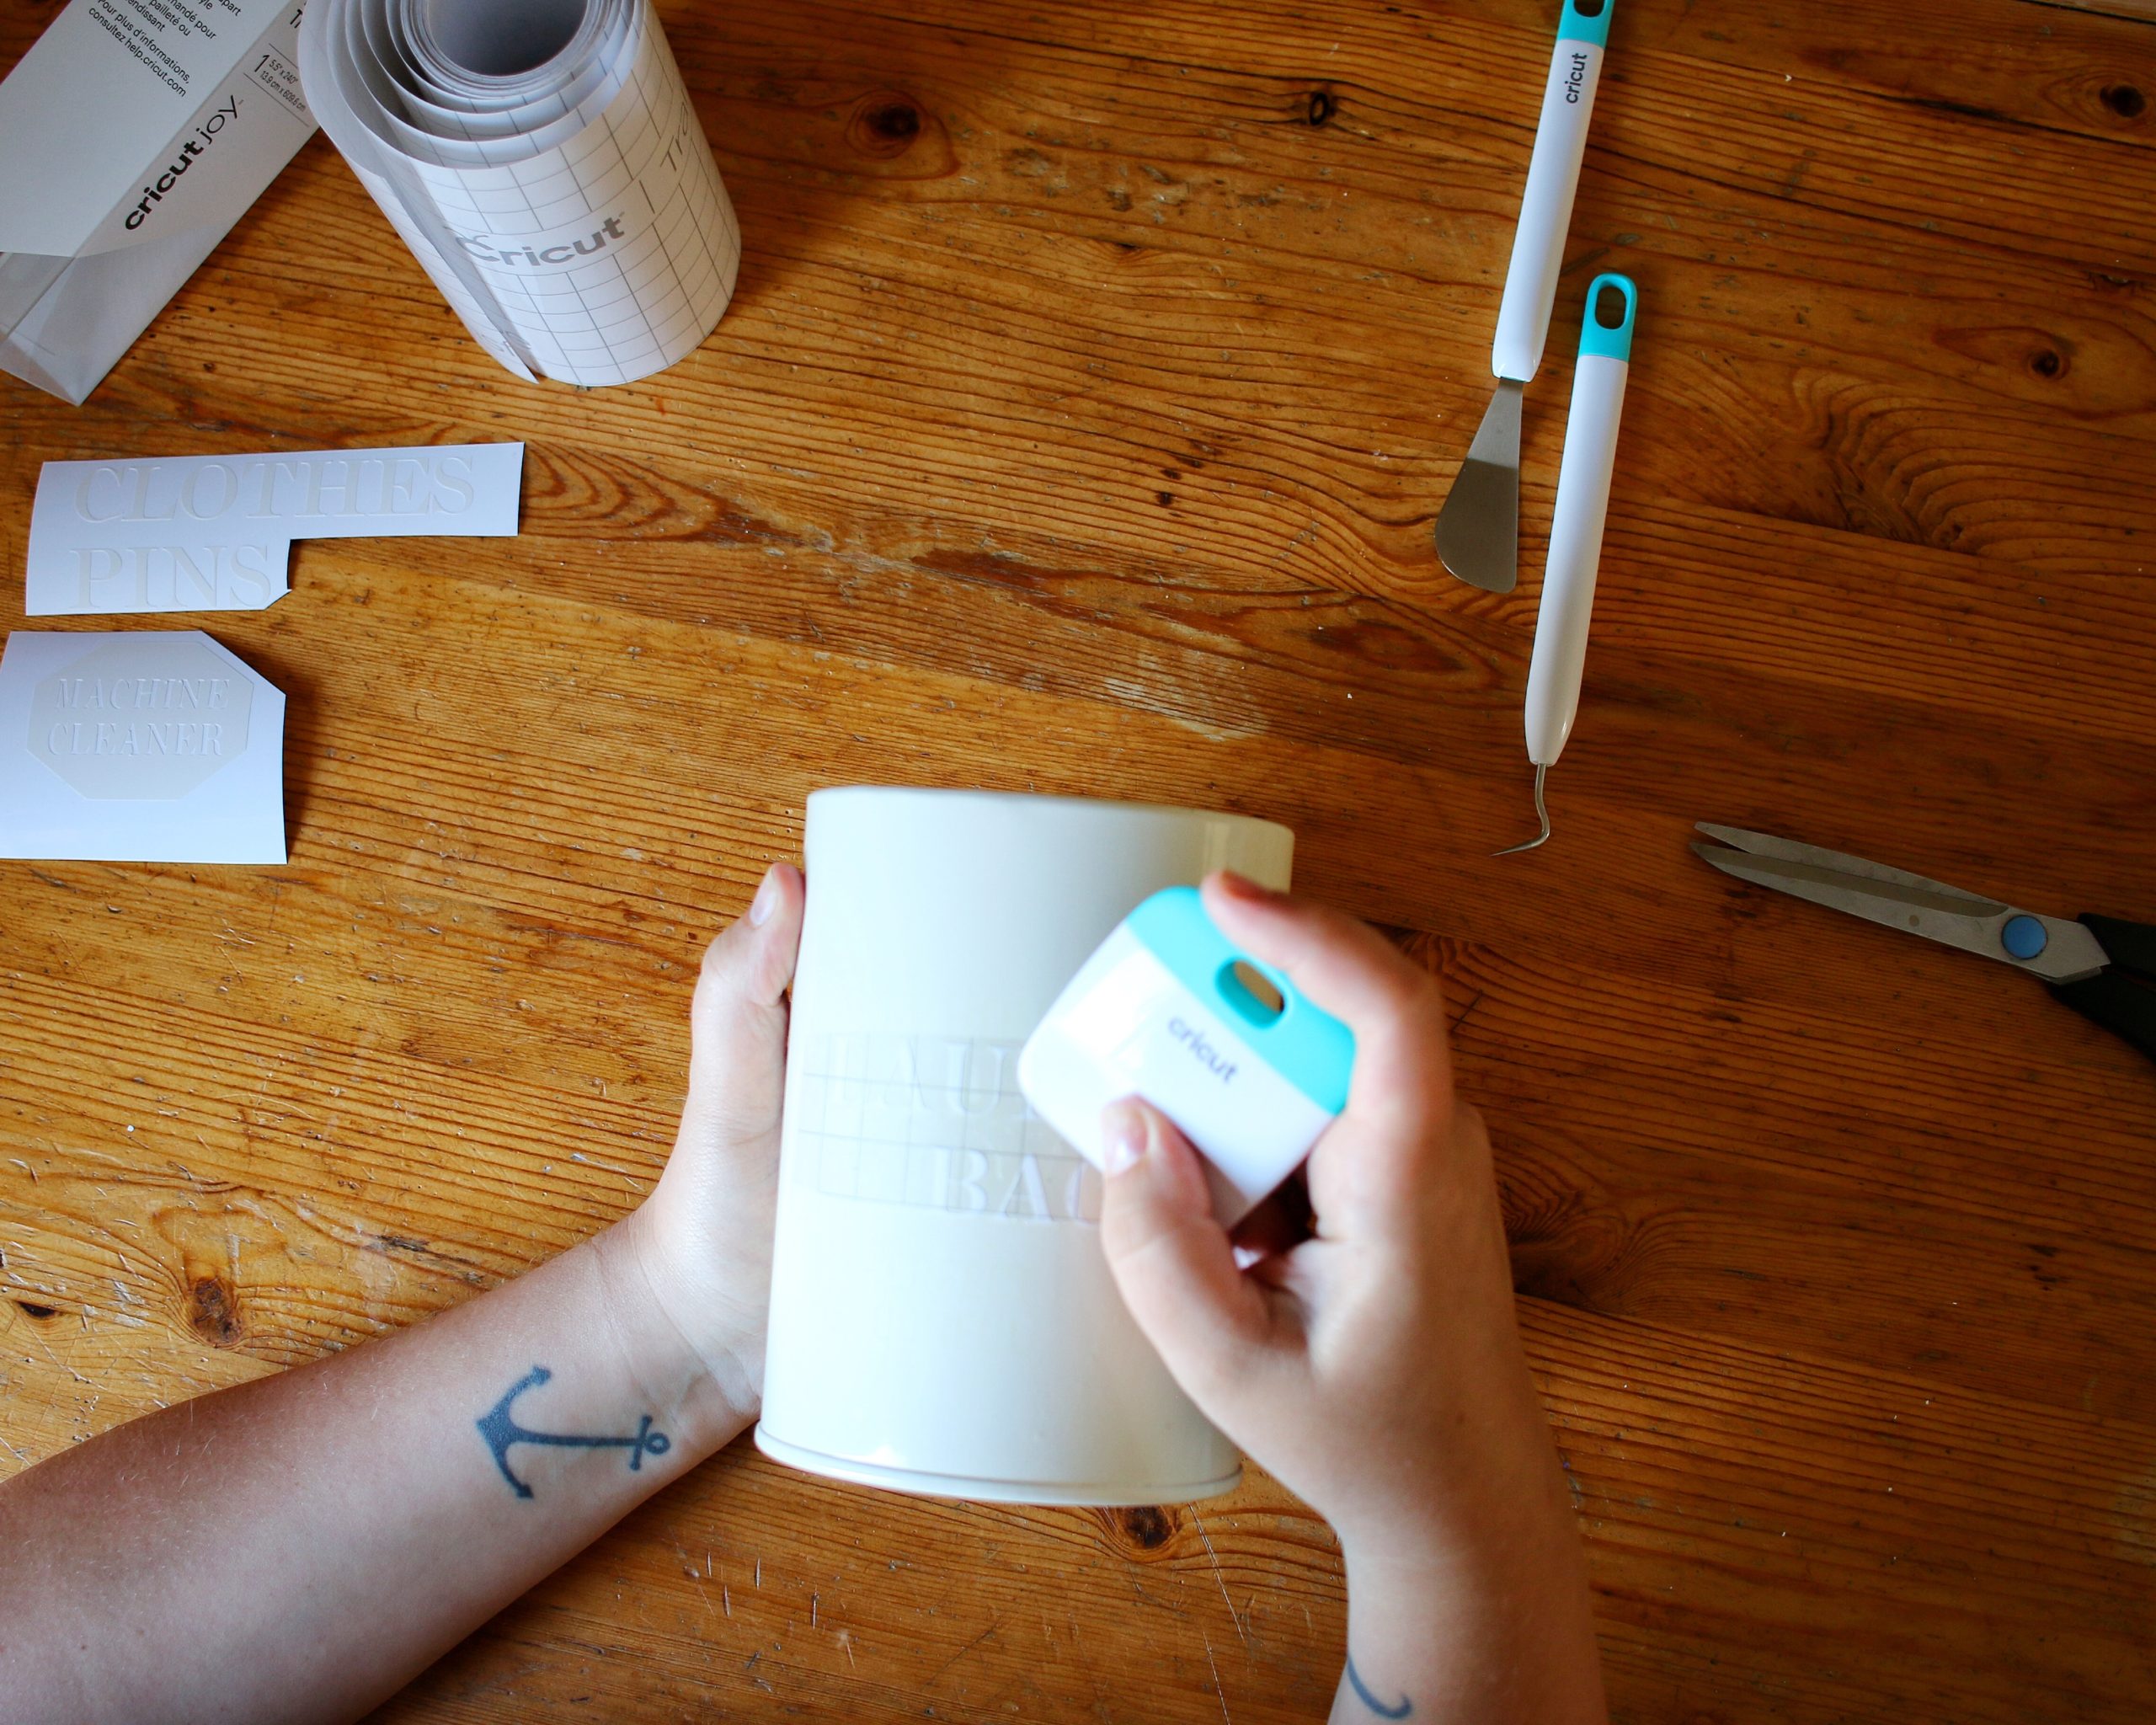
You’re almost finished this laundry room tins DIY! Next step is to take the Cricut Scraper and rub all over.
Take the time to check for air bubbles that you need to push out, and check that all your edges have been done.
Once you’ve given your vinyl a good rub over, gently peel back your transfer tape!
AND THERE YOU GO!
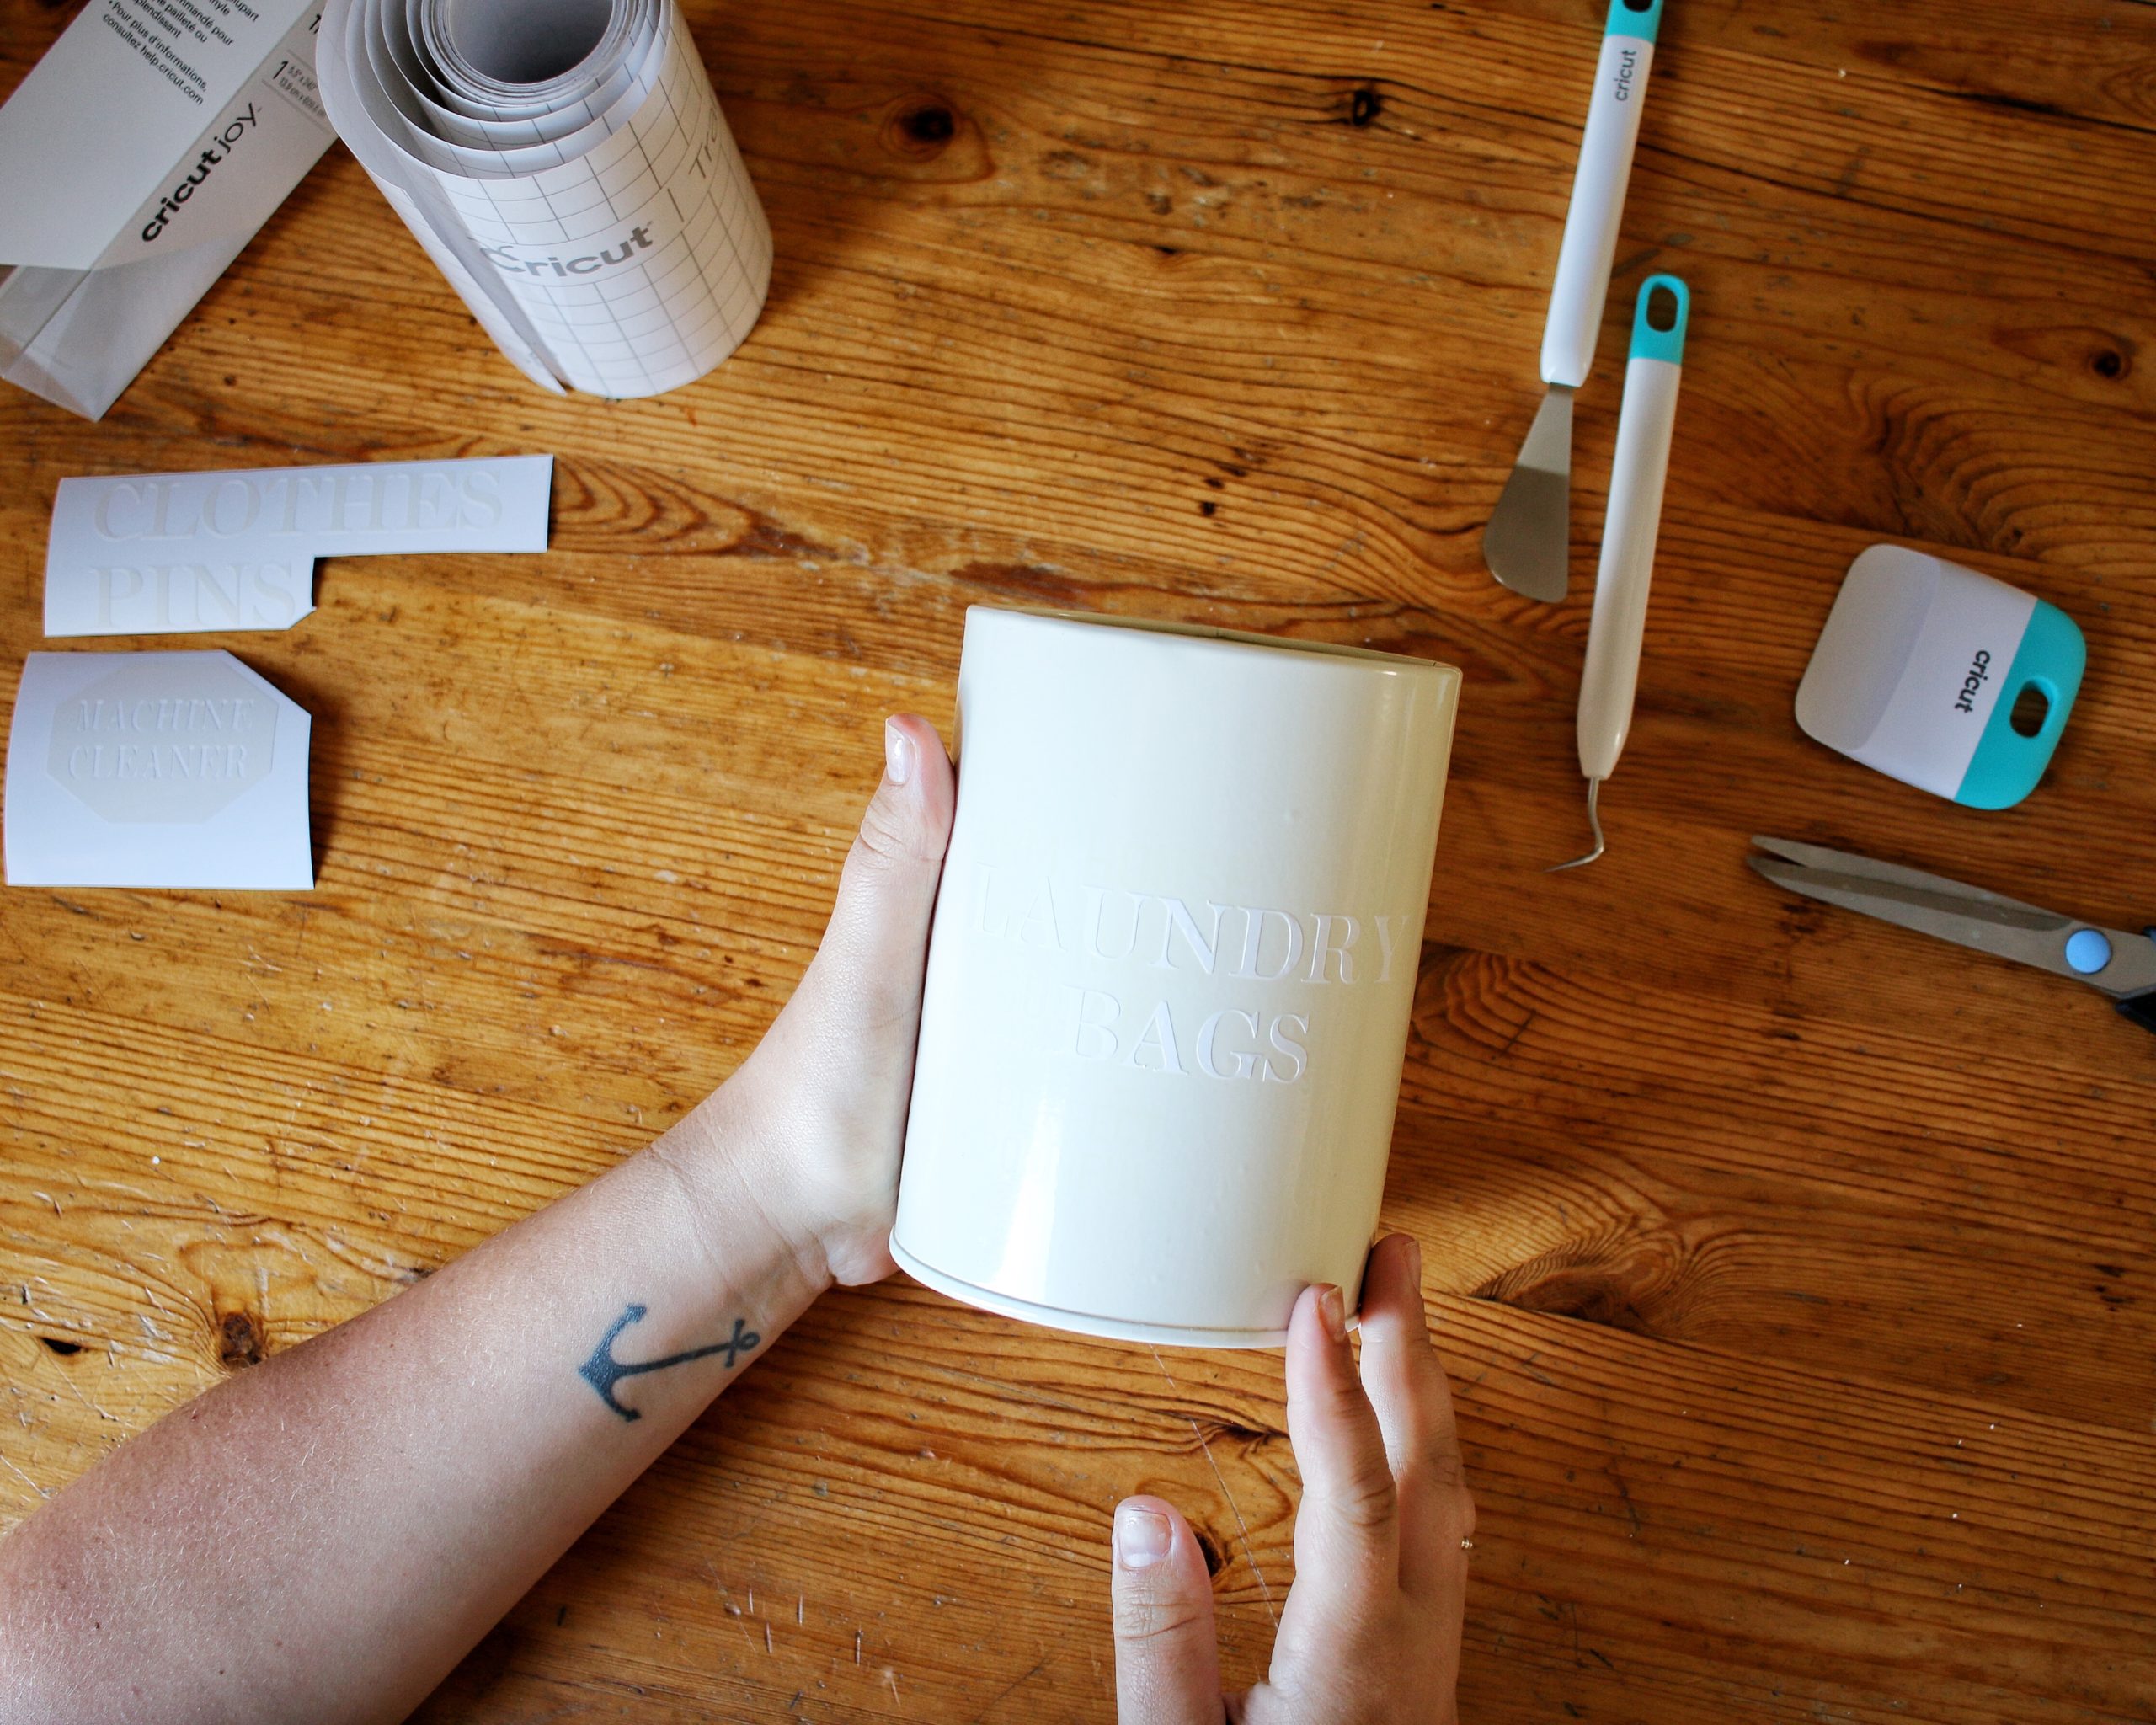
Your laundry room tins DIY is complete. Yup, it’s that easy!
It’s a simple project but I think it completely changed the original product. Cleaner look, simpler look – all around nice. I would maybe have done the lettering in a grey or black, but white is all I had on hand right now!
BEFORE
AFTER
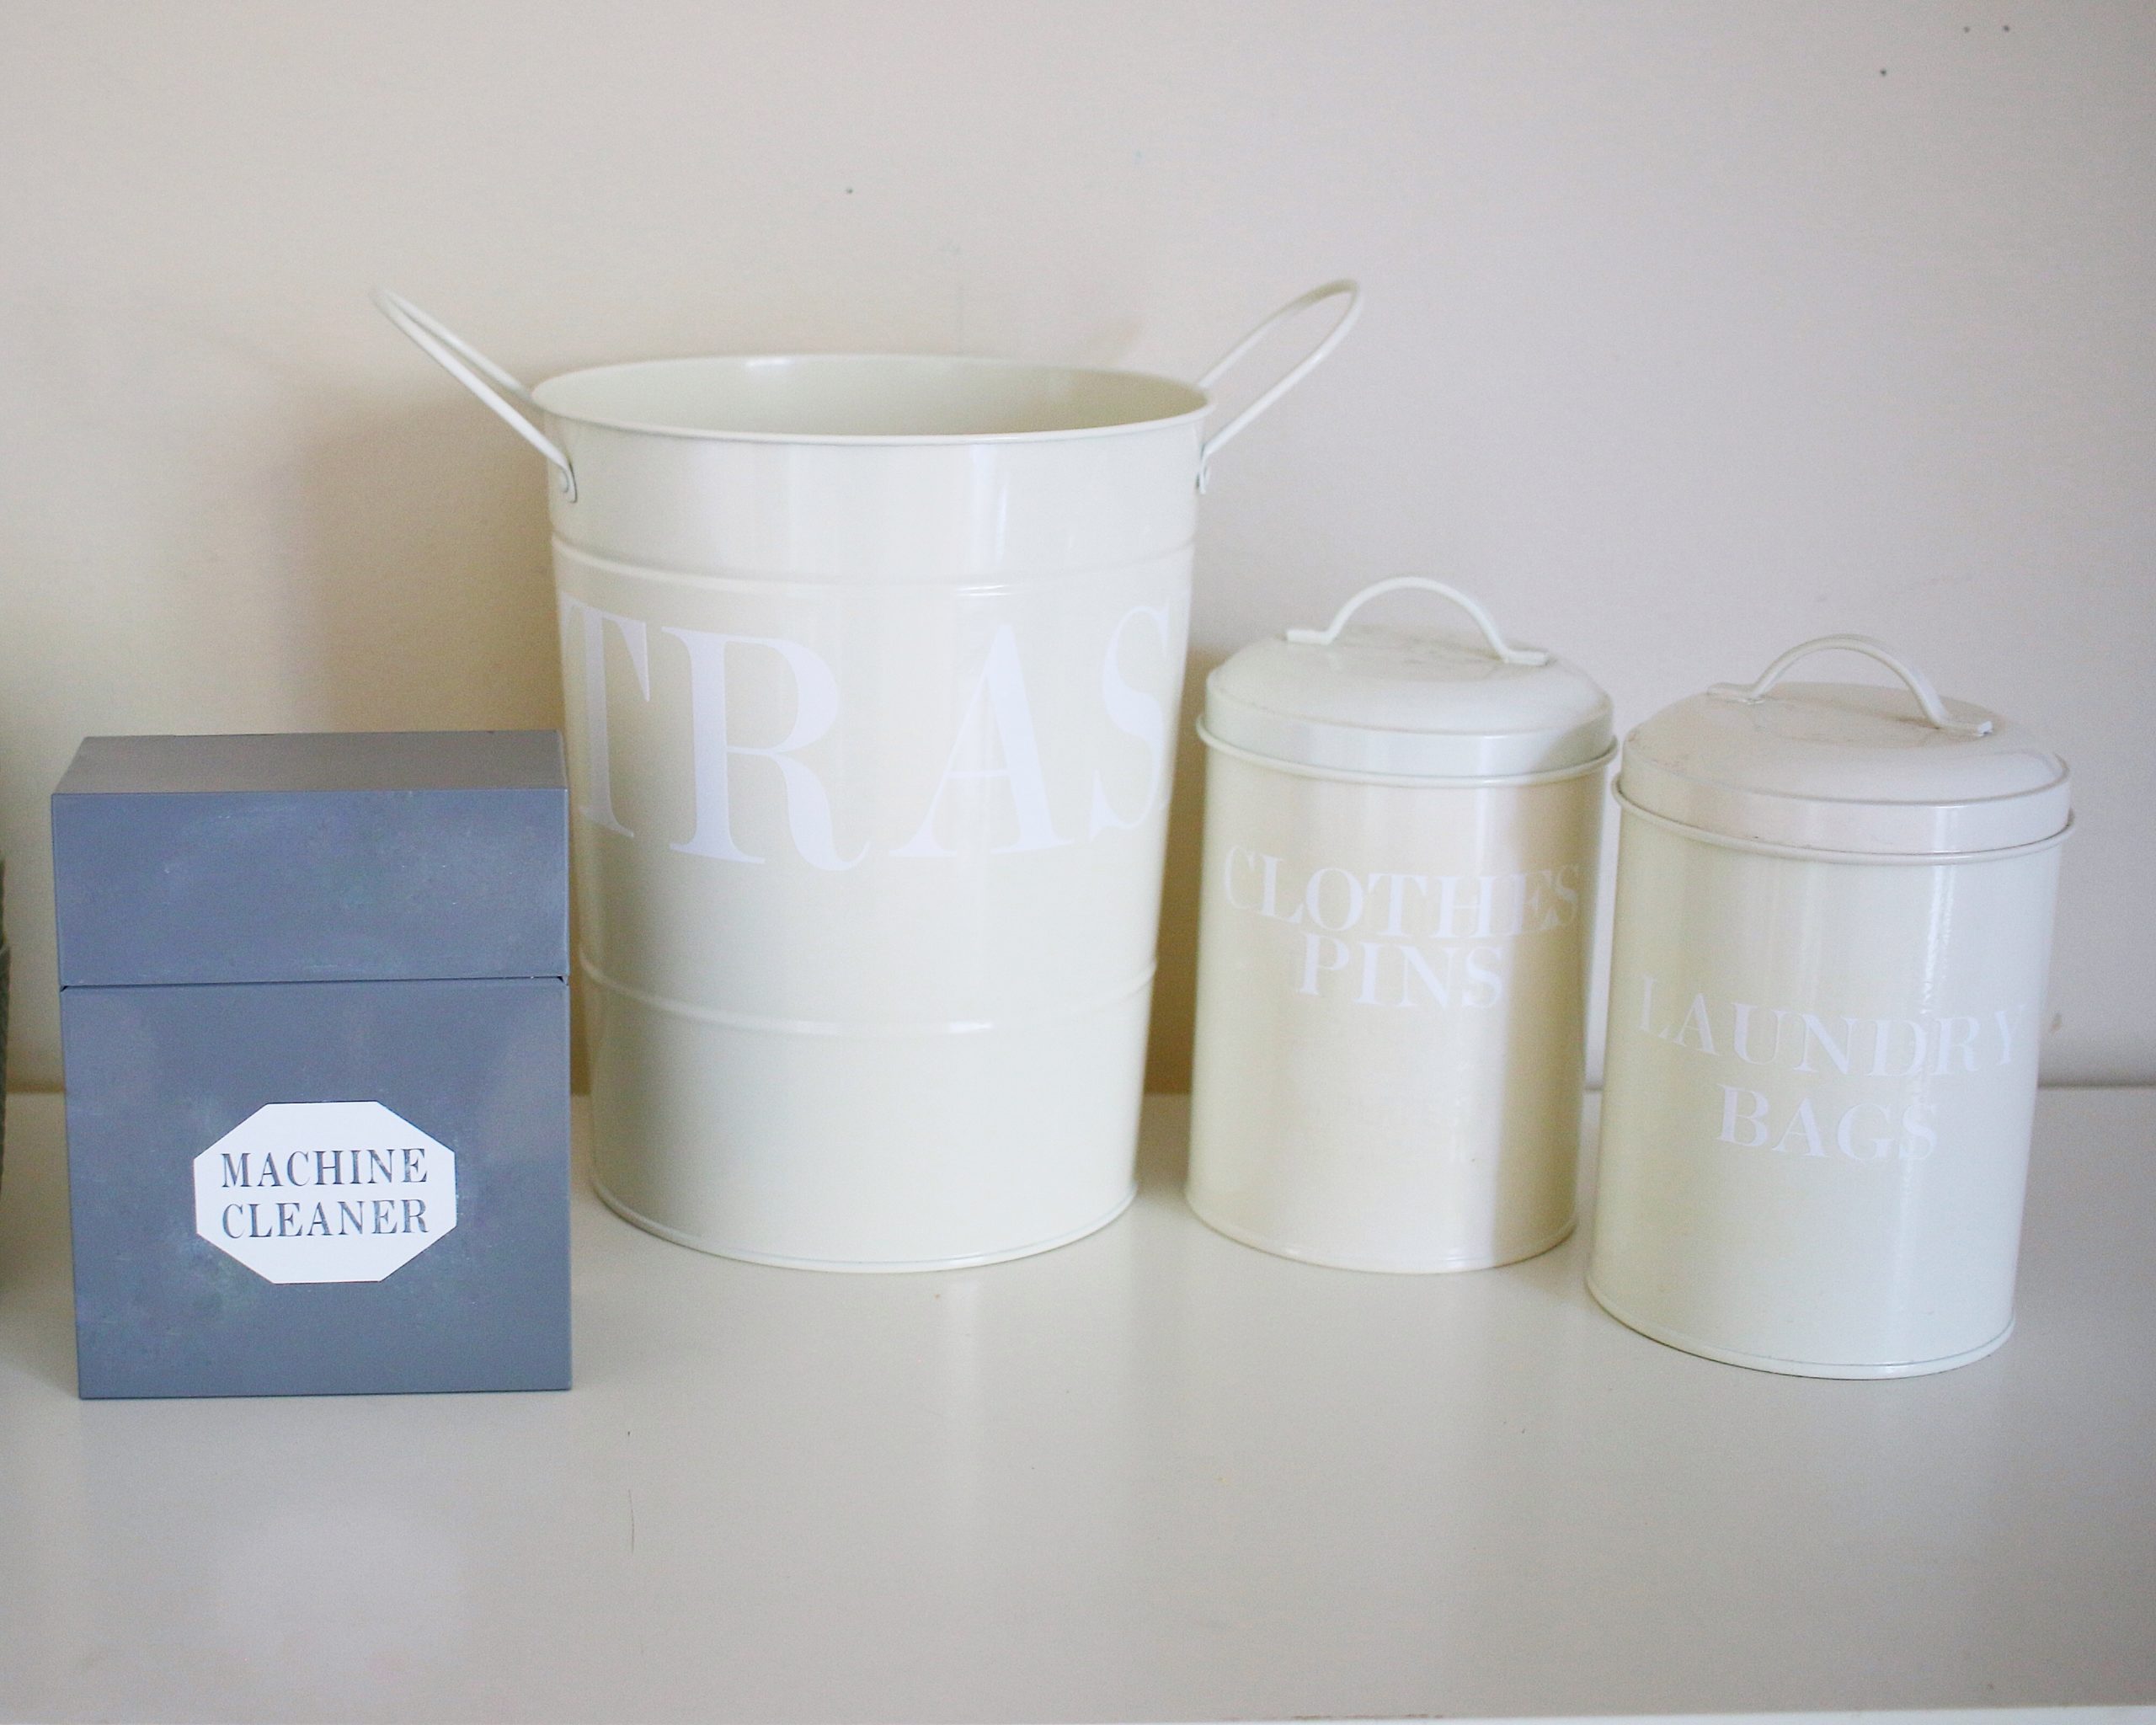
I used tins but you could do this exactly the same with glass containers. If you wanted to stick to recycling or reducing your waste, this would be a great project to do with coffee tins or other large storage containers hanging out in your pantry!
Enjoy this laundry room tins DIY project? Make sure to check out some of my other DIY projects below and sign up for my newsletter to hear about those to come!
The form you have selected does not exist.
Disney Castle Wall Decor Using the Cricut Joy
August 28, 2020 at 2:03 am[…] LAUNDRY TIN DIY USING THE CRICUT JOY […]
DIY Mickey Mouse Pillow using the Cricut Joy
August 30, 2020 at 1:30 pm[…] PERSONALIZED LAUNDRY ROOM TINS USING THE CRICUT JOY […]
Five Reasons I love My Cricut Joy - Being This Mama
June 24, 2021 at 8:47 pm[…] LAUNDRY ROOM LABELS USING THE CRICUT JOY […]