OUR DIY KITCHEN MAKEOVER
I’ve always dreamed of what my ideal kitchen would look like. Bright and airy thanks to white cabinets and big windows. A double sink, wooden countertops. A vintage breadbox that I found at a thrift store sitting beside my coffee maker. Counter space wrapping all the way around for all the kids to be able to bake and cook beside me, or one day work on their homework while I made dinner.
Our reality instead is a small house we rent that has a kitchen with one small window, limited ugly counter space, and super old cabinets. When we moved in the walls were a yellowish, off-white cream type colour and the cabinets were a dark, chipping brown with a dirty, yellowing white interior.
Over time I turned it into a kitchen that was functional. We made a trip to Ikea and got some proper recycling bins, a nice garbage can and some of the ALGOT shelving system to add storage. I found ways to store our kitchenware in the awkward sized cupboards and drawers. But I still woke up every day and walked into the kitchen not really loving it.
So that is why I finally took the plunge and did this DIY kitchen makeover!
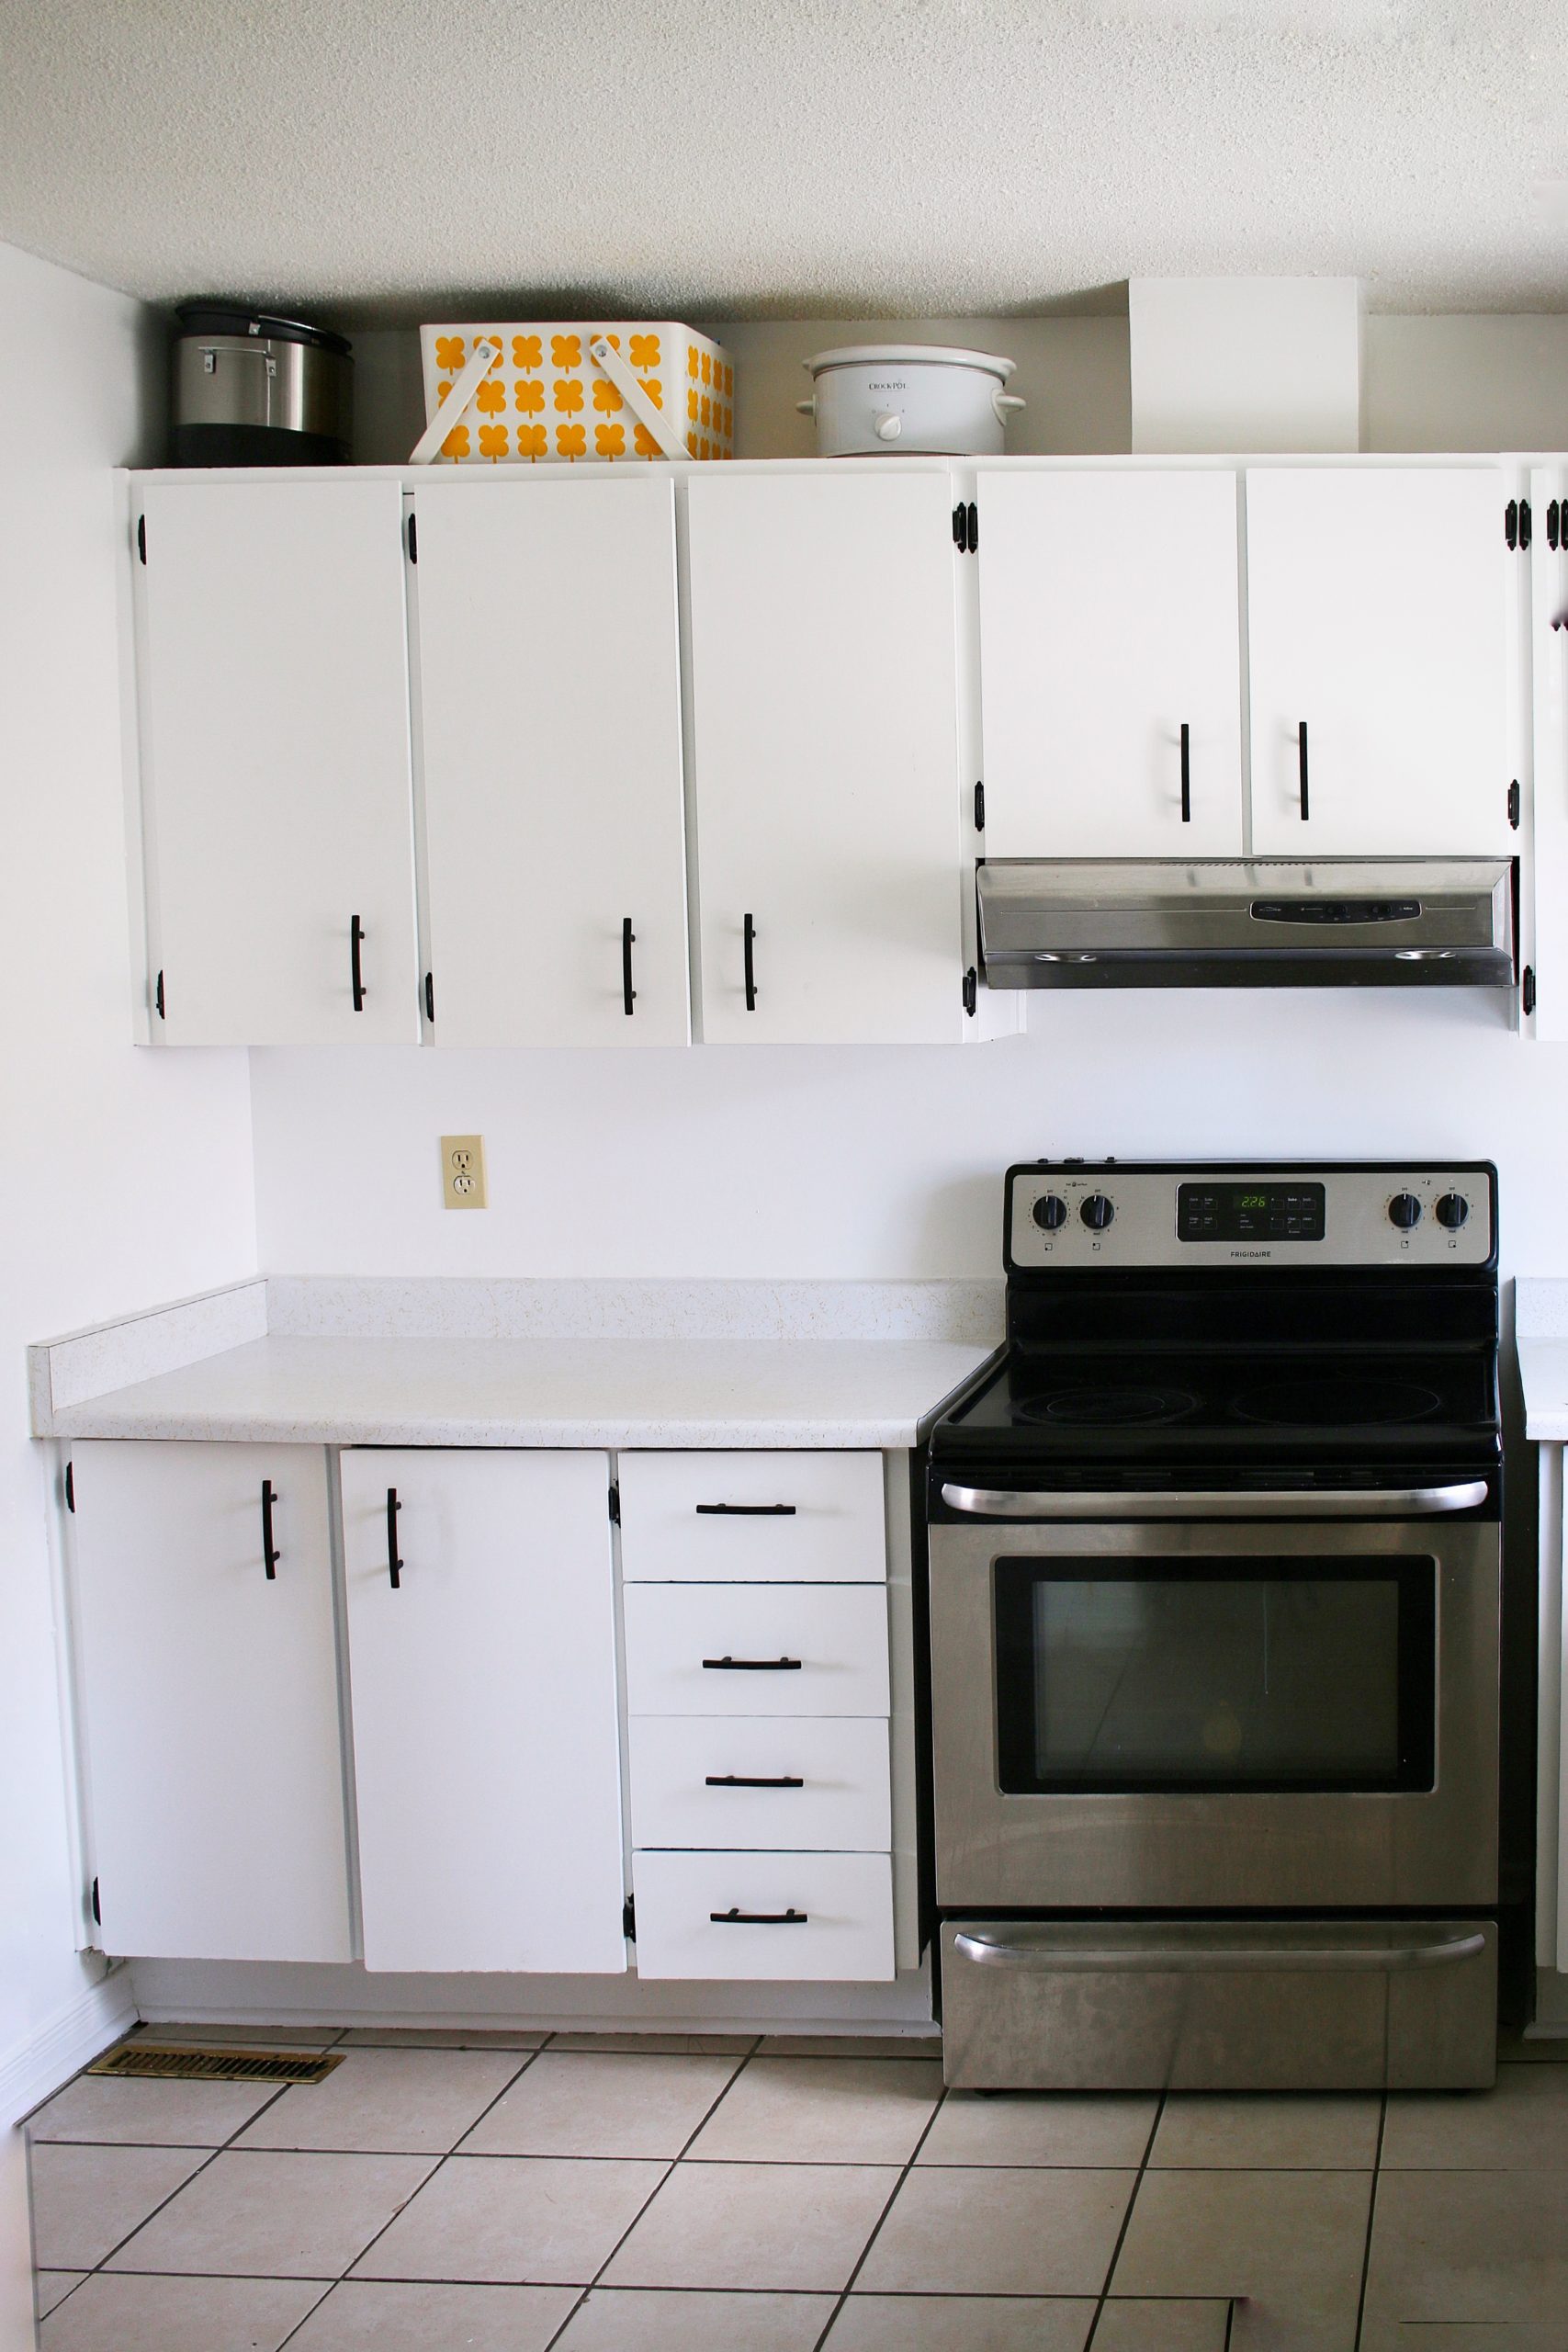
BEFORE
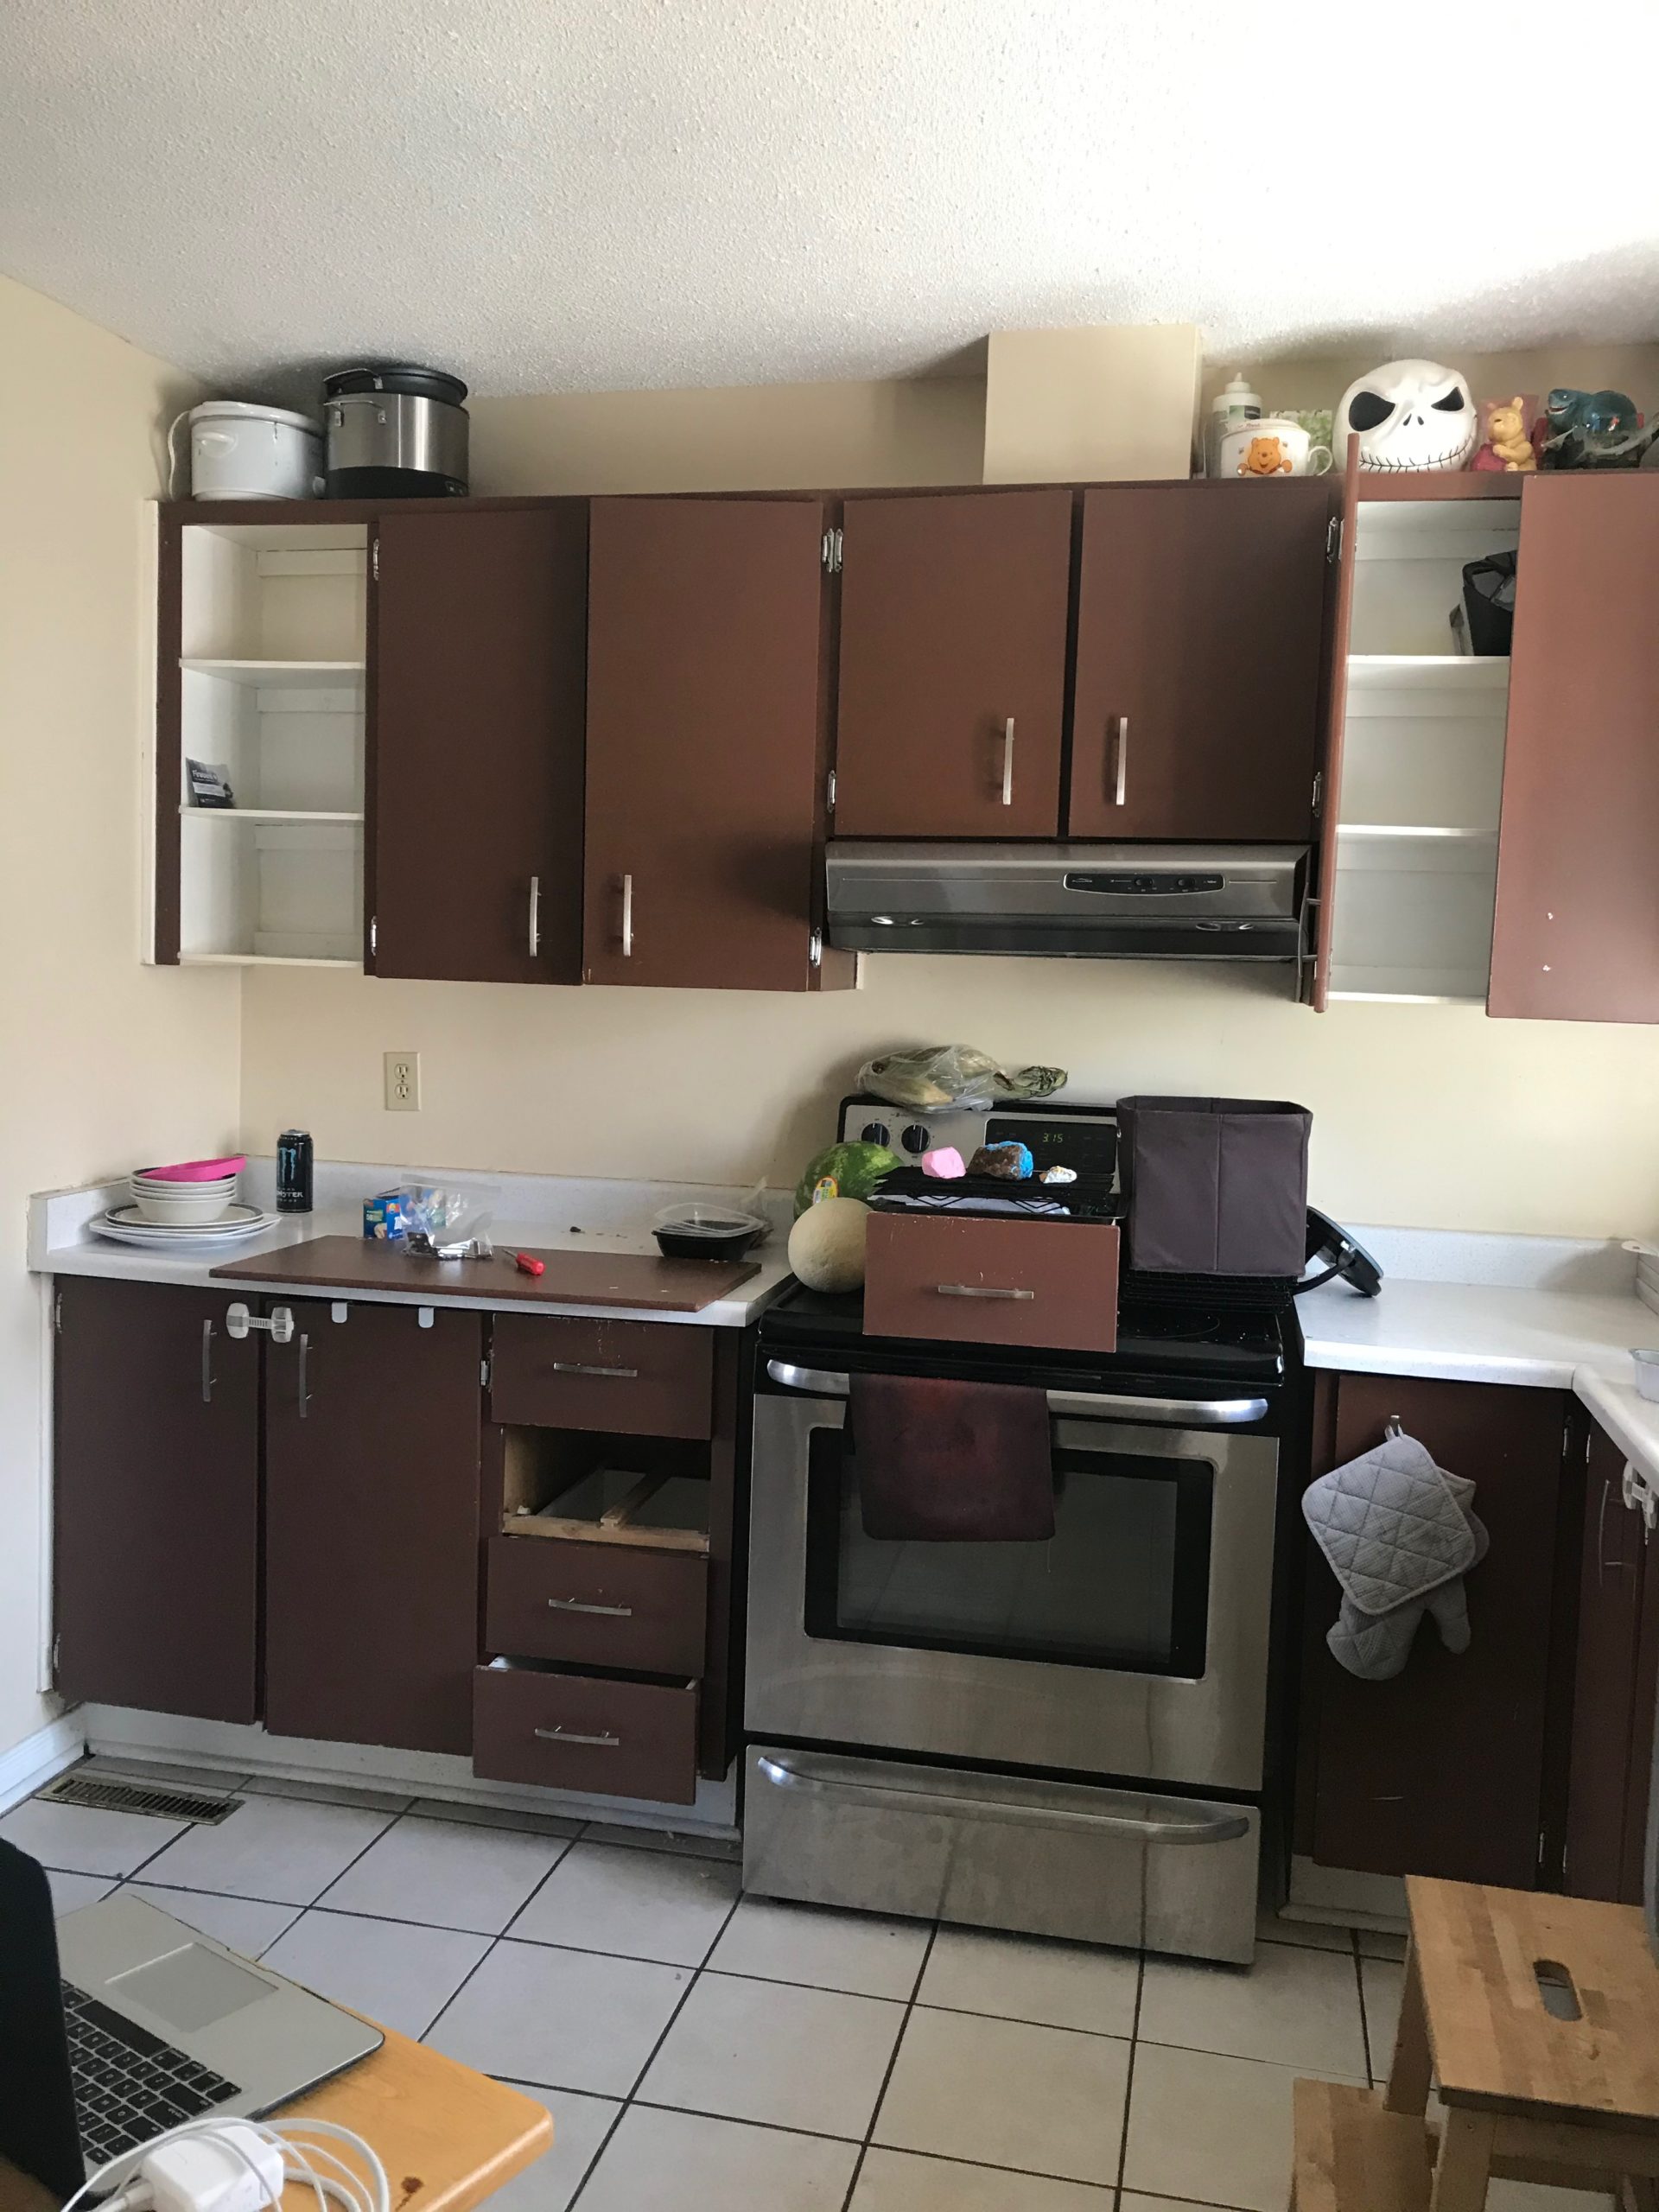
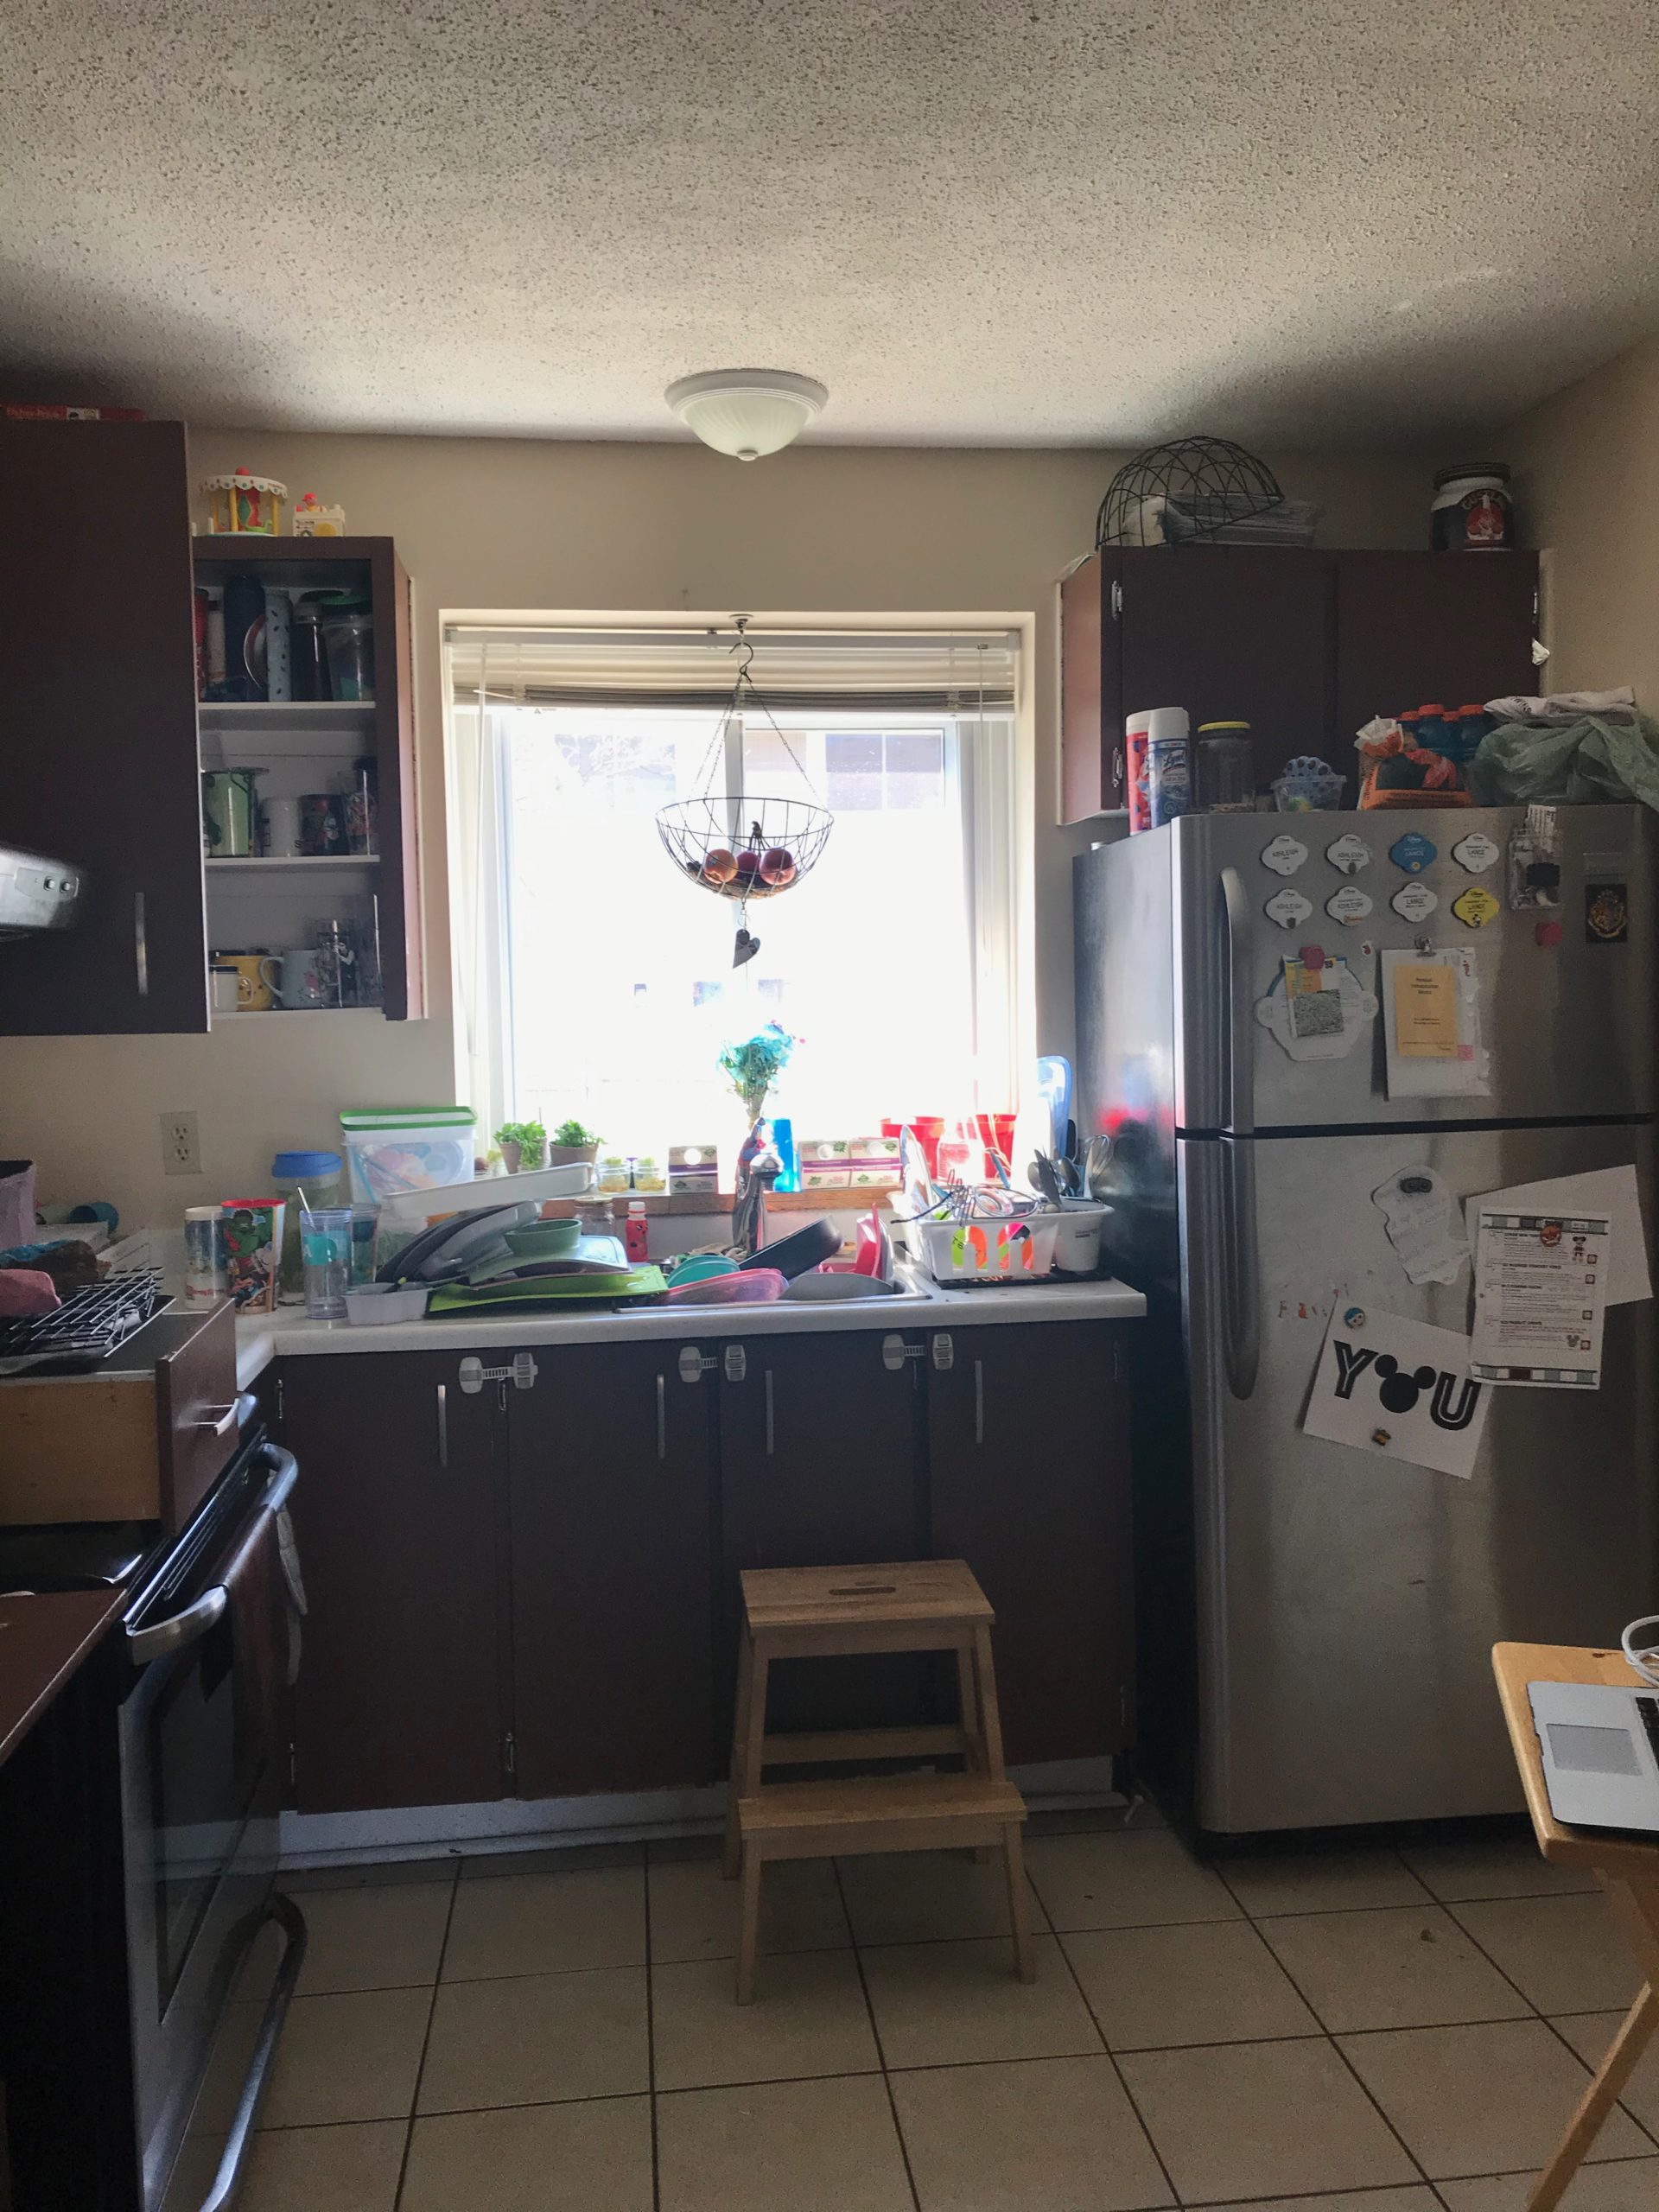
So, I forgot to take some good before photos if I’m being honest. We got a little excited about starting one day and dove right in. But here it is in all it’s before photo glory: dark brown cabinets, broken blinds and clutter.
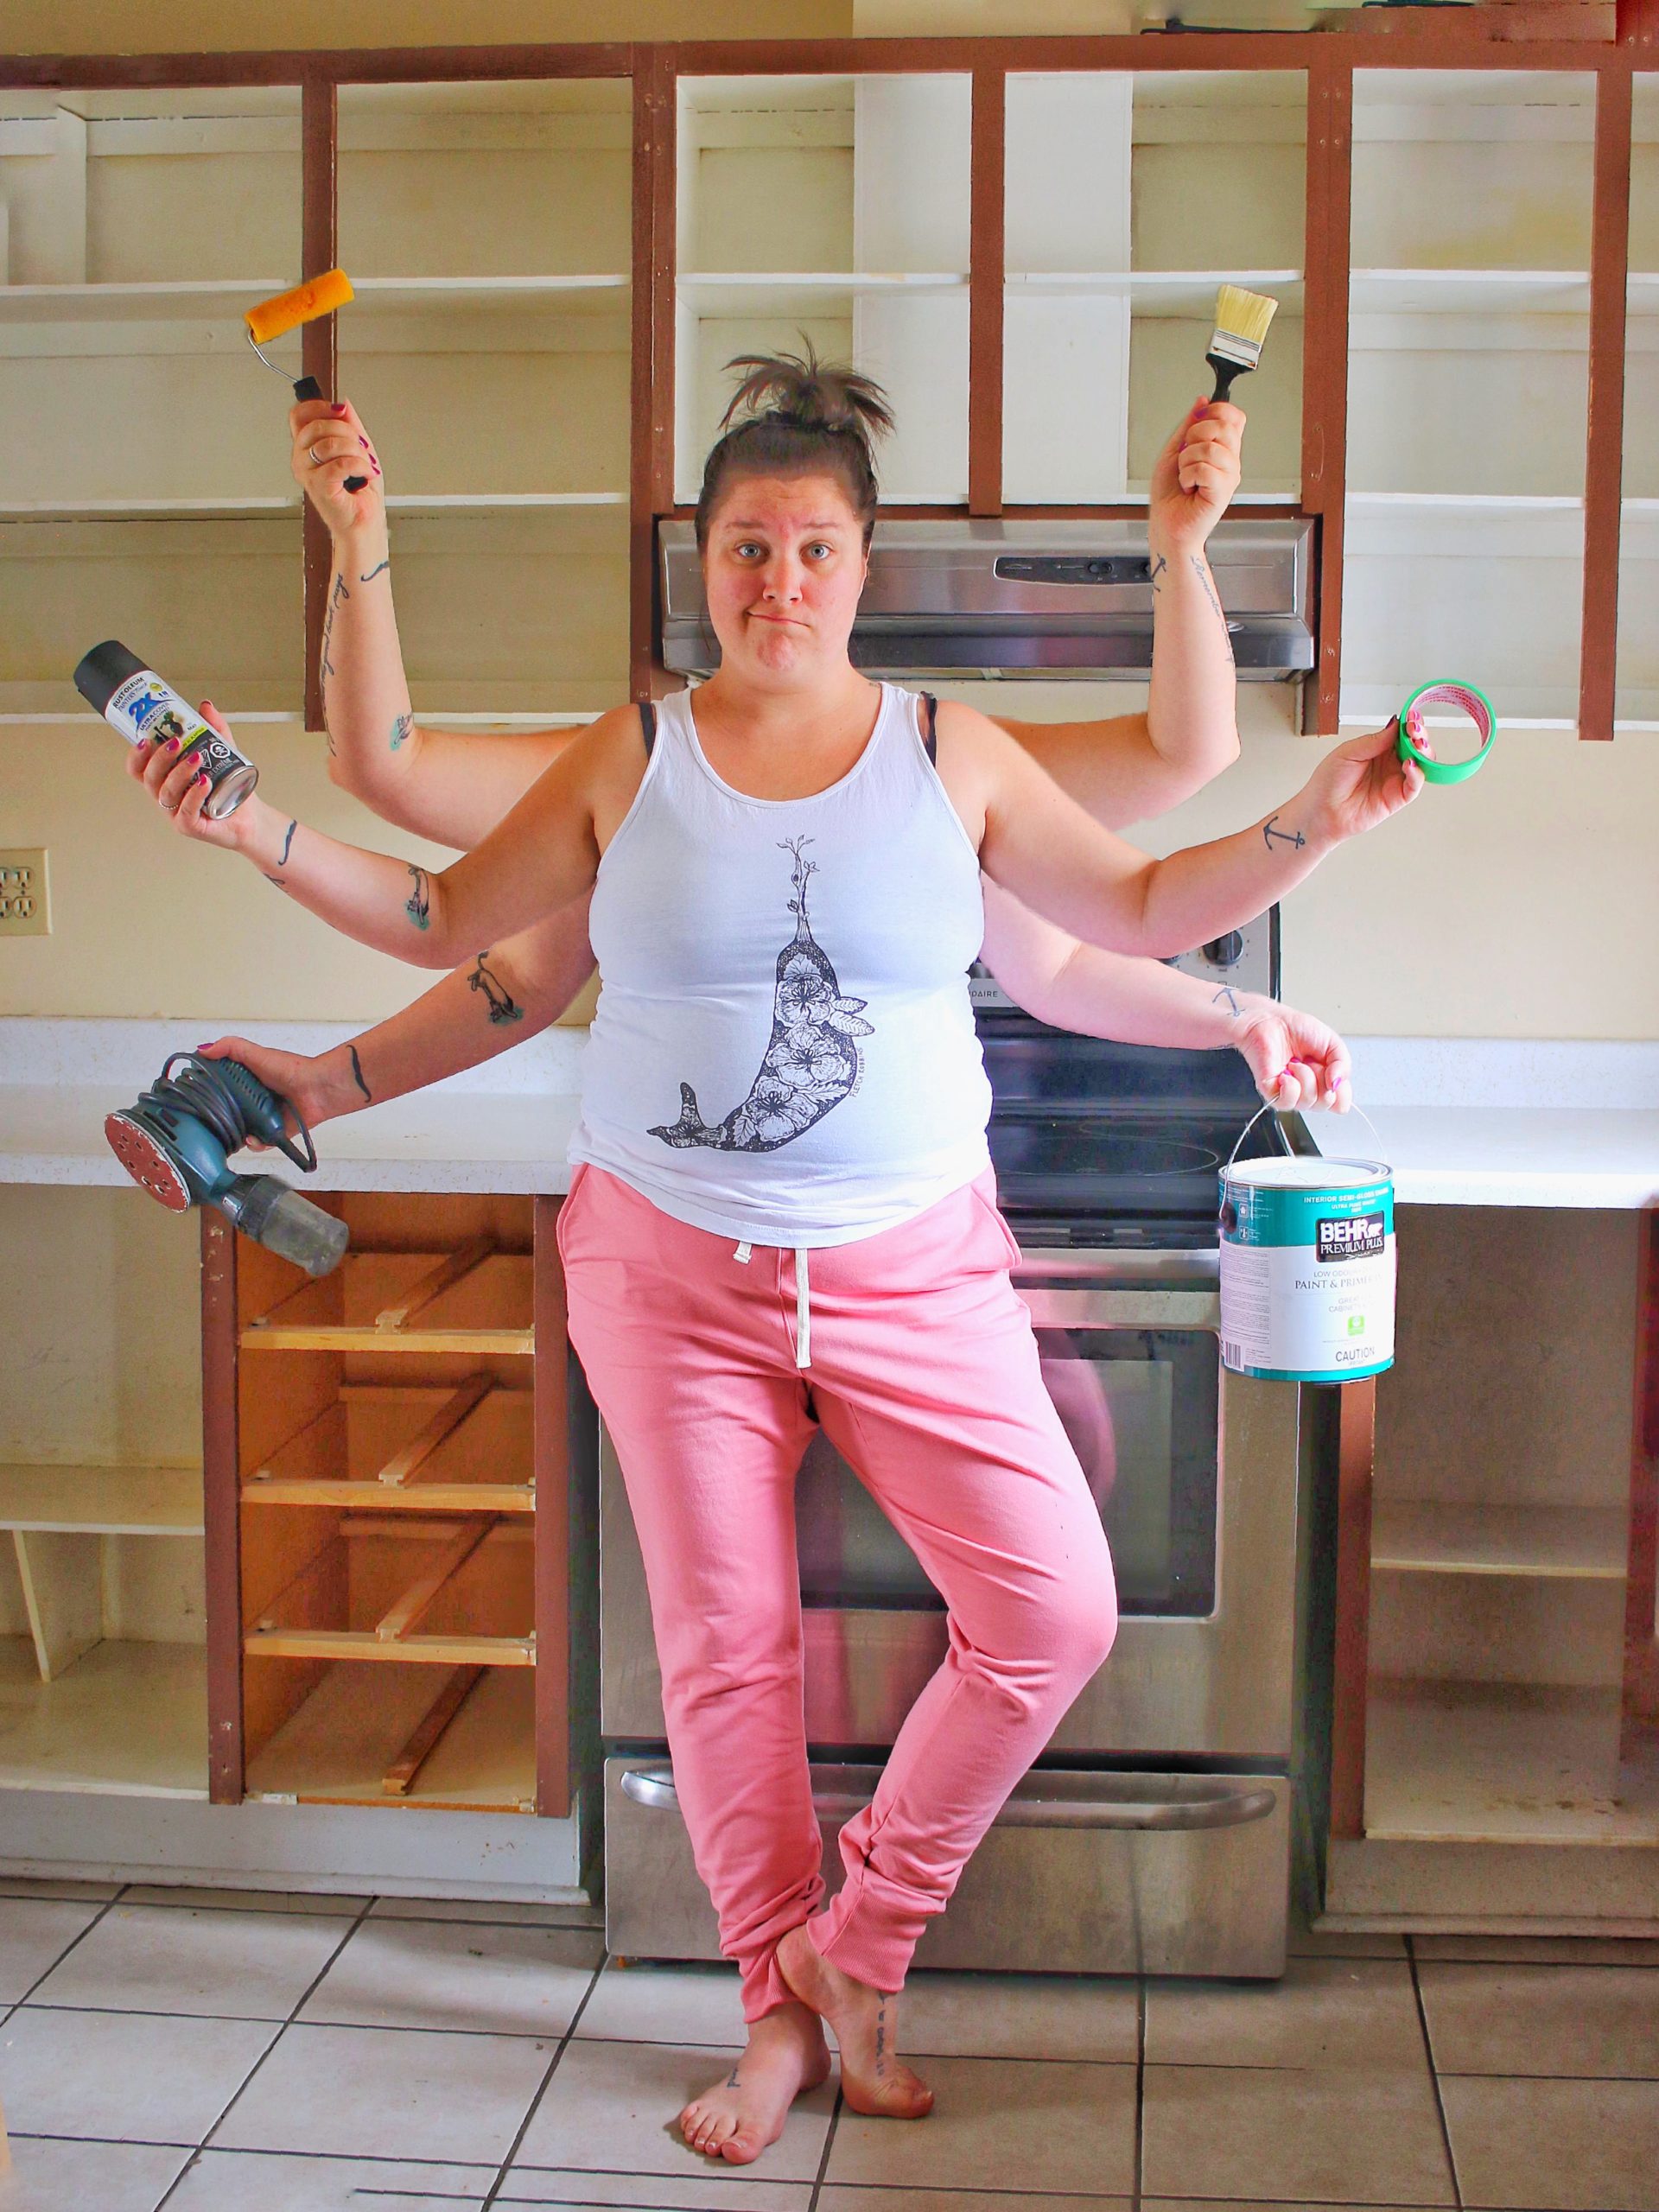
MATERIALS USED
For the cabinets:
- Behr Kitchen, Bath & Trim Interior Stain-blocking Primer & Sealer
- Behr Premium Interior Semi-Gloss Enamel Paint
For the hardware:
For the walls:
General:
- TSP cleaner
- Small foam paint roller
- Small paintbrush
- Regular paint roller
- Paint trays
- Steel wool
- Sand paper + sander
- Painters tape
- Wall repair kit
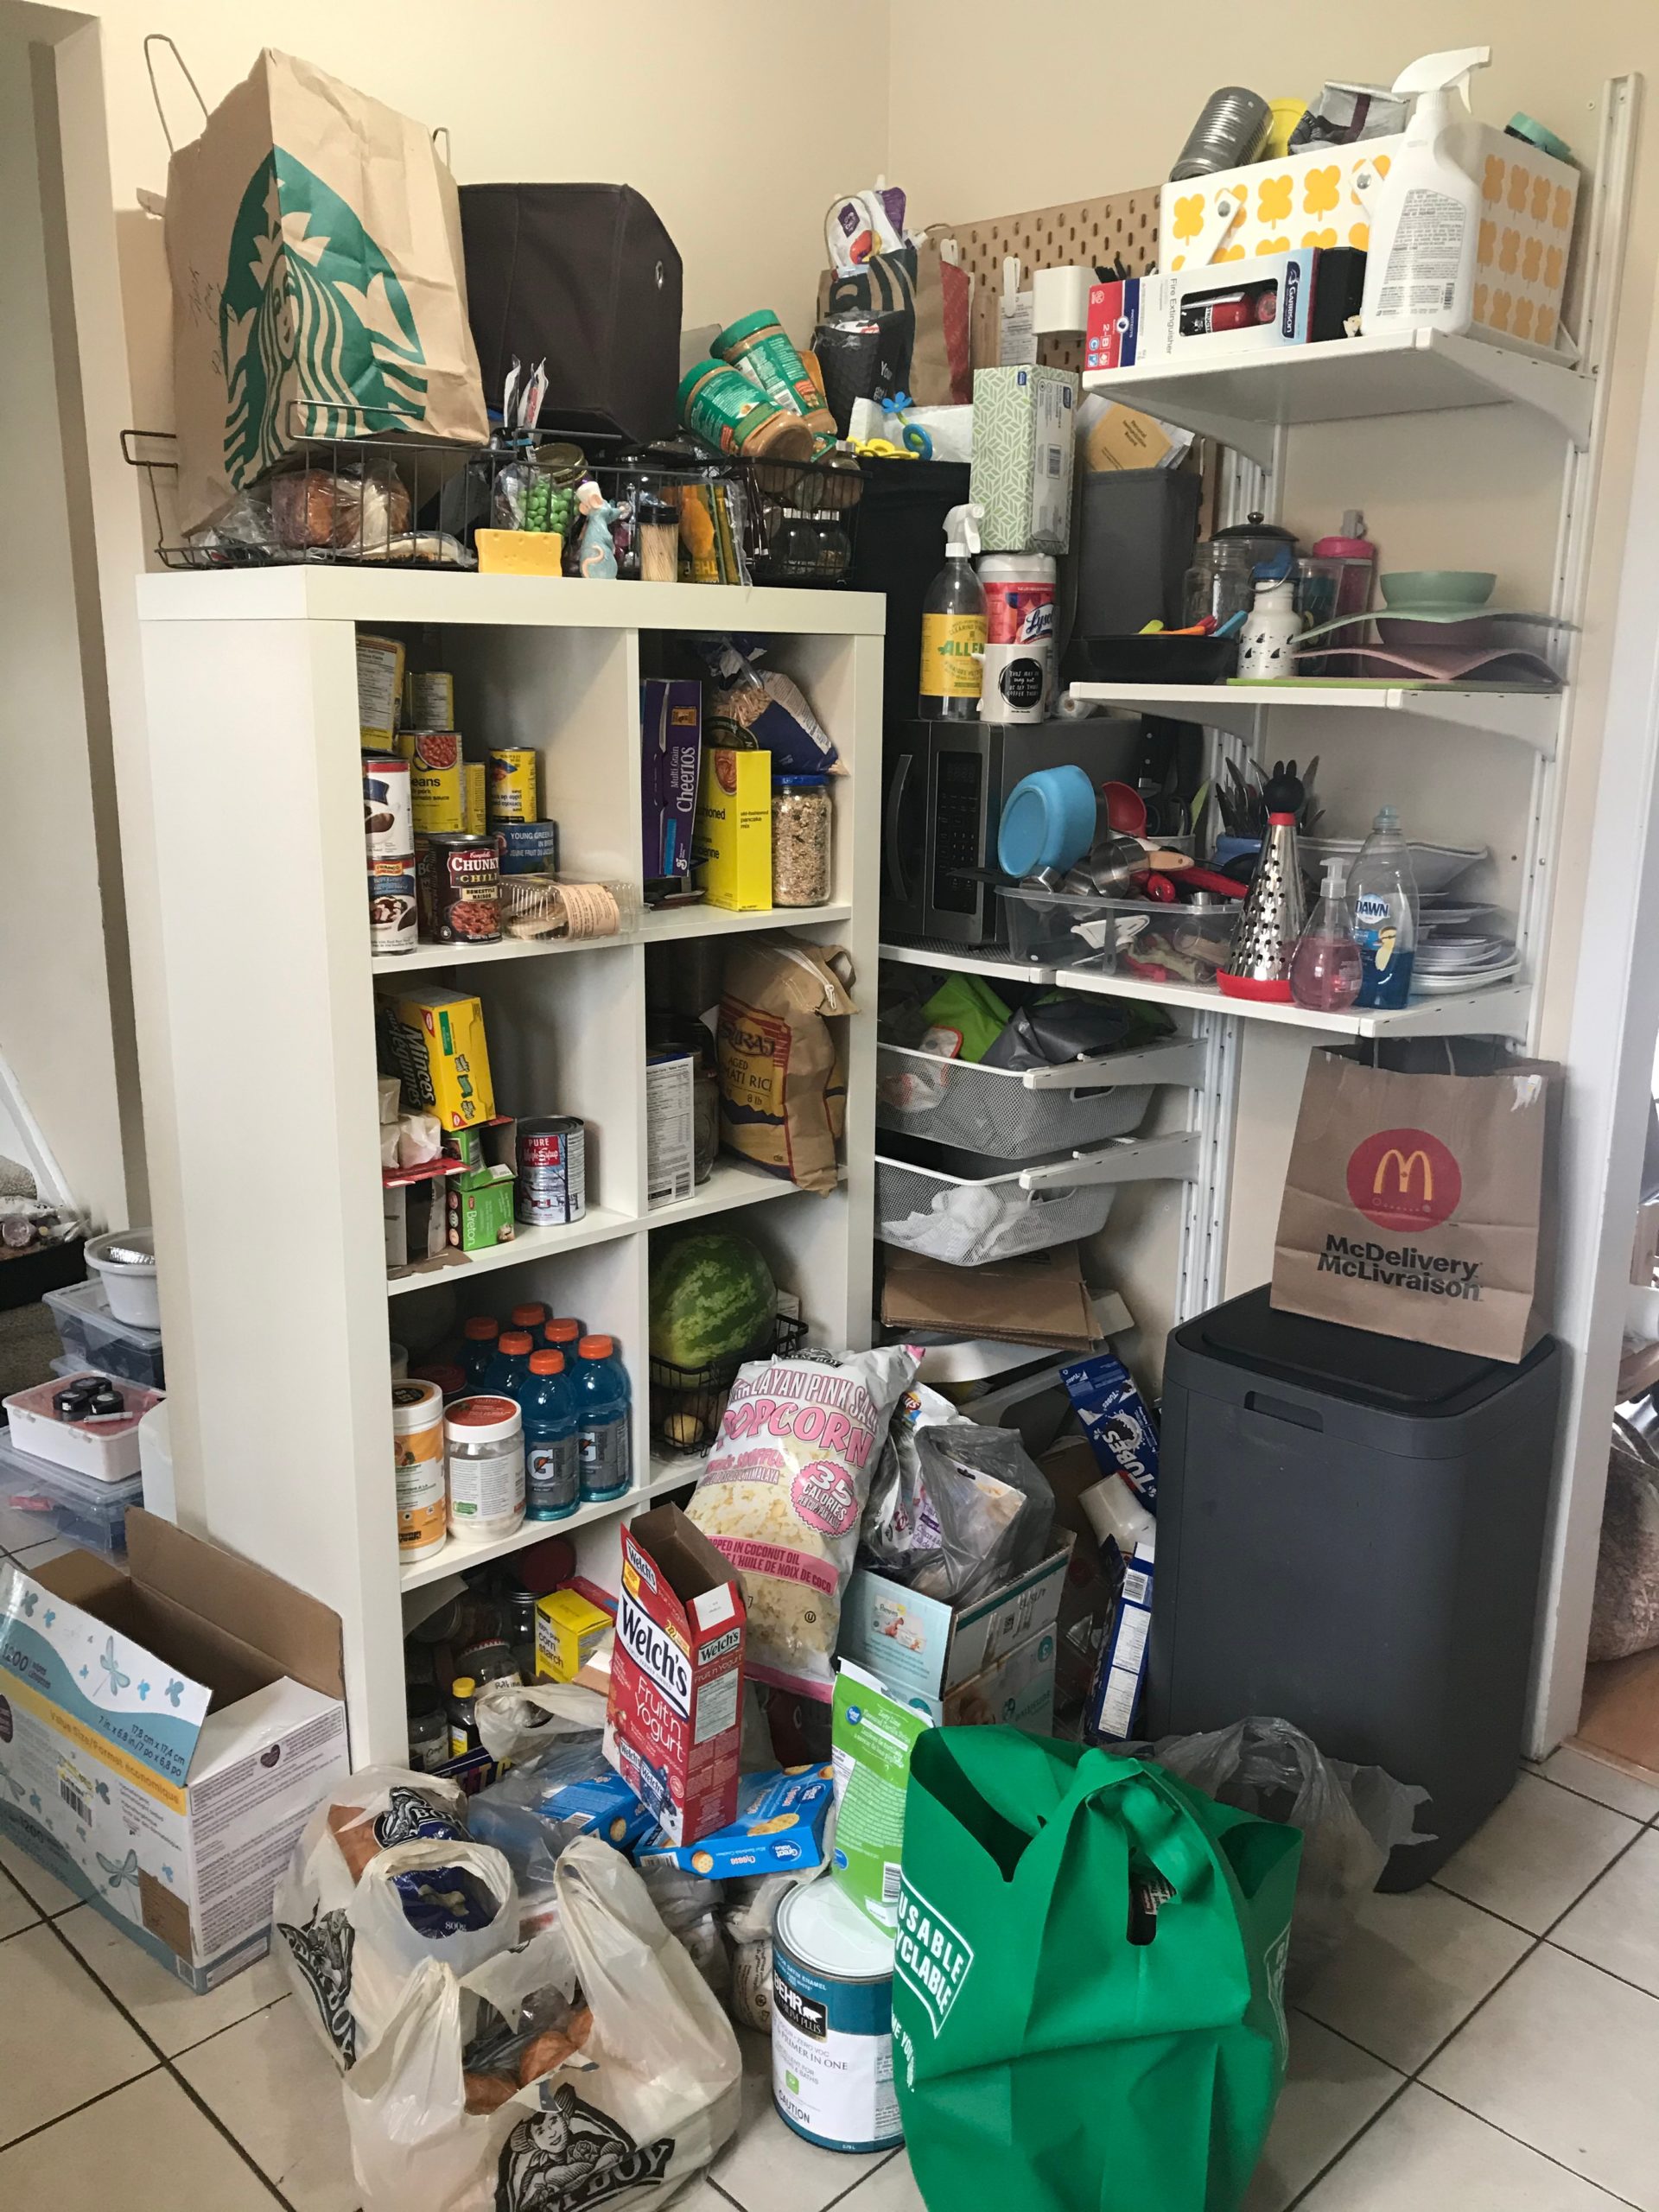
First things first, we cleared out the kitchen cabinets.
When we started this project I only had plans to paint the cabinets. So we pulled an Ikea Kallax shelf that had been used in the playroom into the kitchen and unloaded the pantry food into it. Next, I cleared shelves on the ALGOT system so we had somewhere to keep a necessary selection of plates, bowls, cups and cutlery. Then we boxed up anything we wouldn’t be in dire need of and filled our hallway, piling the pots and pans on top.
It was A MESS!
Yes, we hated it.
Yes, we were constantly tripping over stuff.
Yes, it was absolutely worth it.
On the up side it did force us to go through what we had and purge the items we no longer needed, like the sippy cups the kids no longer use.
I had also made the huge mistake of doing a large grocery order the day before we started this project. Very much don’t recommend doing so – we ordered takeout the nights we were painting the cabinets anyways!
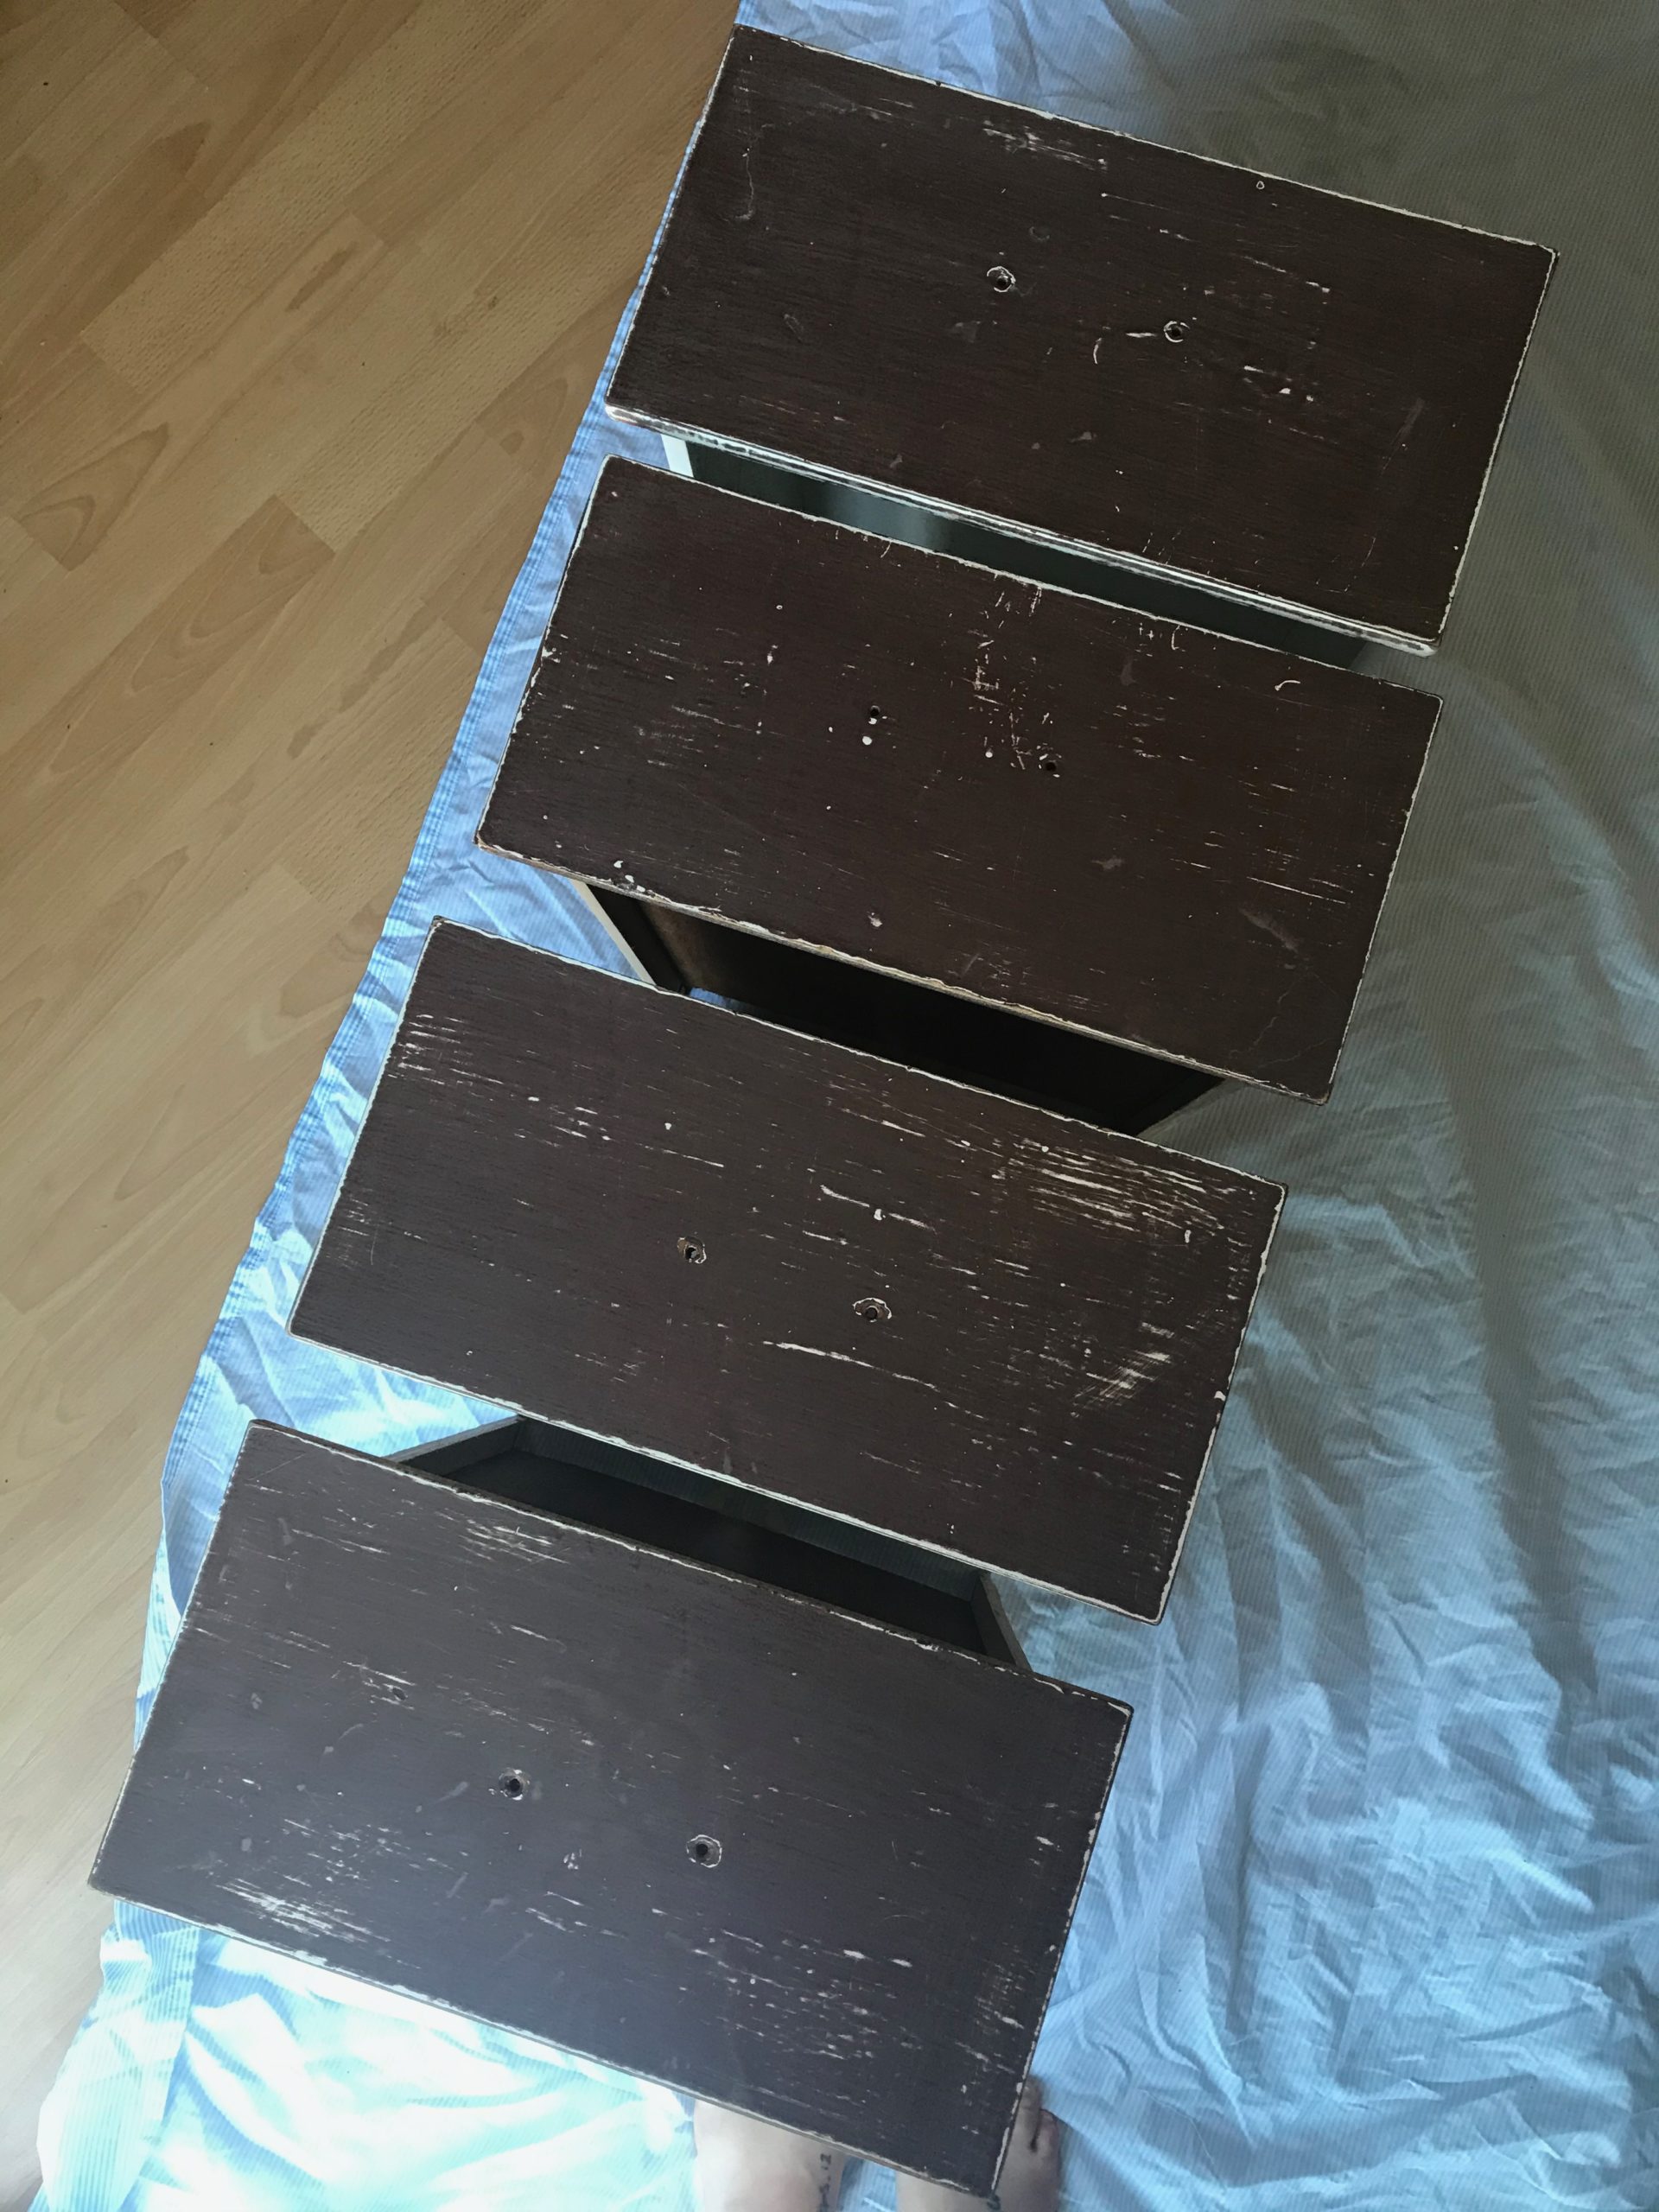
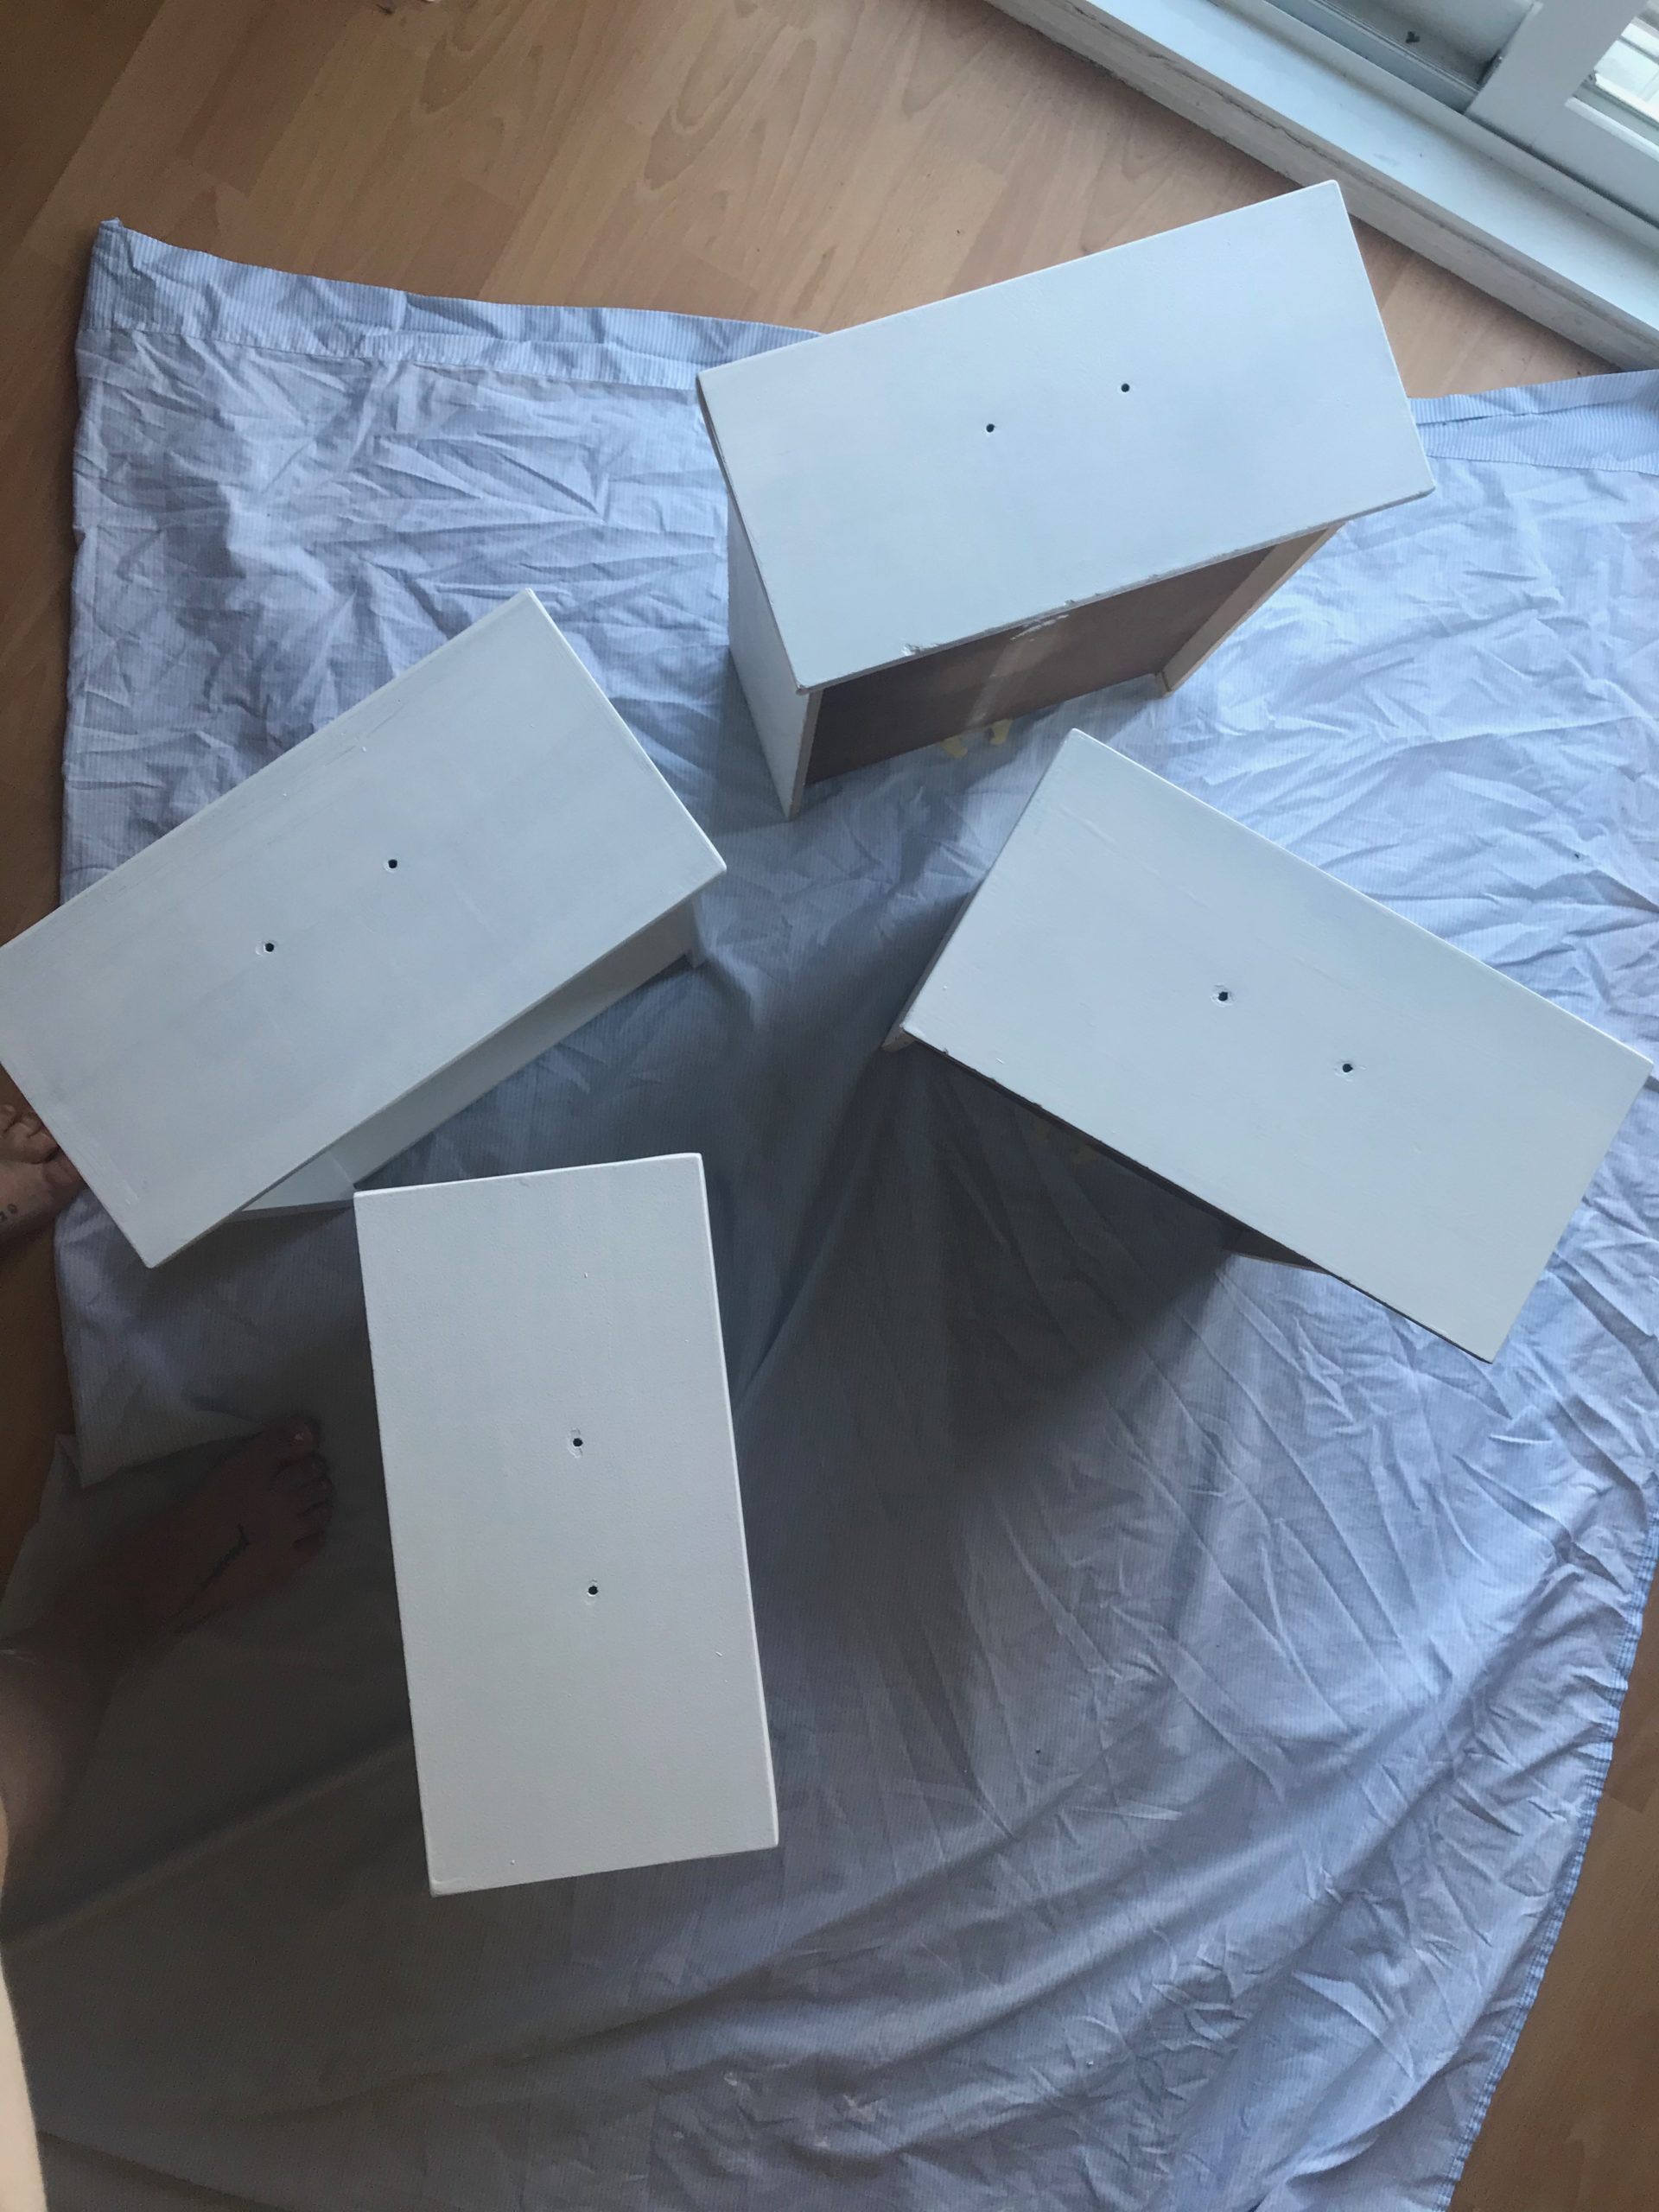
Next step was removing all the doors and drawers from the cabinets.
As you remove the doors and drawers, LABEL THEM! I used a sharpie and labeled them by letters. A was the first cabinet, B was the second cabinet…. and removed them by going left to right, row by row. If you have a large kitchen, I would suggest taking a photo of your cabinets and labelling the photo with which cabinet is which so you have something to refer back to!
I did sort and label the hardware as well, but ended up mixing them all together when I painted them. If you aren’t painting your hardware, you could label those too.
Once all the doors and drawers are removed, the next step in this DIY kitchen makeover is a good old cleaning.
I recommend using the TSP cleaner. I just bought a spray bottle, but it comes in powder form as well as in bigger jugs. It’s an amazing degreaser and even if you think your cabinets are clean, you’ll still want the degreaser just incase. This cleaner washed away spots I’ve been trying to do away with f o r e v e r.
Wash down every surface you’re going to sand and paint. Inside and outside, top to bottom.
Once washed and dried, you’re ready to sand!
I was lucky enough to borrow my mother in law’s power sander and if you have access to one, do it. I started by hand because I was a little scared of the power sander, I won’t lie! Until my husband came in and started whipping through the sanding job with it at three times the speed I was going.
The one I used was round but if you can I would try and use a triangle or square, just to get into those corners better.
Once the sanding it complete, wipe it all down. I simply used a wet cloth but a great suggestion is to use a tack cloth!
I sanded our kitchen in one day. It wasn’t as hard as I expected it to be but it was definitely tiring. Sanding is an important step to assure your paint adheres to the surface properly. Especially if your base layer is a glossy finish! You don’t need to do a hardcore sanding. Just make sure to buff up the surface and have no glossiness left.
Next step in this DIY kitchen makeover:
P
A
I
N
T
I
N
G!
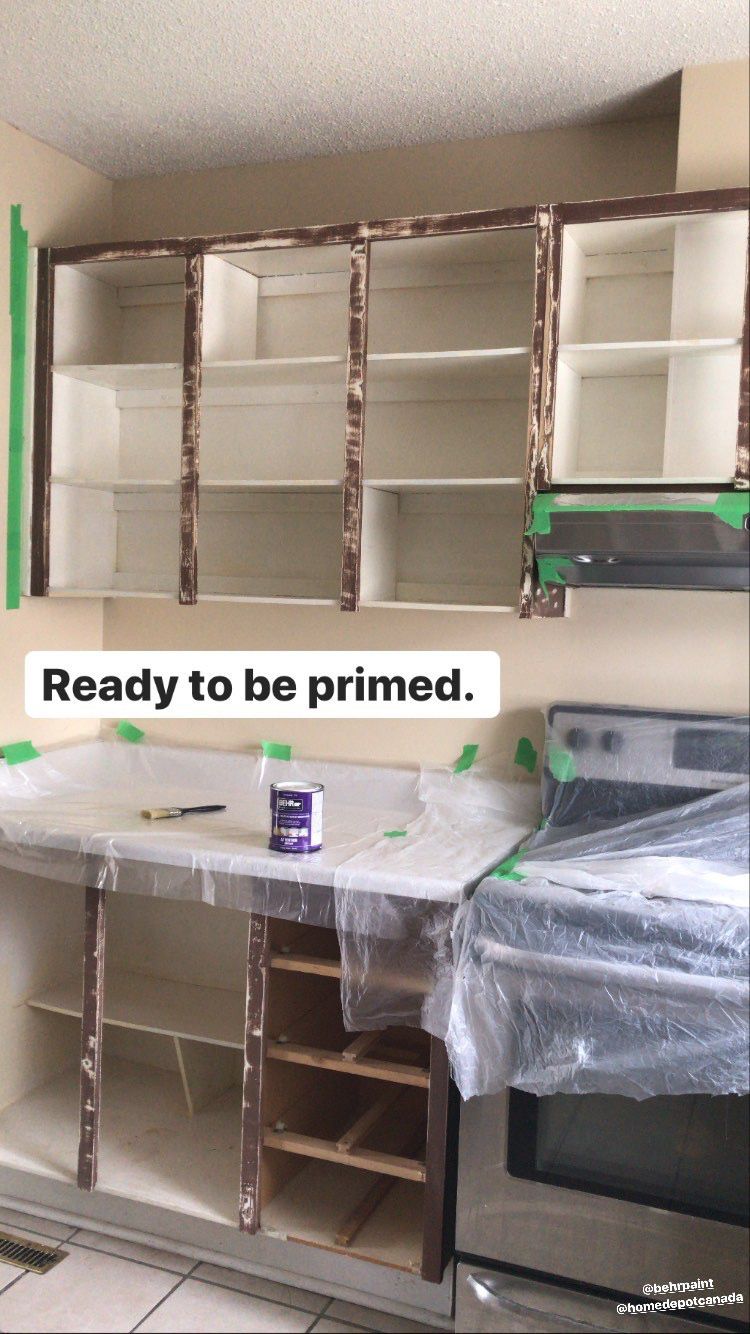
Even though I bought a paint that was both a paint and a primer, I still went ahead and did a coat of regular primer too. I did a lot of reading before I embarked on this project and concluded the primer would really help with both hiding the ugly brown colour, but also having the paint adhere well to the high traffic areas. I used the Behr Kitchen, Bath & Trim Interior Stain-blocking Primer & Sealer and did one coat.
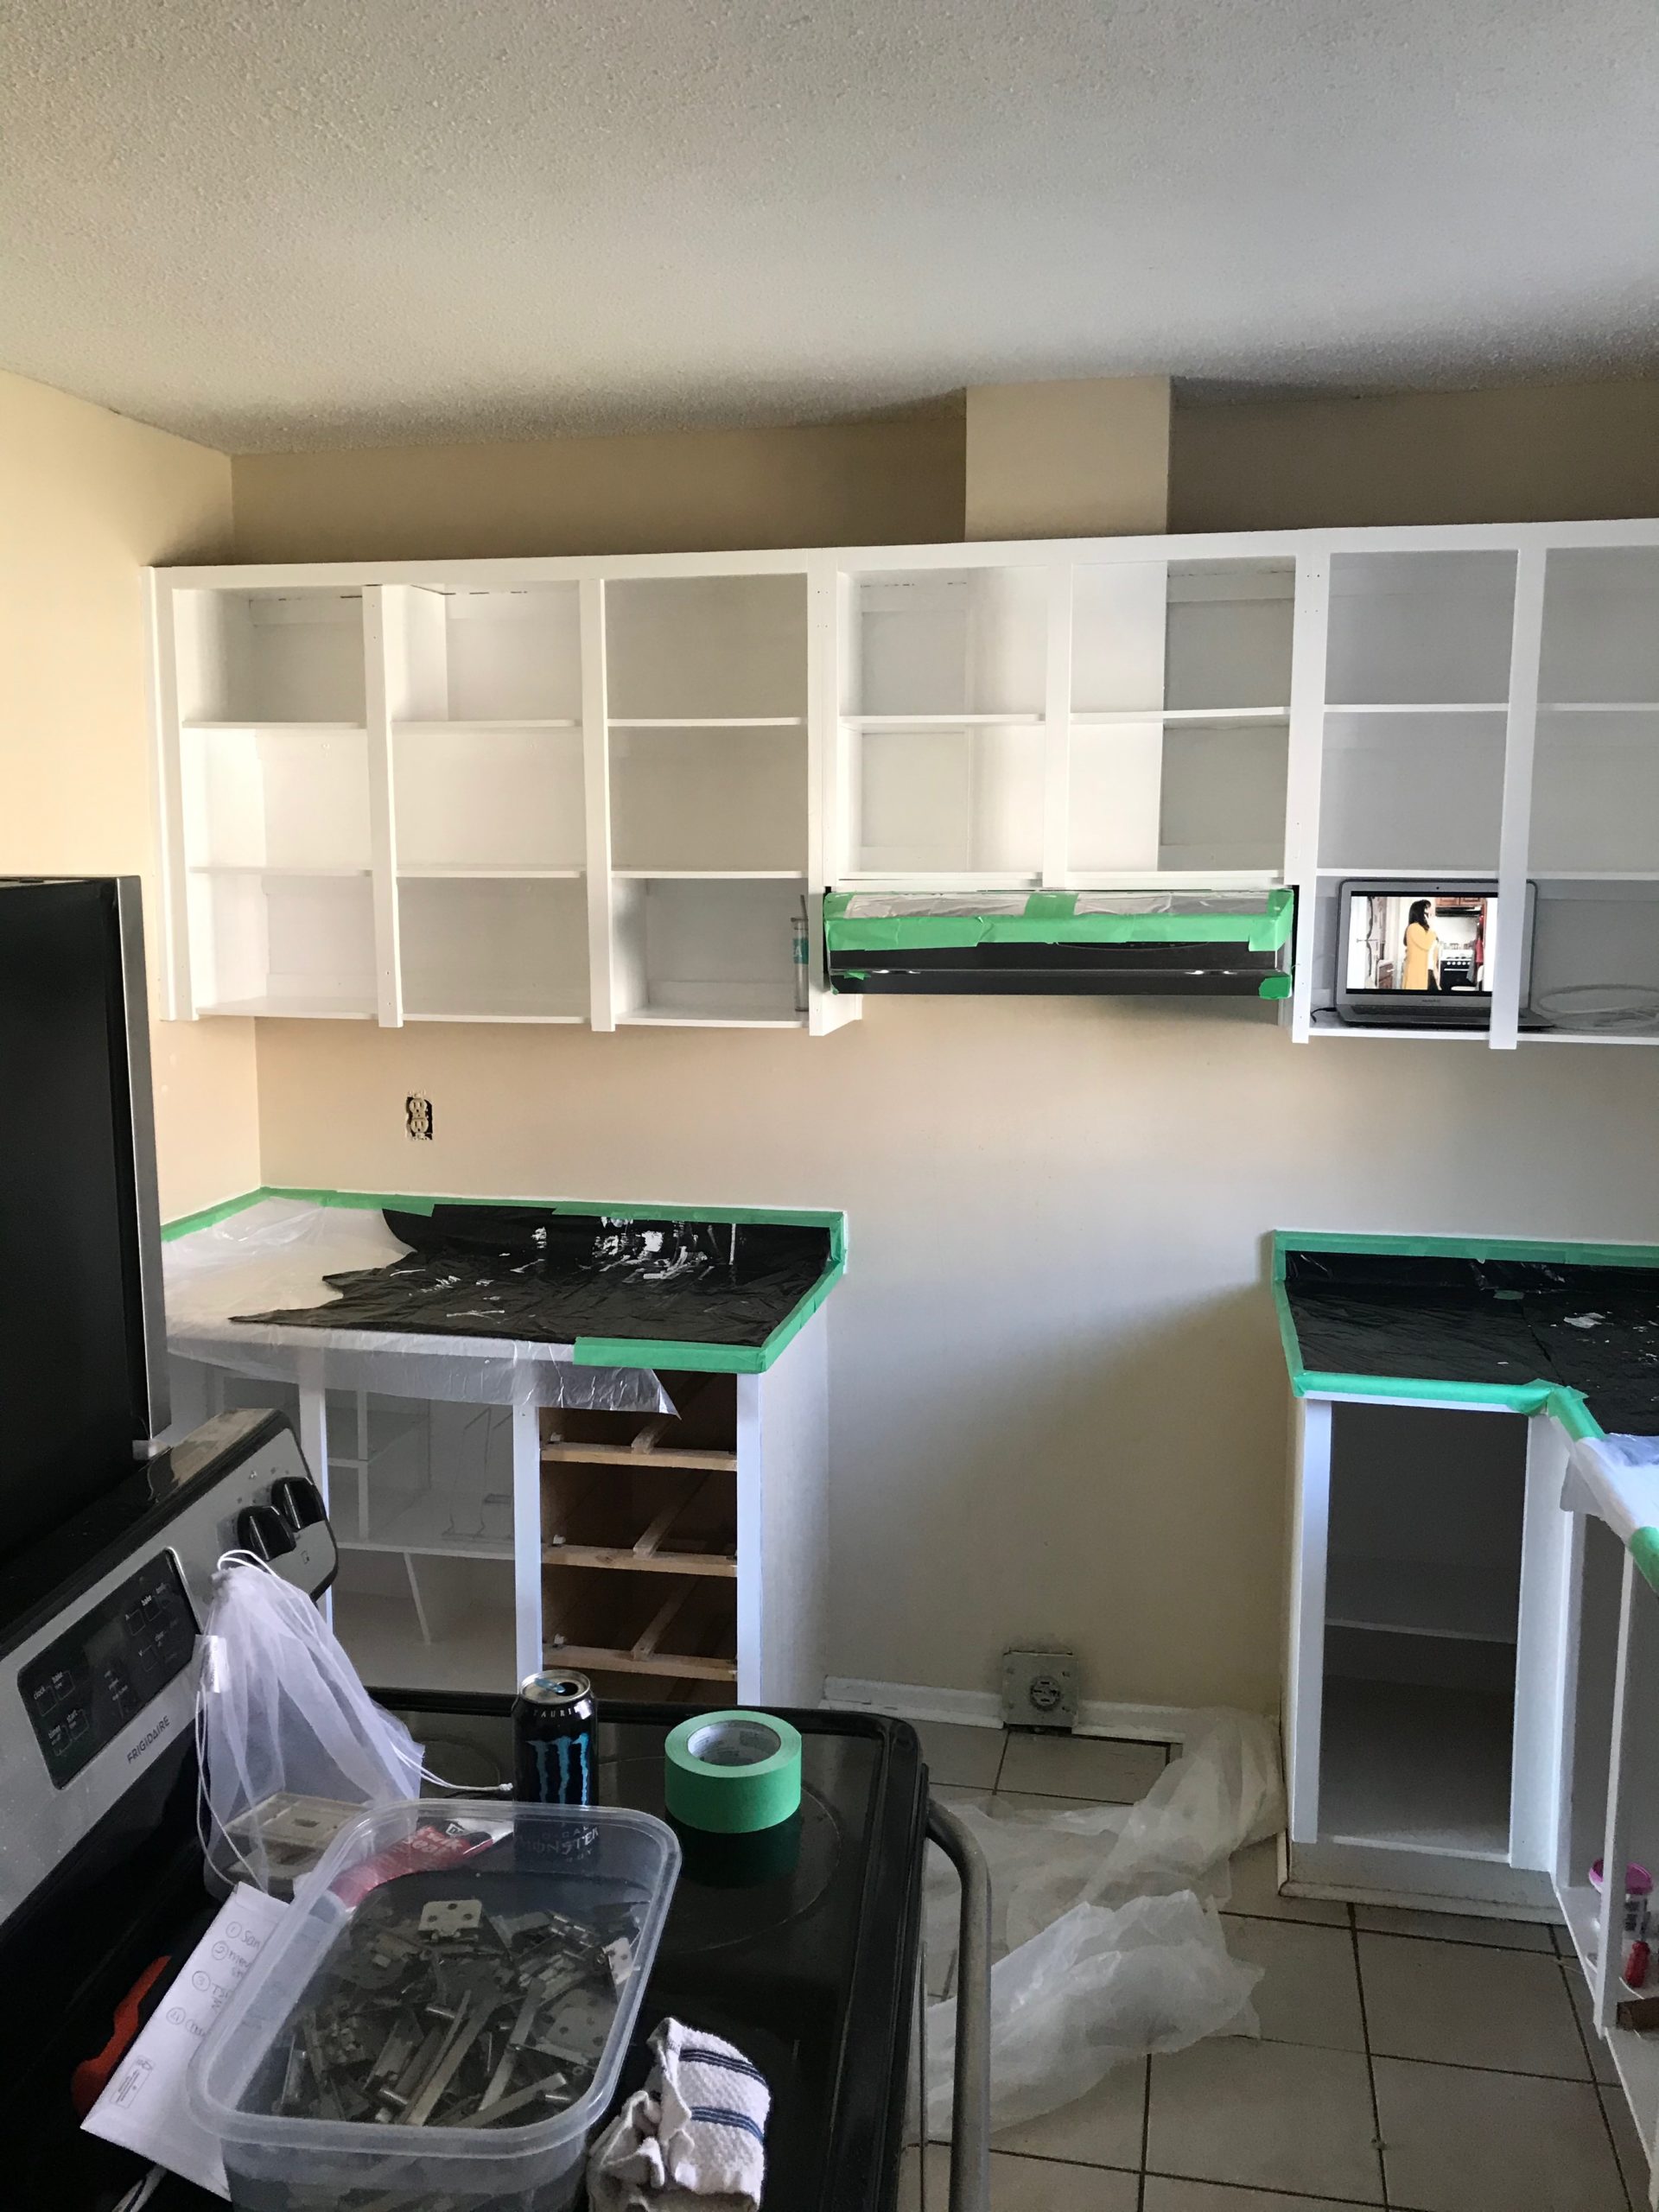
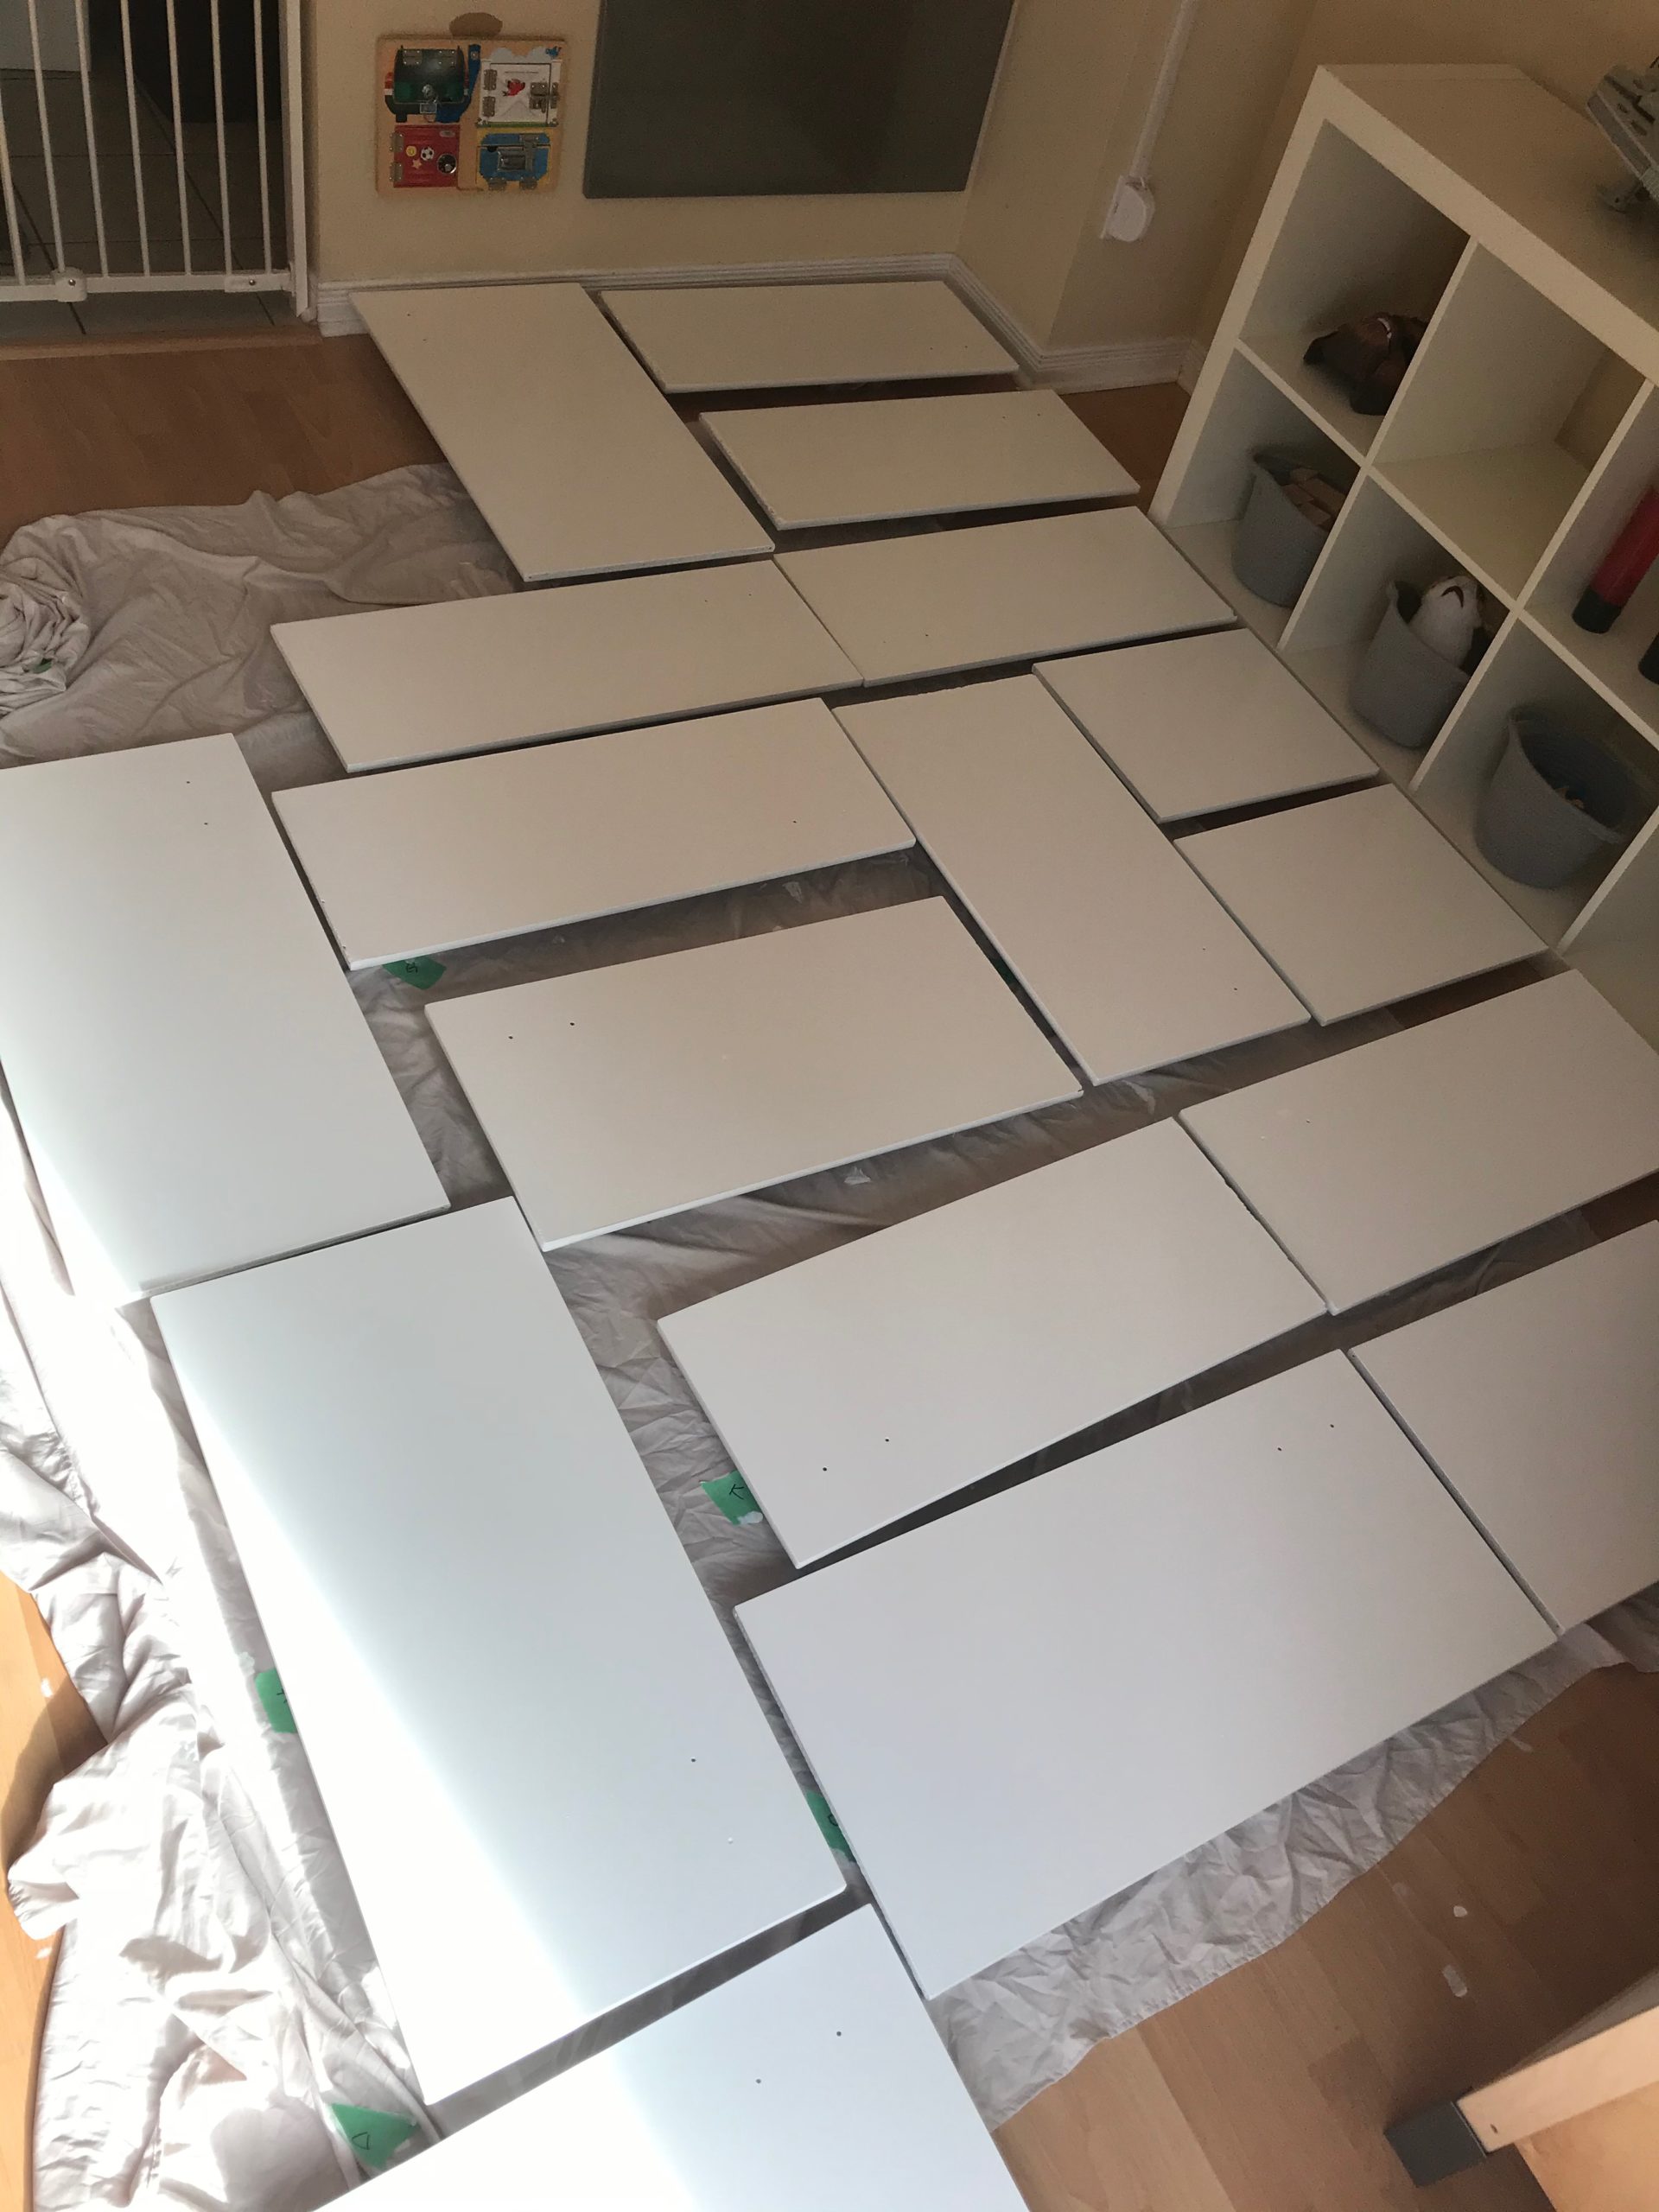
I let the primer dry for a full 24 hours before I moved onto the paint. For cabinet paint, I used the Behr Premium Interior Semi-Gloss Enamel Paint in white. I only bought one can so I did two coats for inside the cabinets, and then a third coat only on the outer frame pieces that you see even when the cabinets are closed. They also definitely needed the third layer thanks to the brown spots.
I used a small foam roller for the cabinets. It’s what was recommended to me and it worked fantastic! I also had a brush to get into all the corners and hard to reach spots. I bought mine at Dollarama and they got the job done well enough, but now that I also have a more expensive brush from Walmart I would suggest not using the Dollarama brushes. They left some streak marks that the Walmart brush didn’t because it had softer bristles!
It was at this point that I realized I no longer only wanted to paint the cabinets and convinced myself we should just paint the entire kitchen white. I mean, everything was already ready to be painted so why not, right?
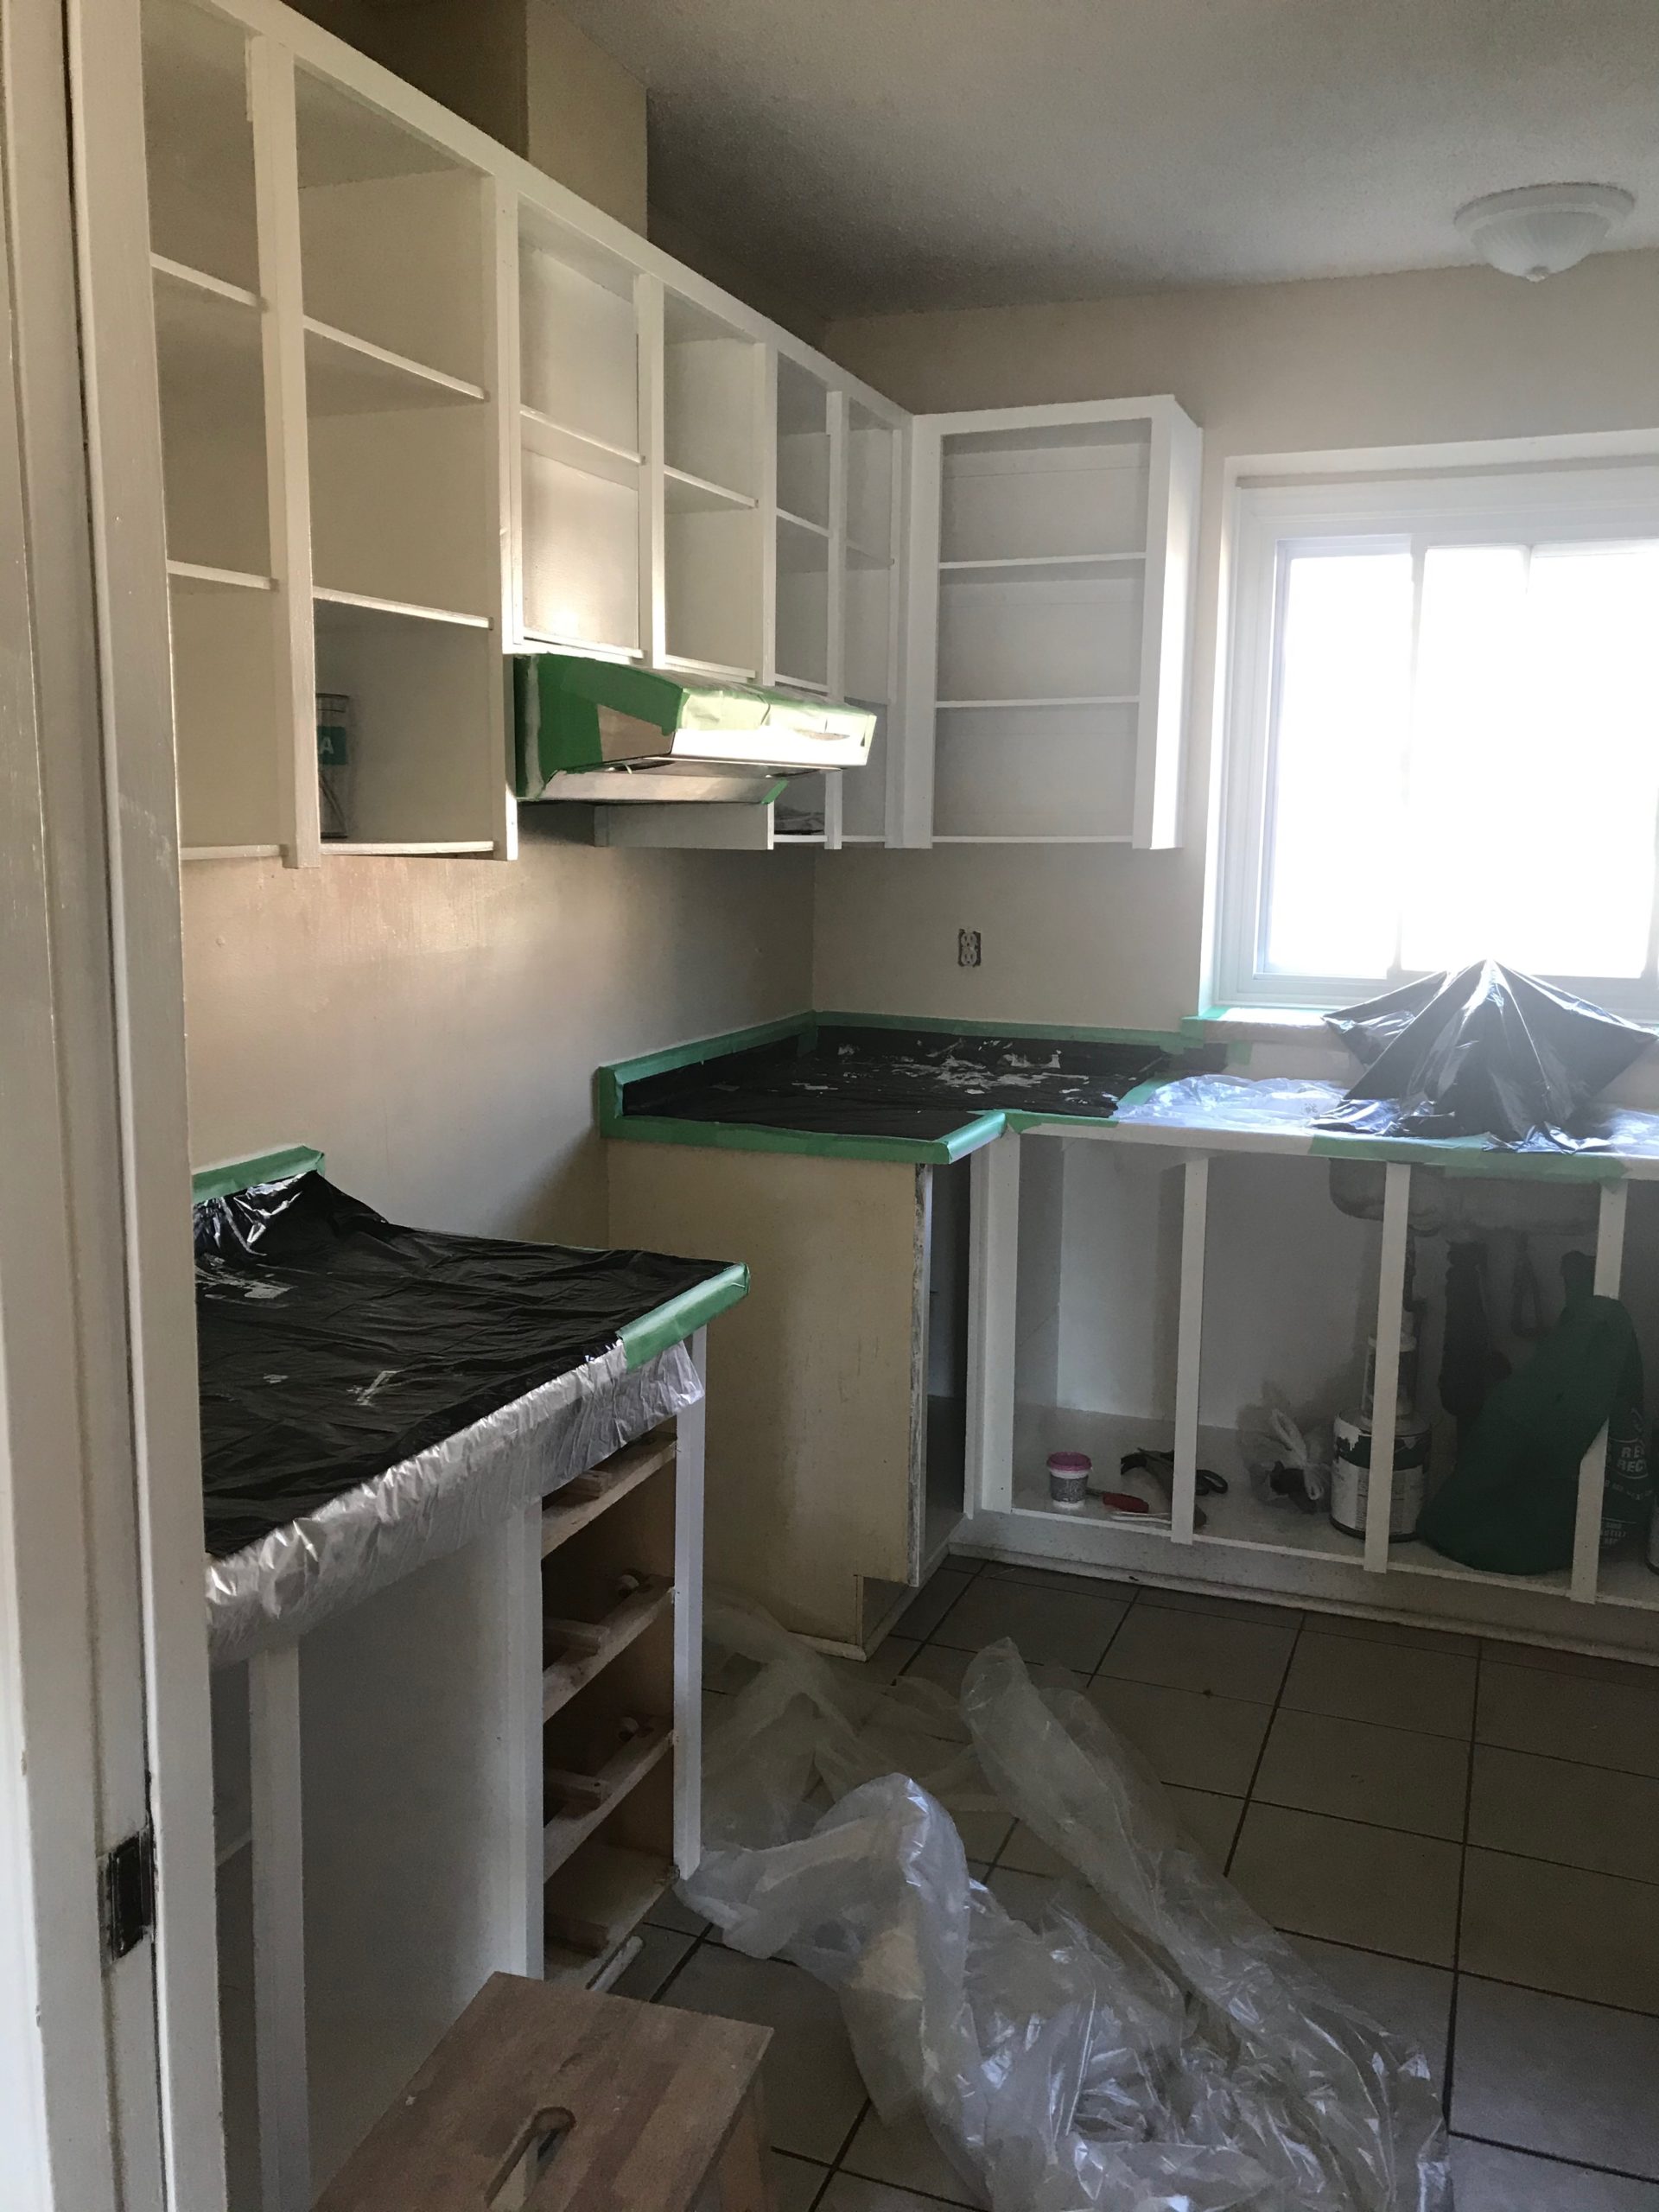
It ended up being a very, very good decision. Zero regrets. Painting the walls was WAY easier than painting the cabinets so if you’re on the fence about it, go far it.
Painting cabinets can be a fairly tedious job. It’s a lot of corners and creases, small spaces and hard to reach areas. Painting the walls was mostly big roller strokes across.
For the walls, I was slightly terrible and skipped the primer step. For a few reasons: I was painting over almost white walls and wasn’t worried about trying to cover a difficult colour and the paint I bought was a paint+primer combo. I used the Behr Premium Plus Ultra Pure White Interior Satin Enamel Paint and Primer.
If I remember correctly, I only had to do two coats and managed one coat in the morning and the second coat in the afternoon.
At this point, I had let it drag on longer than I had needed to and we really wanted our kitchen back. So I loaded everything back into the cupboards so we could have a little bit of normalcy and less clutter in our hallway! This also meant the cabinets could continue to dry before I put doors back on.
I almost forgot how much work I still had to do, I won’t lie!
The cabinet doors and drawers follow the same steps the cabinets did: Wash with TSP cleaner, give it a good sanding, wipe it down again and then prime and paint.
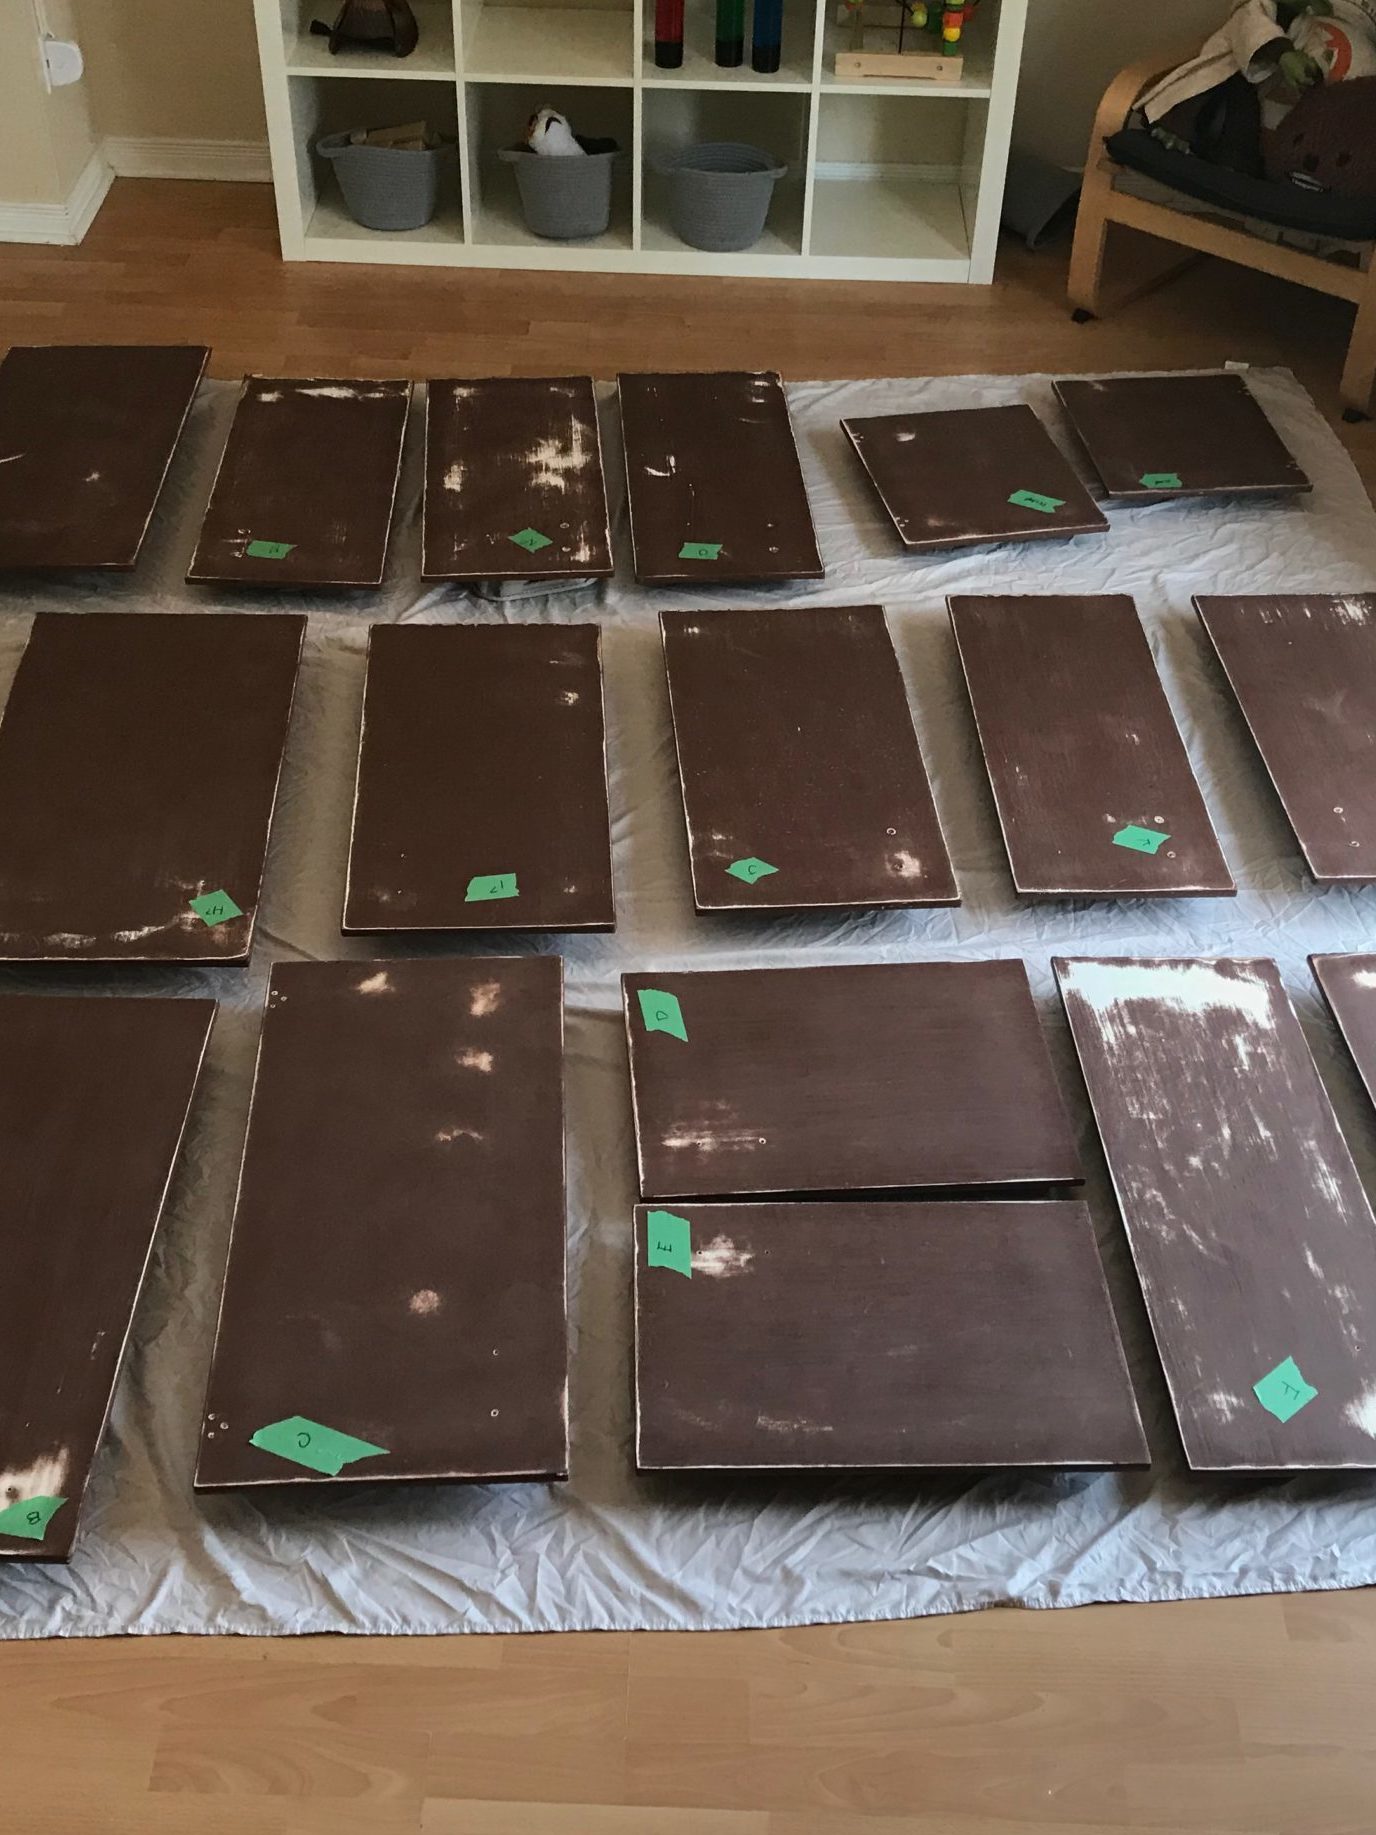
I used the same primer and paint for the doors and drawers as I did the cabinets.
The hardware that originally was in the kitchen was silver and no longer matched well. I was really set on having matte black hardware – and then I learned how much hardware cost. It was going to easily be at least $100 if I bought all new hardware and very quickly decided I would spray paint our current hardware instead. Bonus, it would be reusing what we already had and reducing our waste.
I used the Rust-Oleum Painter’s Touch 2x Ultra Cover Multi Purpose Paint and Primer Spray Paint in Matte Black!
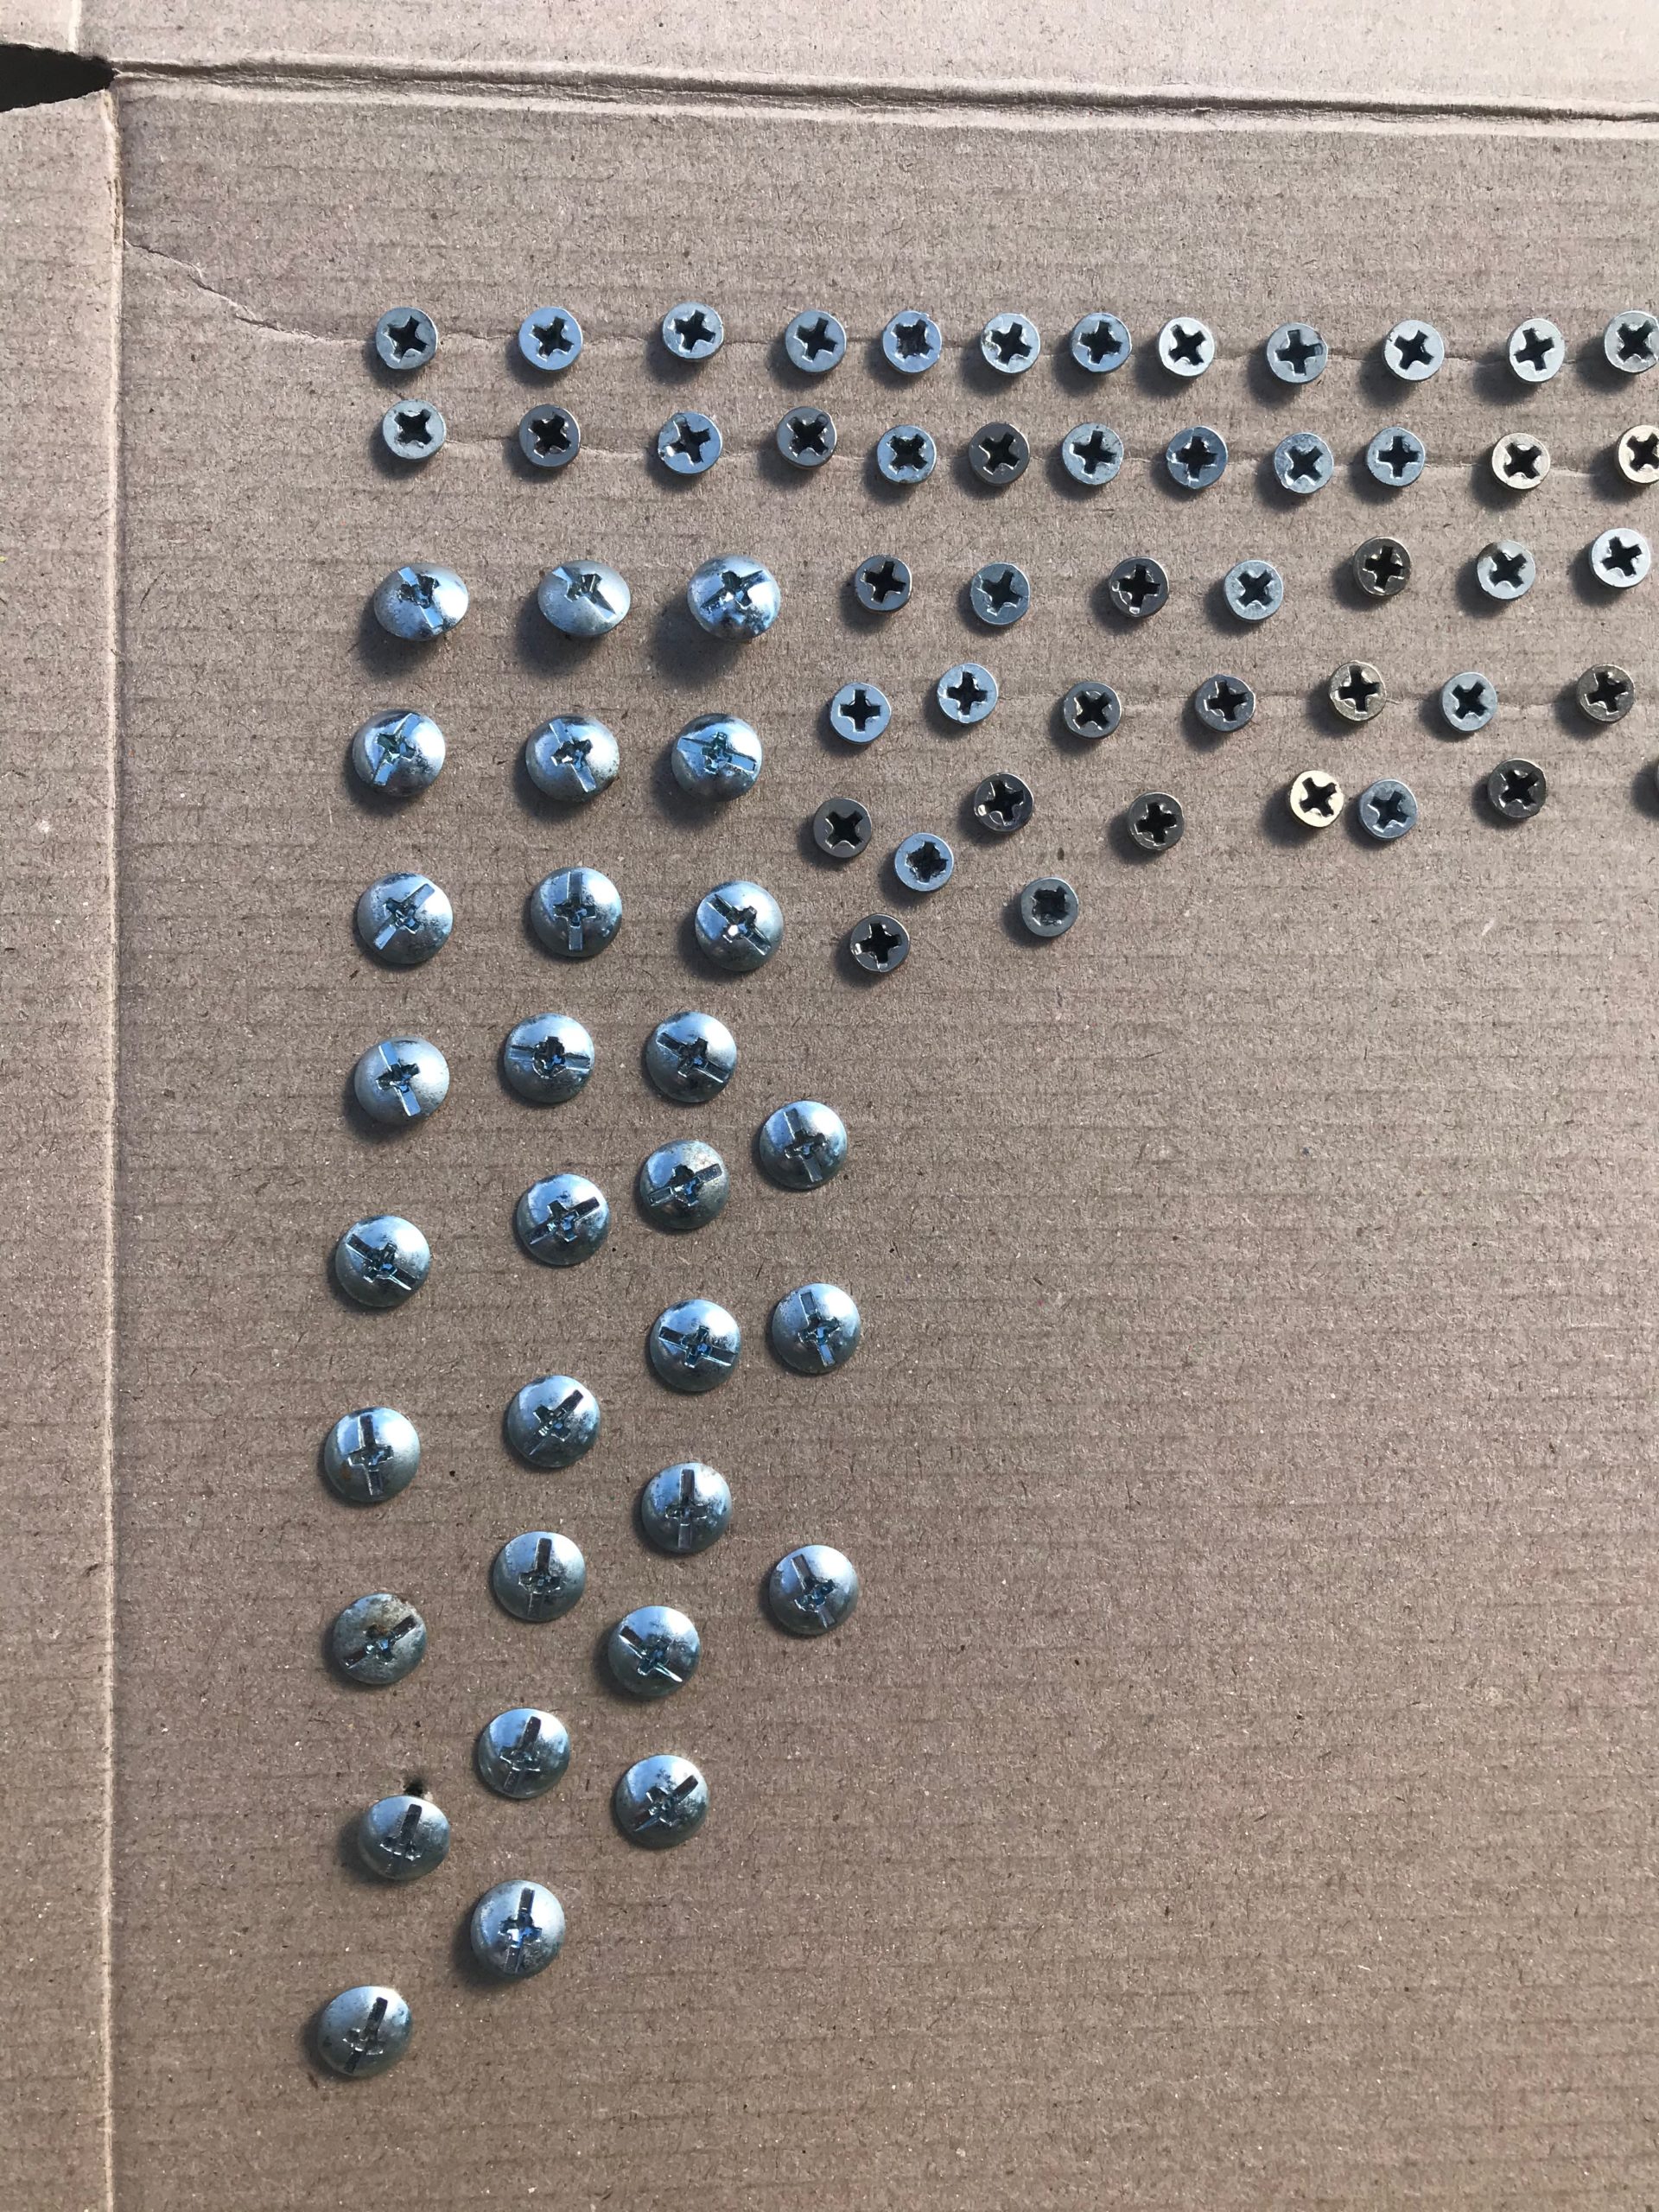
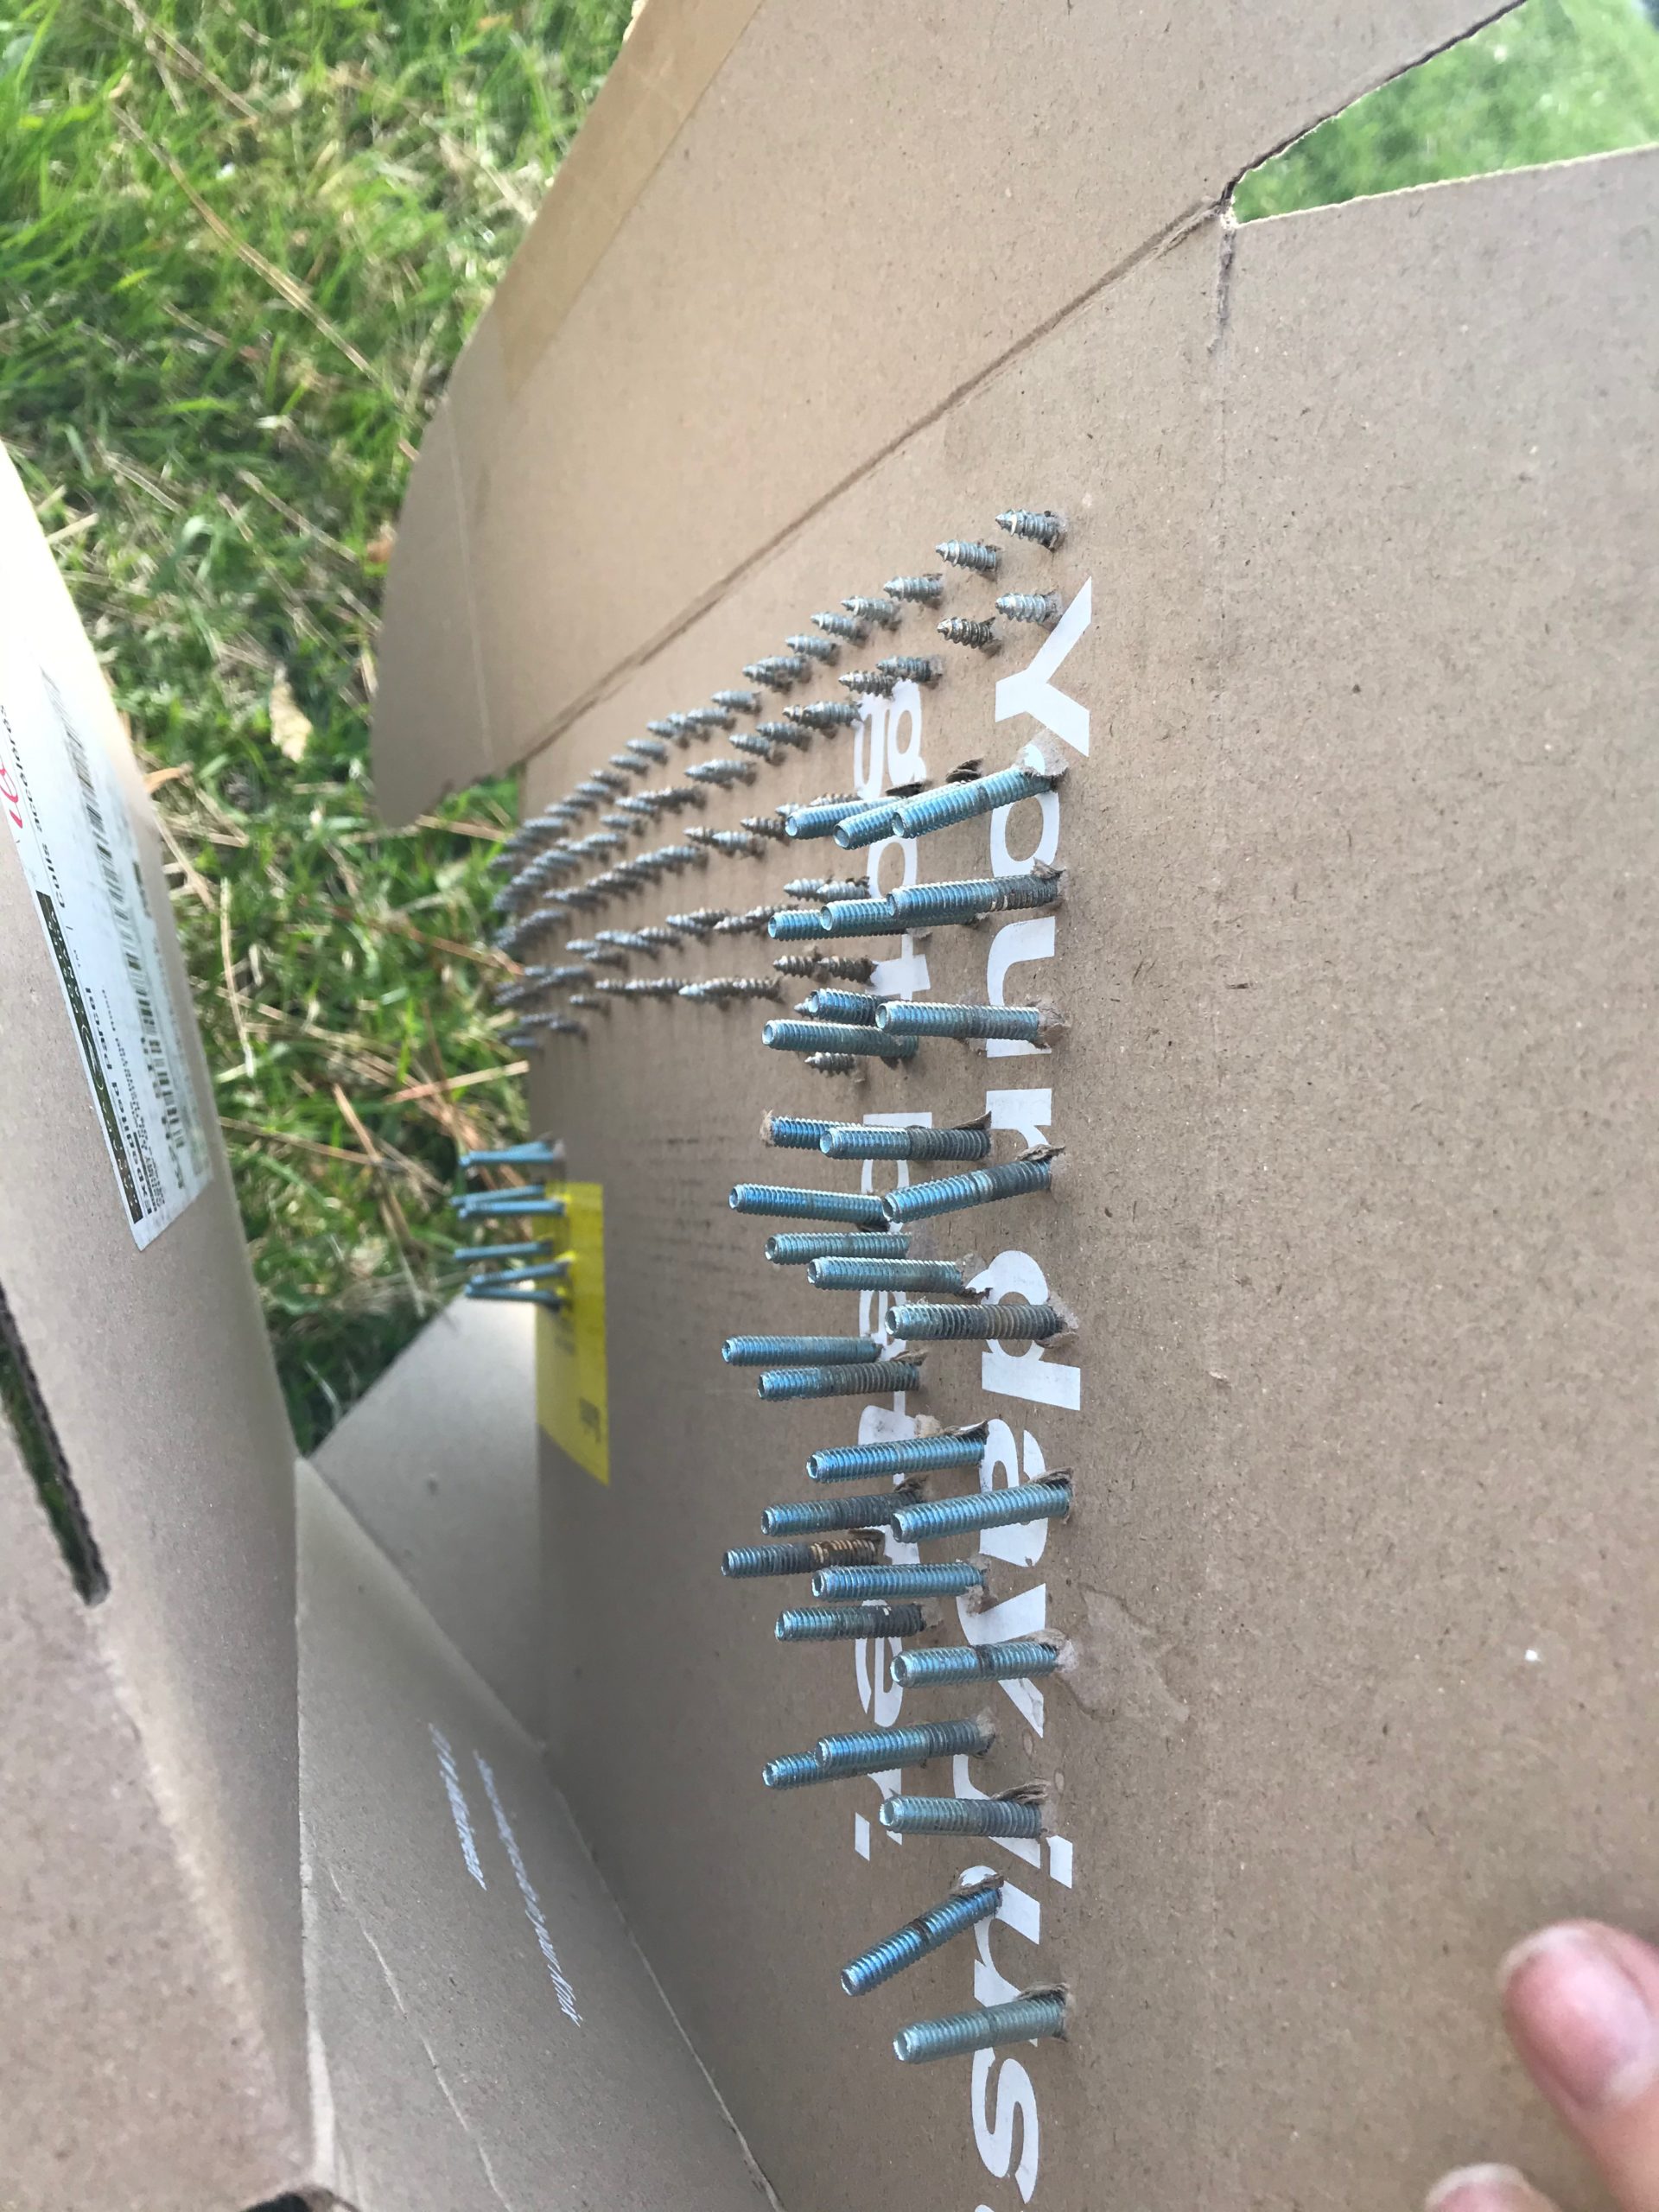
Here is a super simple, yet super effective, way to get all your little screw heads spray painted: poke them through a piece of cardboard!
Everything stayed in place, when I wanted to move it I wasn’t at risk of losing them and it was easy to transport.
It could be a little time consuming to poke them all through at first but I just sat and did it one morning while the girls played outside.
The best part of deciding to paint the hardware: I only used ONE CAN! Approximately 20 handles, 40 pieces of hardware, plus all of the screws – and four coats of paint later – and the can isn’t even empty yet.
So my hardware cost me $10 instead of $100 and I’m calling that one a huge win.
I will say that I’m slightly concerned because I didn’t use a top coat on it, but I painted these in the middle of a pandemic and the hardware stores weren’t open for fast pickups.
Worse comes to worse, it won’t be a huge deal if I need to take a day to repaint and then top coat the handles!
I left the doors, drawers and hardware out to dry for a full 36 hours after the last coat finished.
If we had had a garage or basement to paint them in I may have left them longer. But I was painting in the middle of our playroom and dining room so I wanted these darn doors out of the way as soon as possible.
Yes, putting that last door back up and being finished finally was the GREATEST FEELING!
There were other small projects we did to really complete the new makeover.
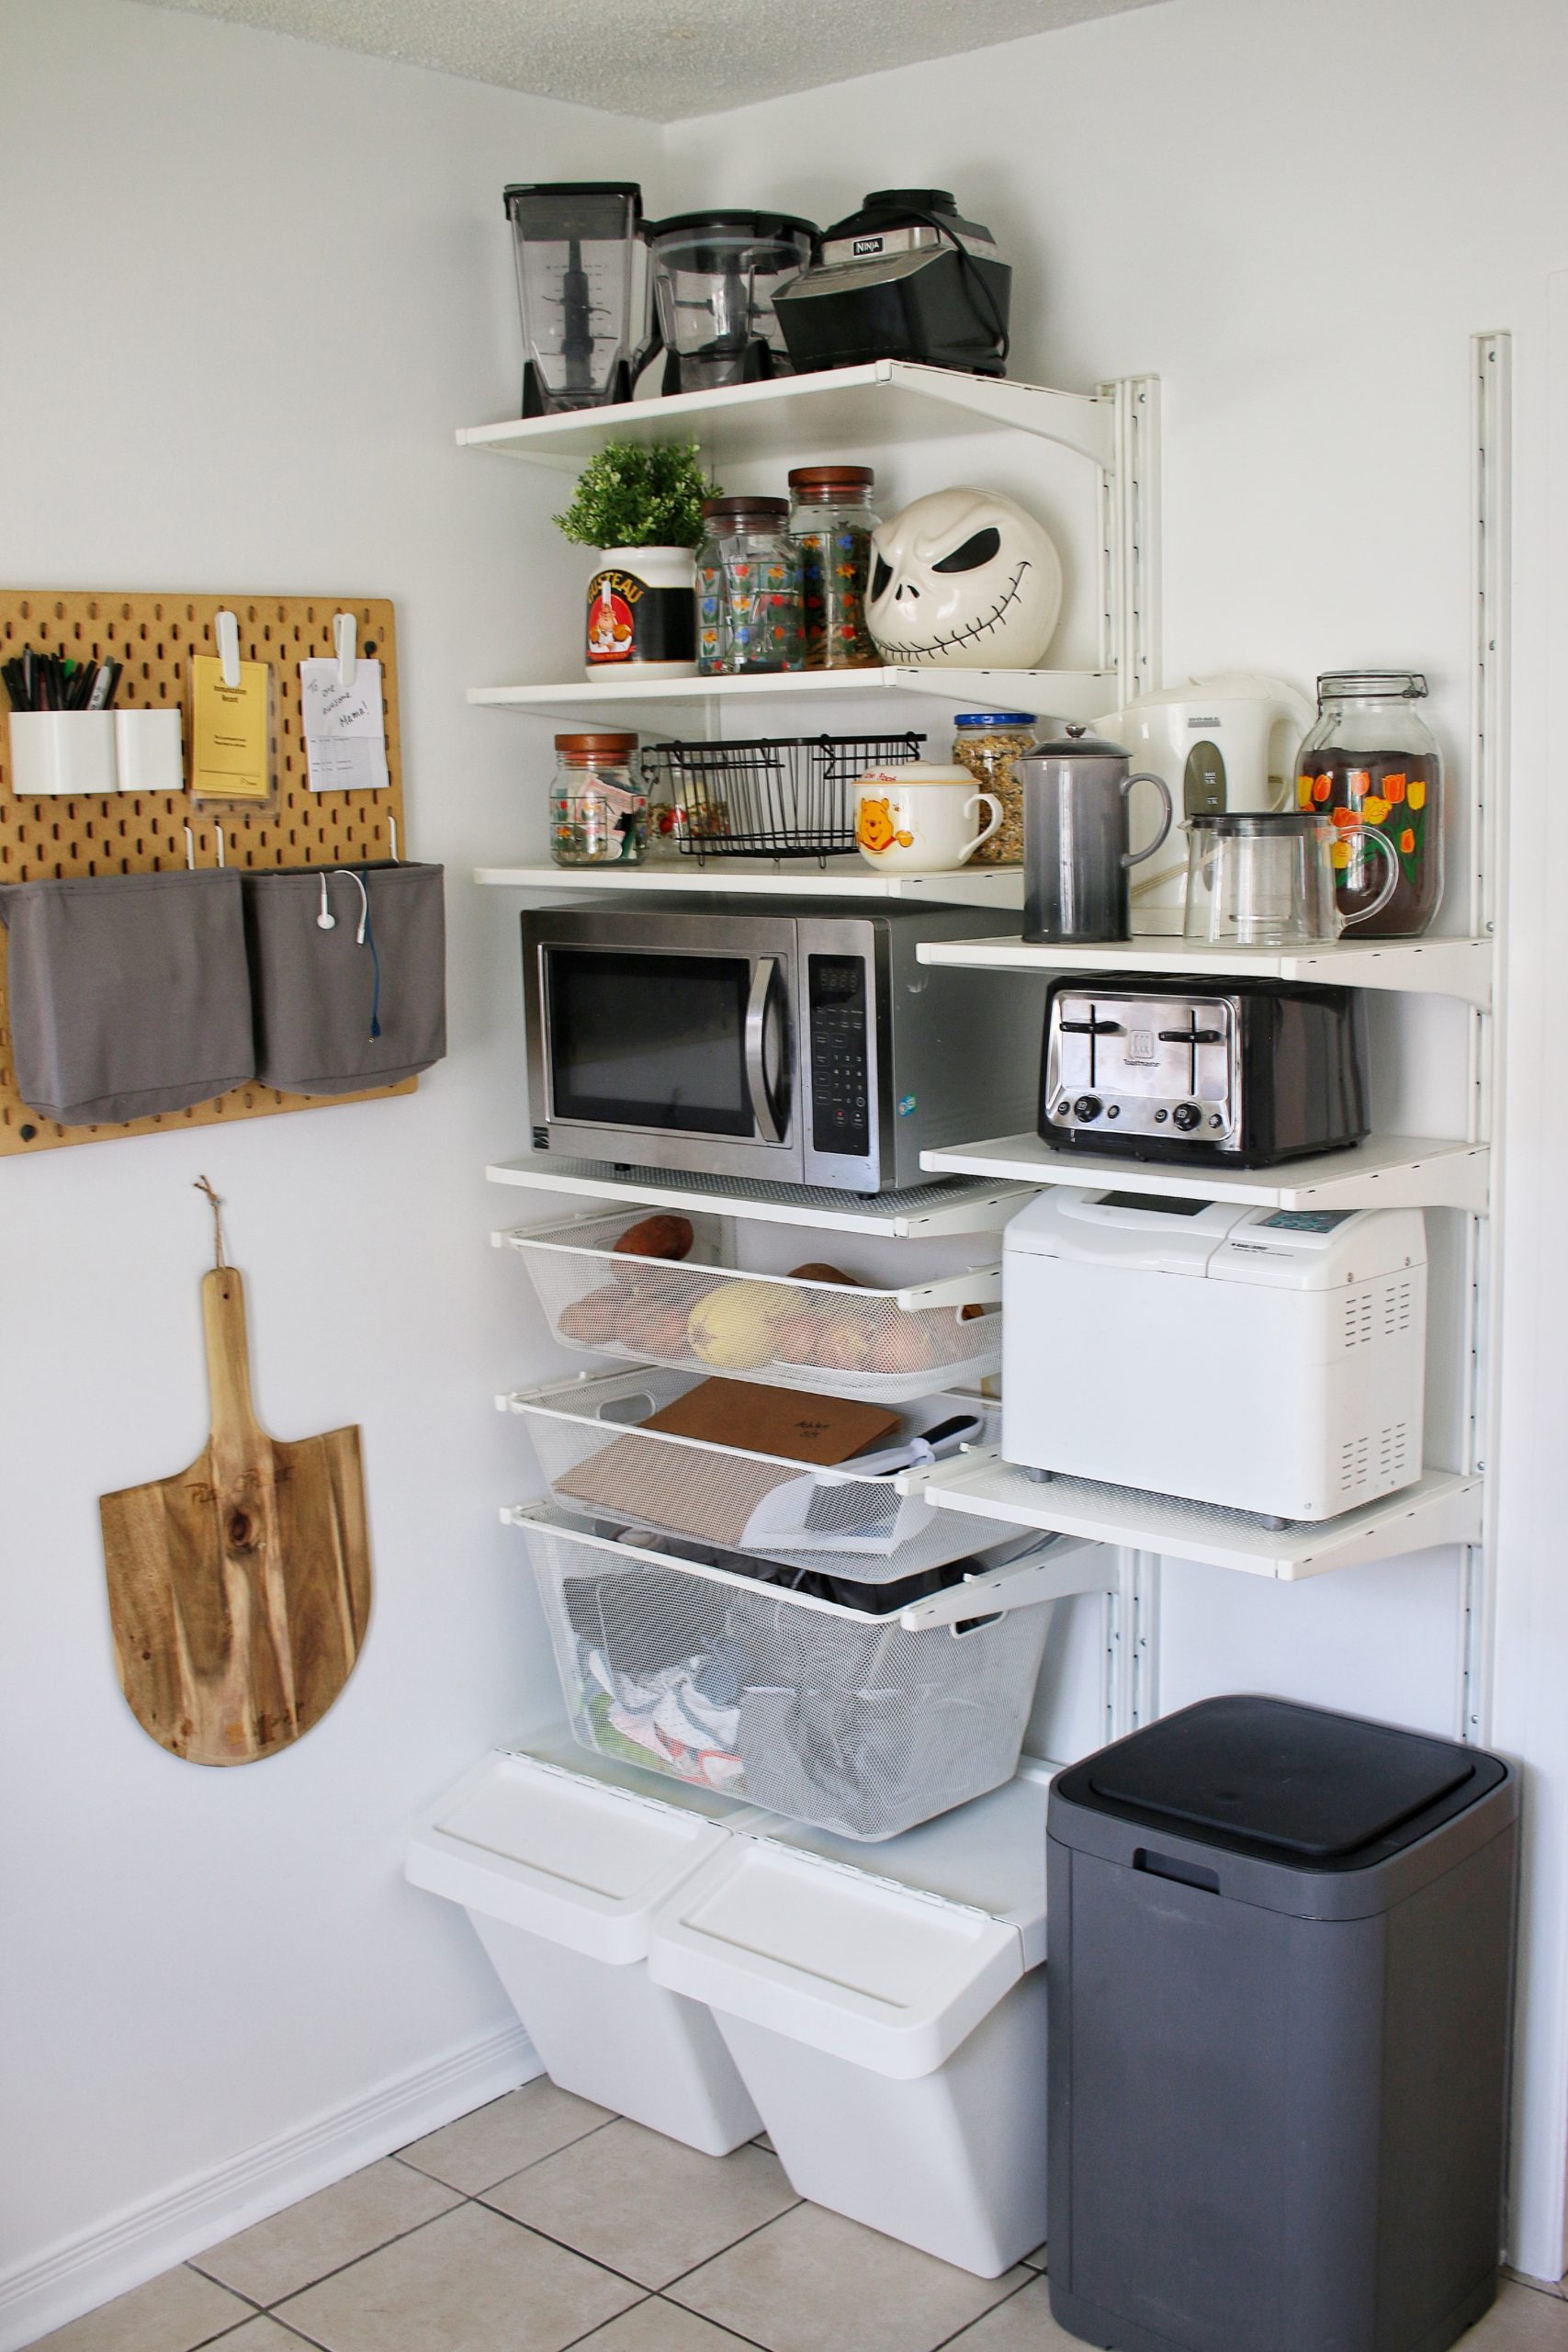
We redid the Ikea ALGOT shelving unit and added new shelves so that the bread maker, toaster, crock pot, blender and coffee makers could live on that wall instead of on the counter.
We’re still short two shelves since Ikea is currently sold out of them.
The peg board that used to live on the ALGOT system got moved onto the wall which has been awesome – it was really hard to reach when it was on top of the fridge!
I highly recommend the systems like the ALGOT system. The wall pieces come in different lengths and the shelf heights are all adjustable. There’s both shelving and baskets, and there’s different width choices. If using it for clothes there’s other attachments too, like clothing rails.
Conclusion: it’s very easy to install (I’ve done it alone before!), it’s inexpensive and it’s versatile. As a renter, it also means I can move it elsewhere in the house or easily dismantle to move it to a new house if we were ever to move.
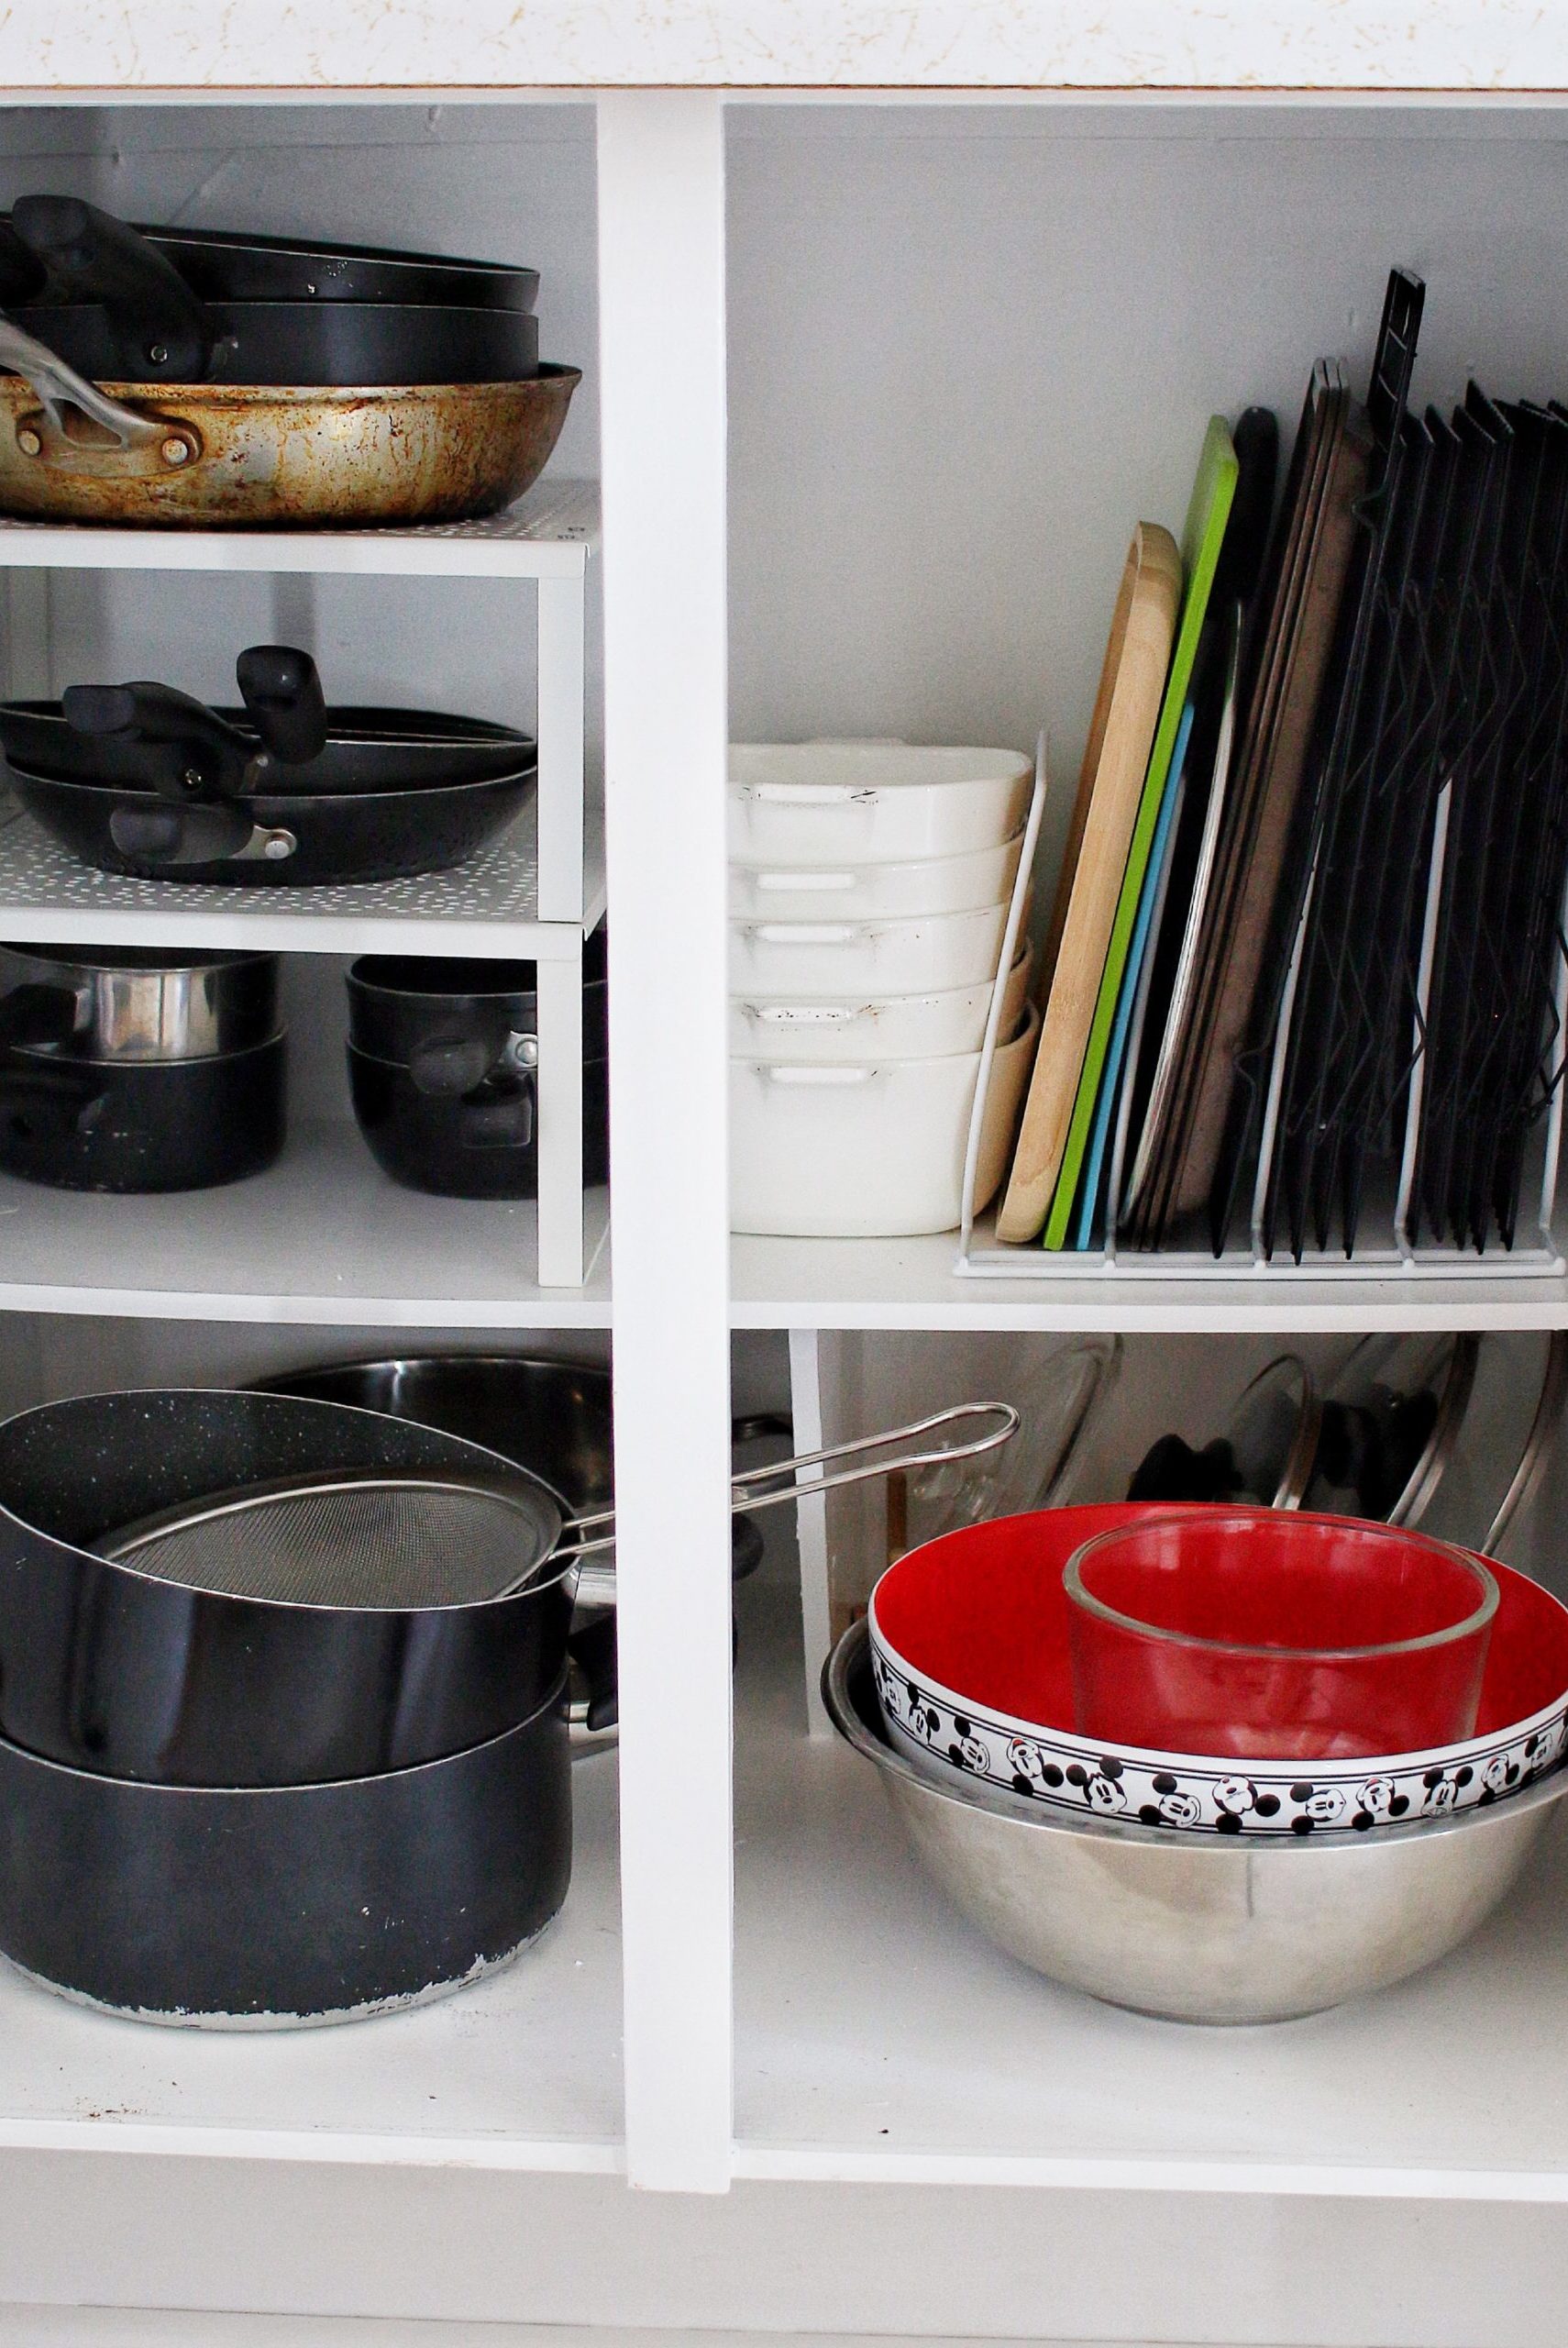
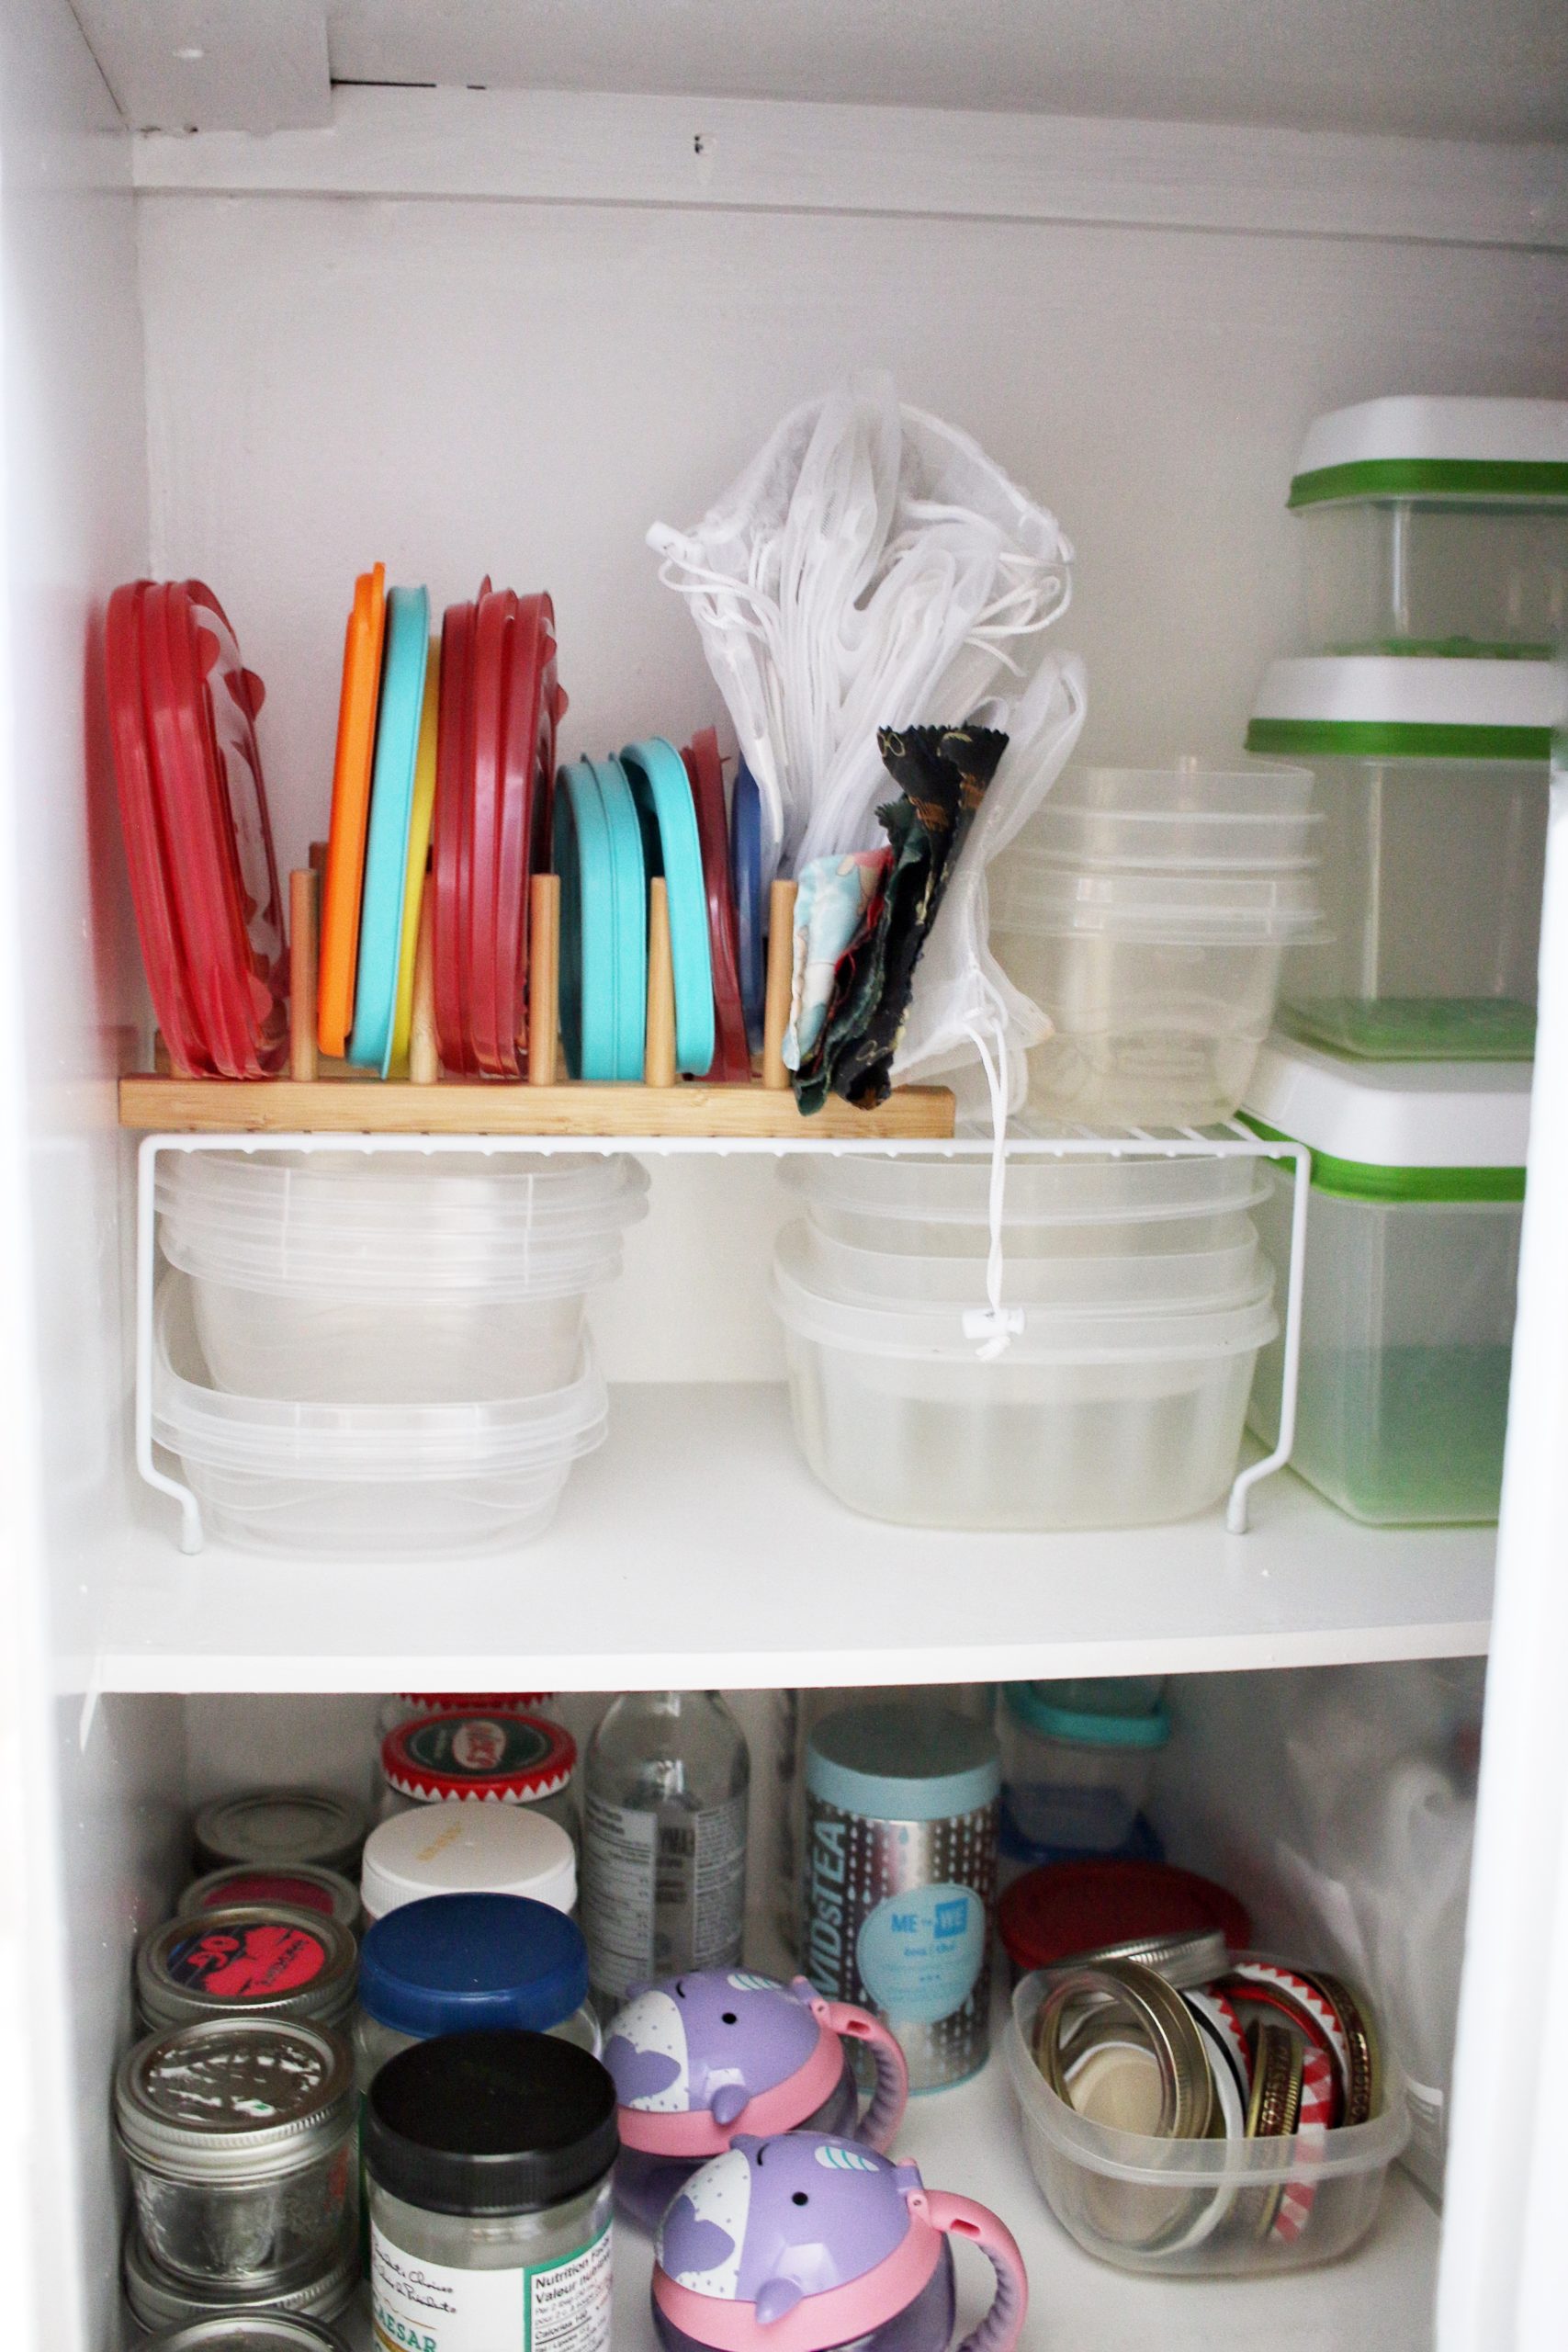
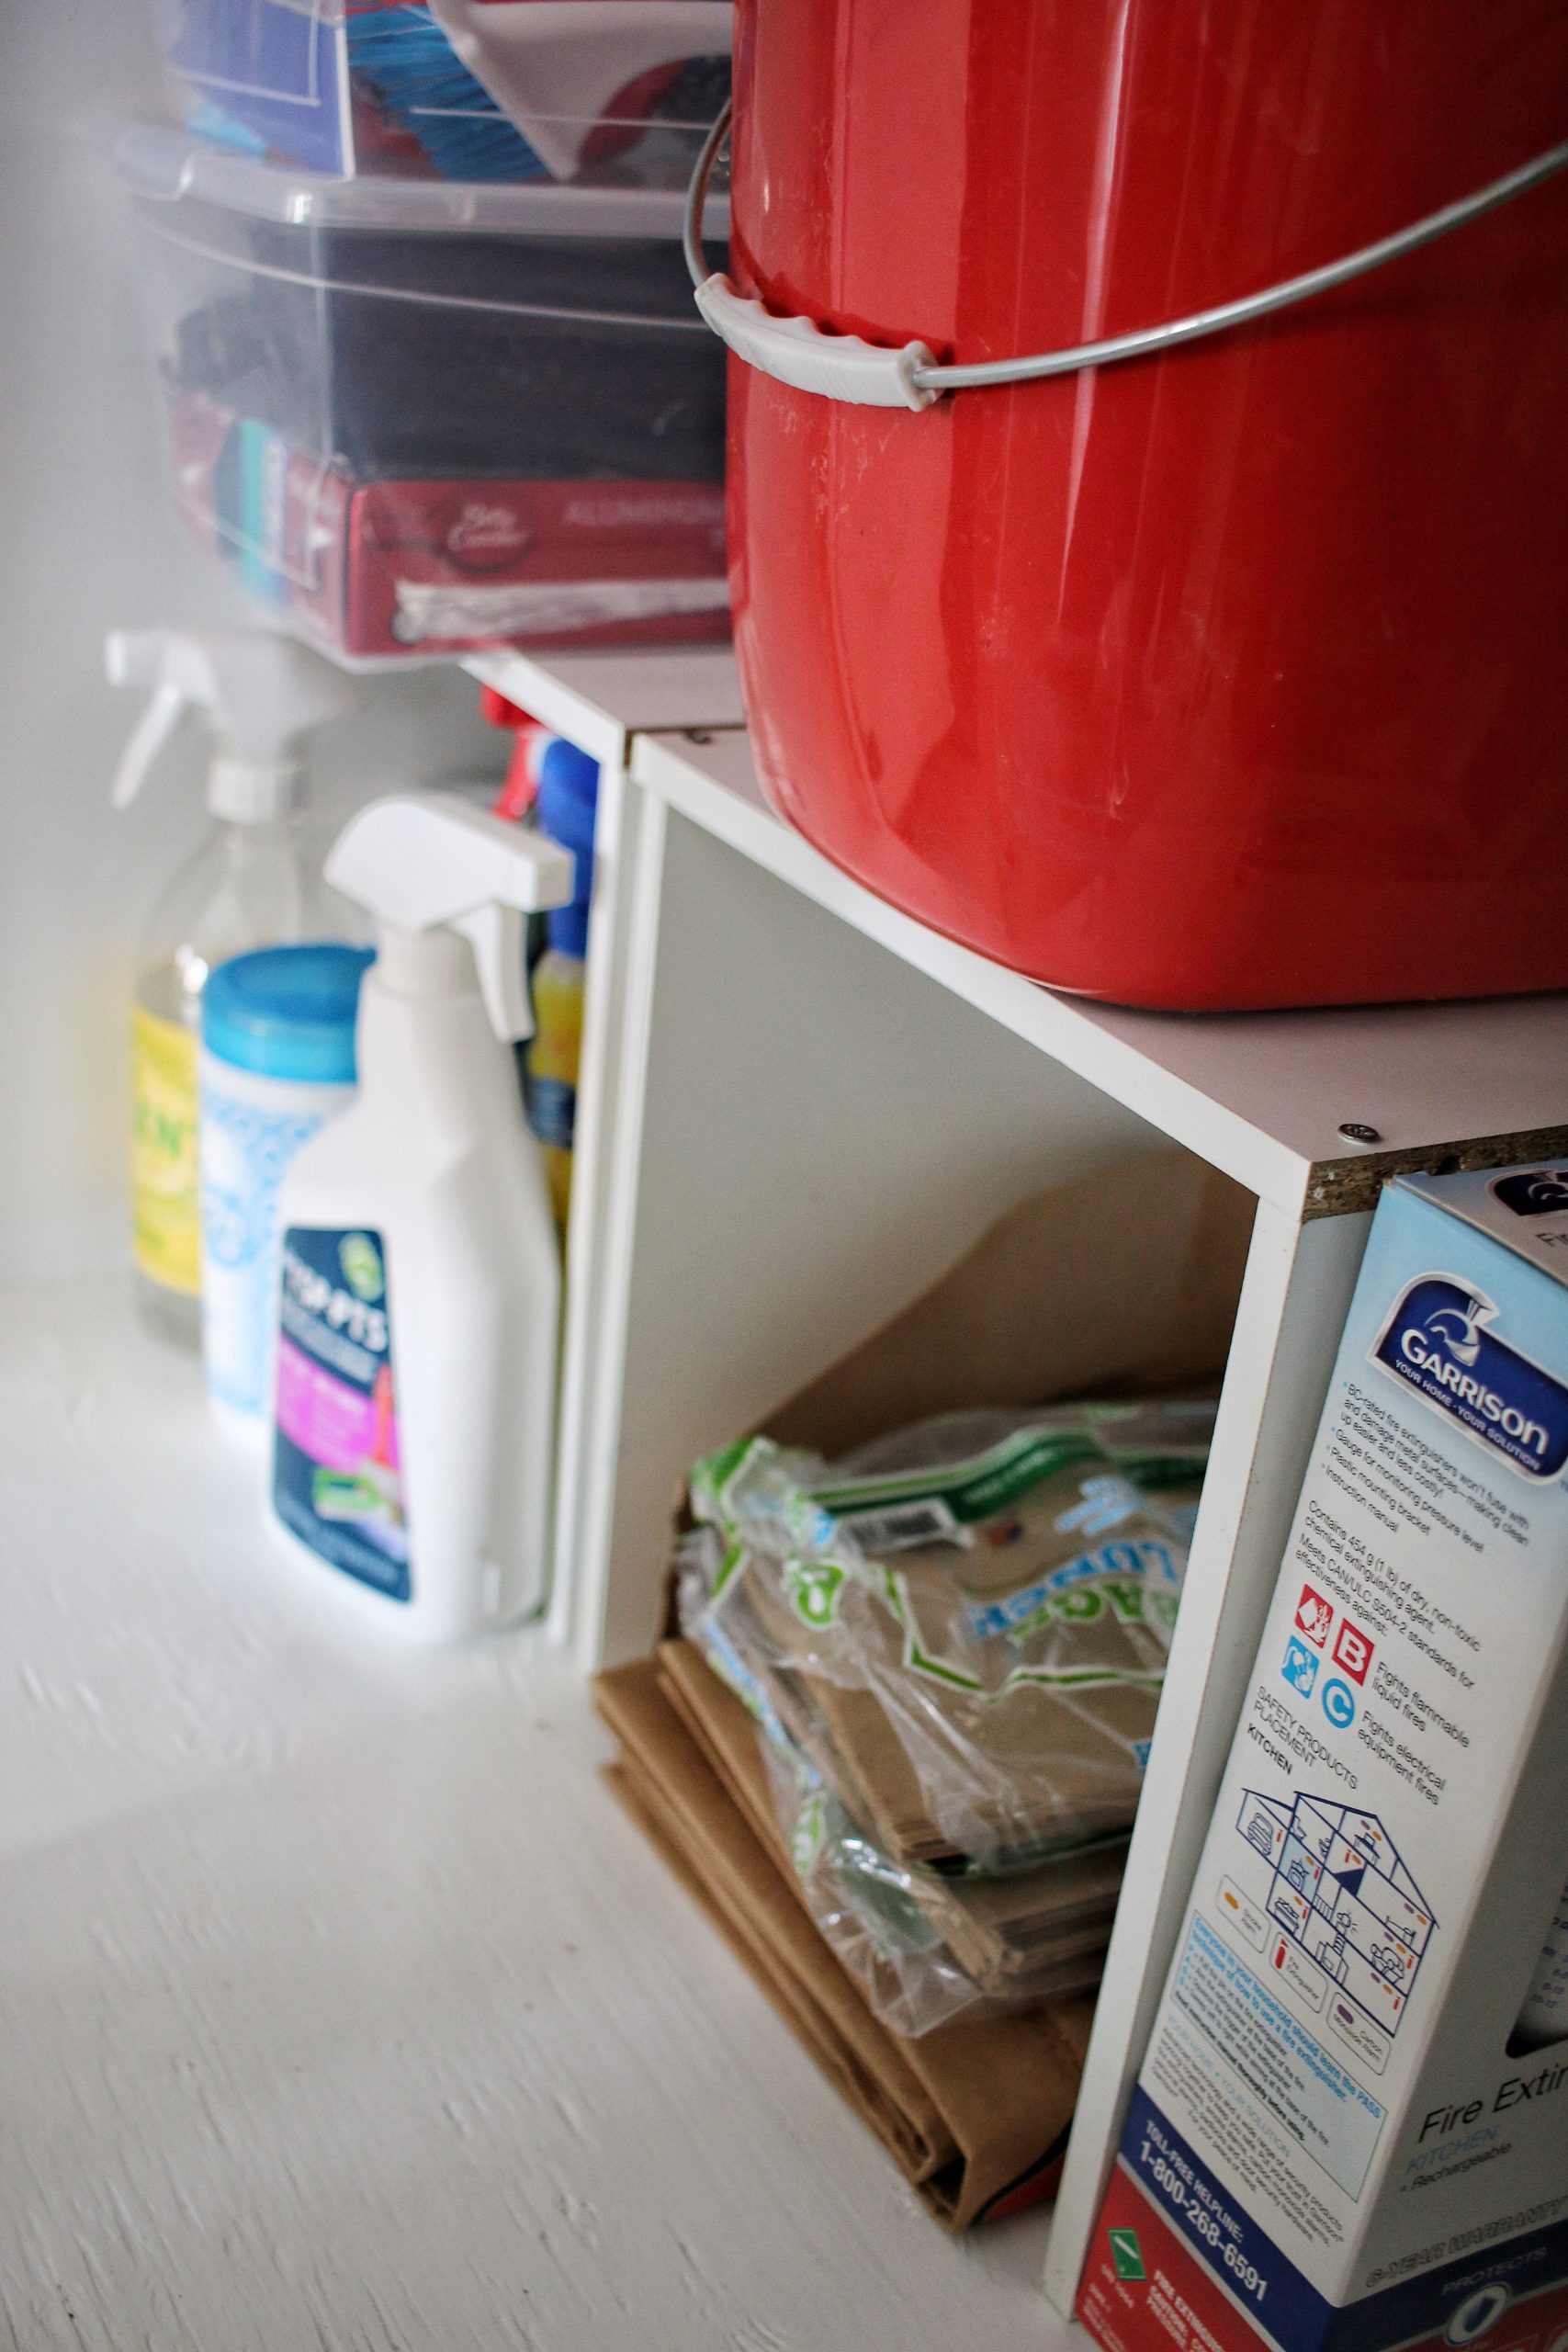
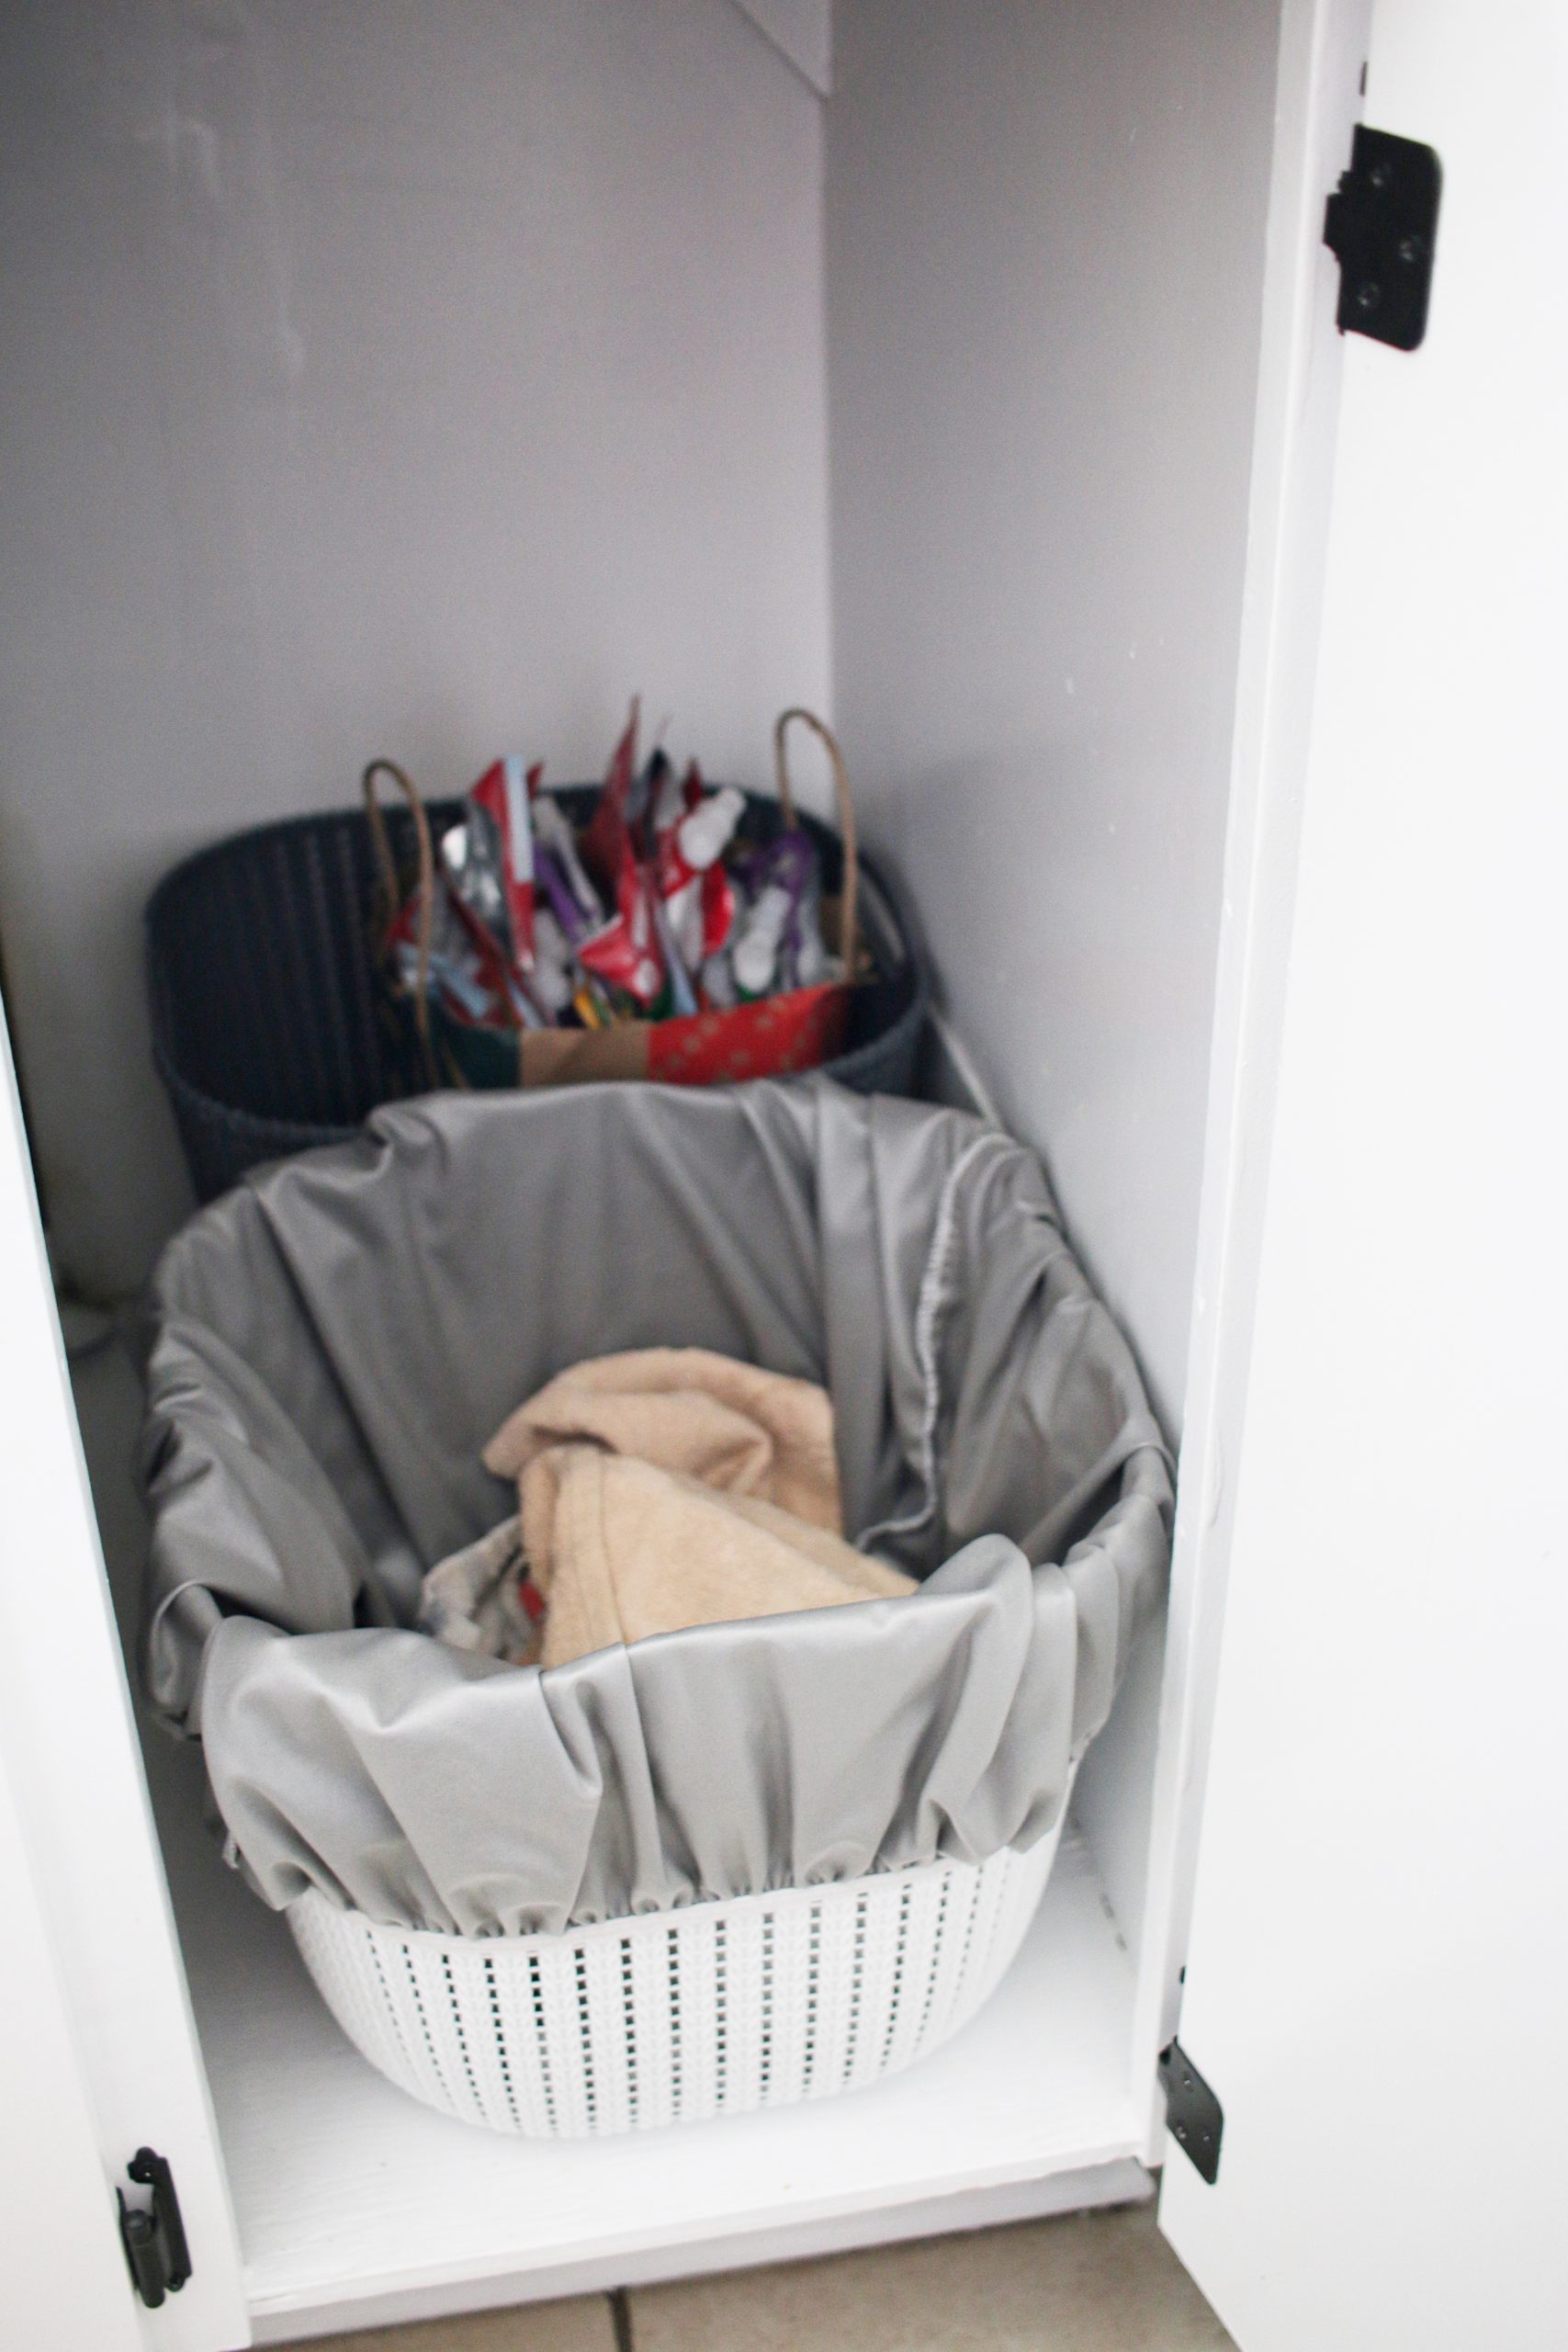
I finally got around to reorganizing most of our cabinets. I used VARIERA organizers from Ikea and Dollarama to get a better handle on the pots and pans, the plastics and glass storage containers and all the cleaners and such that live under the sink. I also added a basket with a wet bag so we have somewhere to toss the dirty dish rags and kitchen towels until their laundry day.
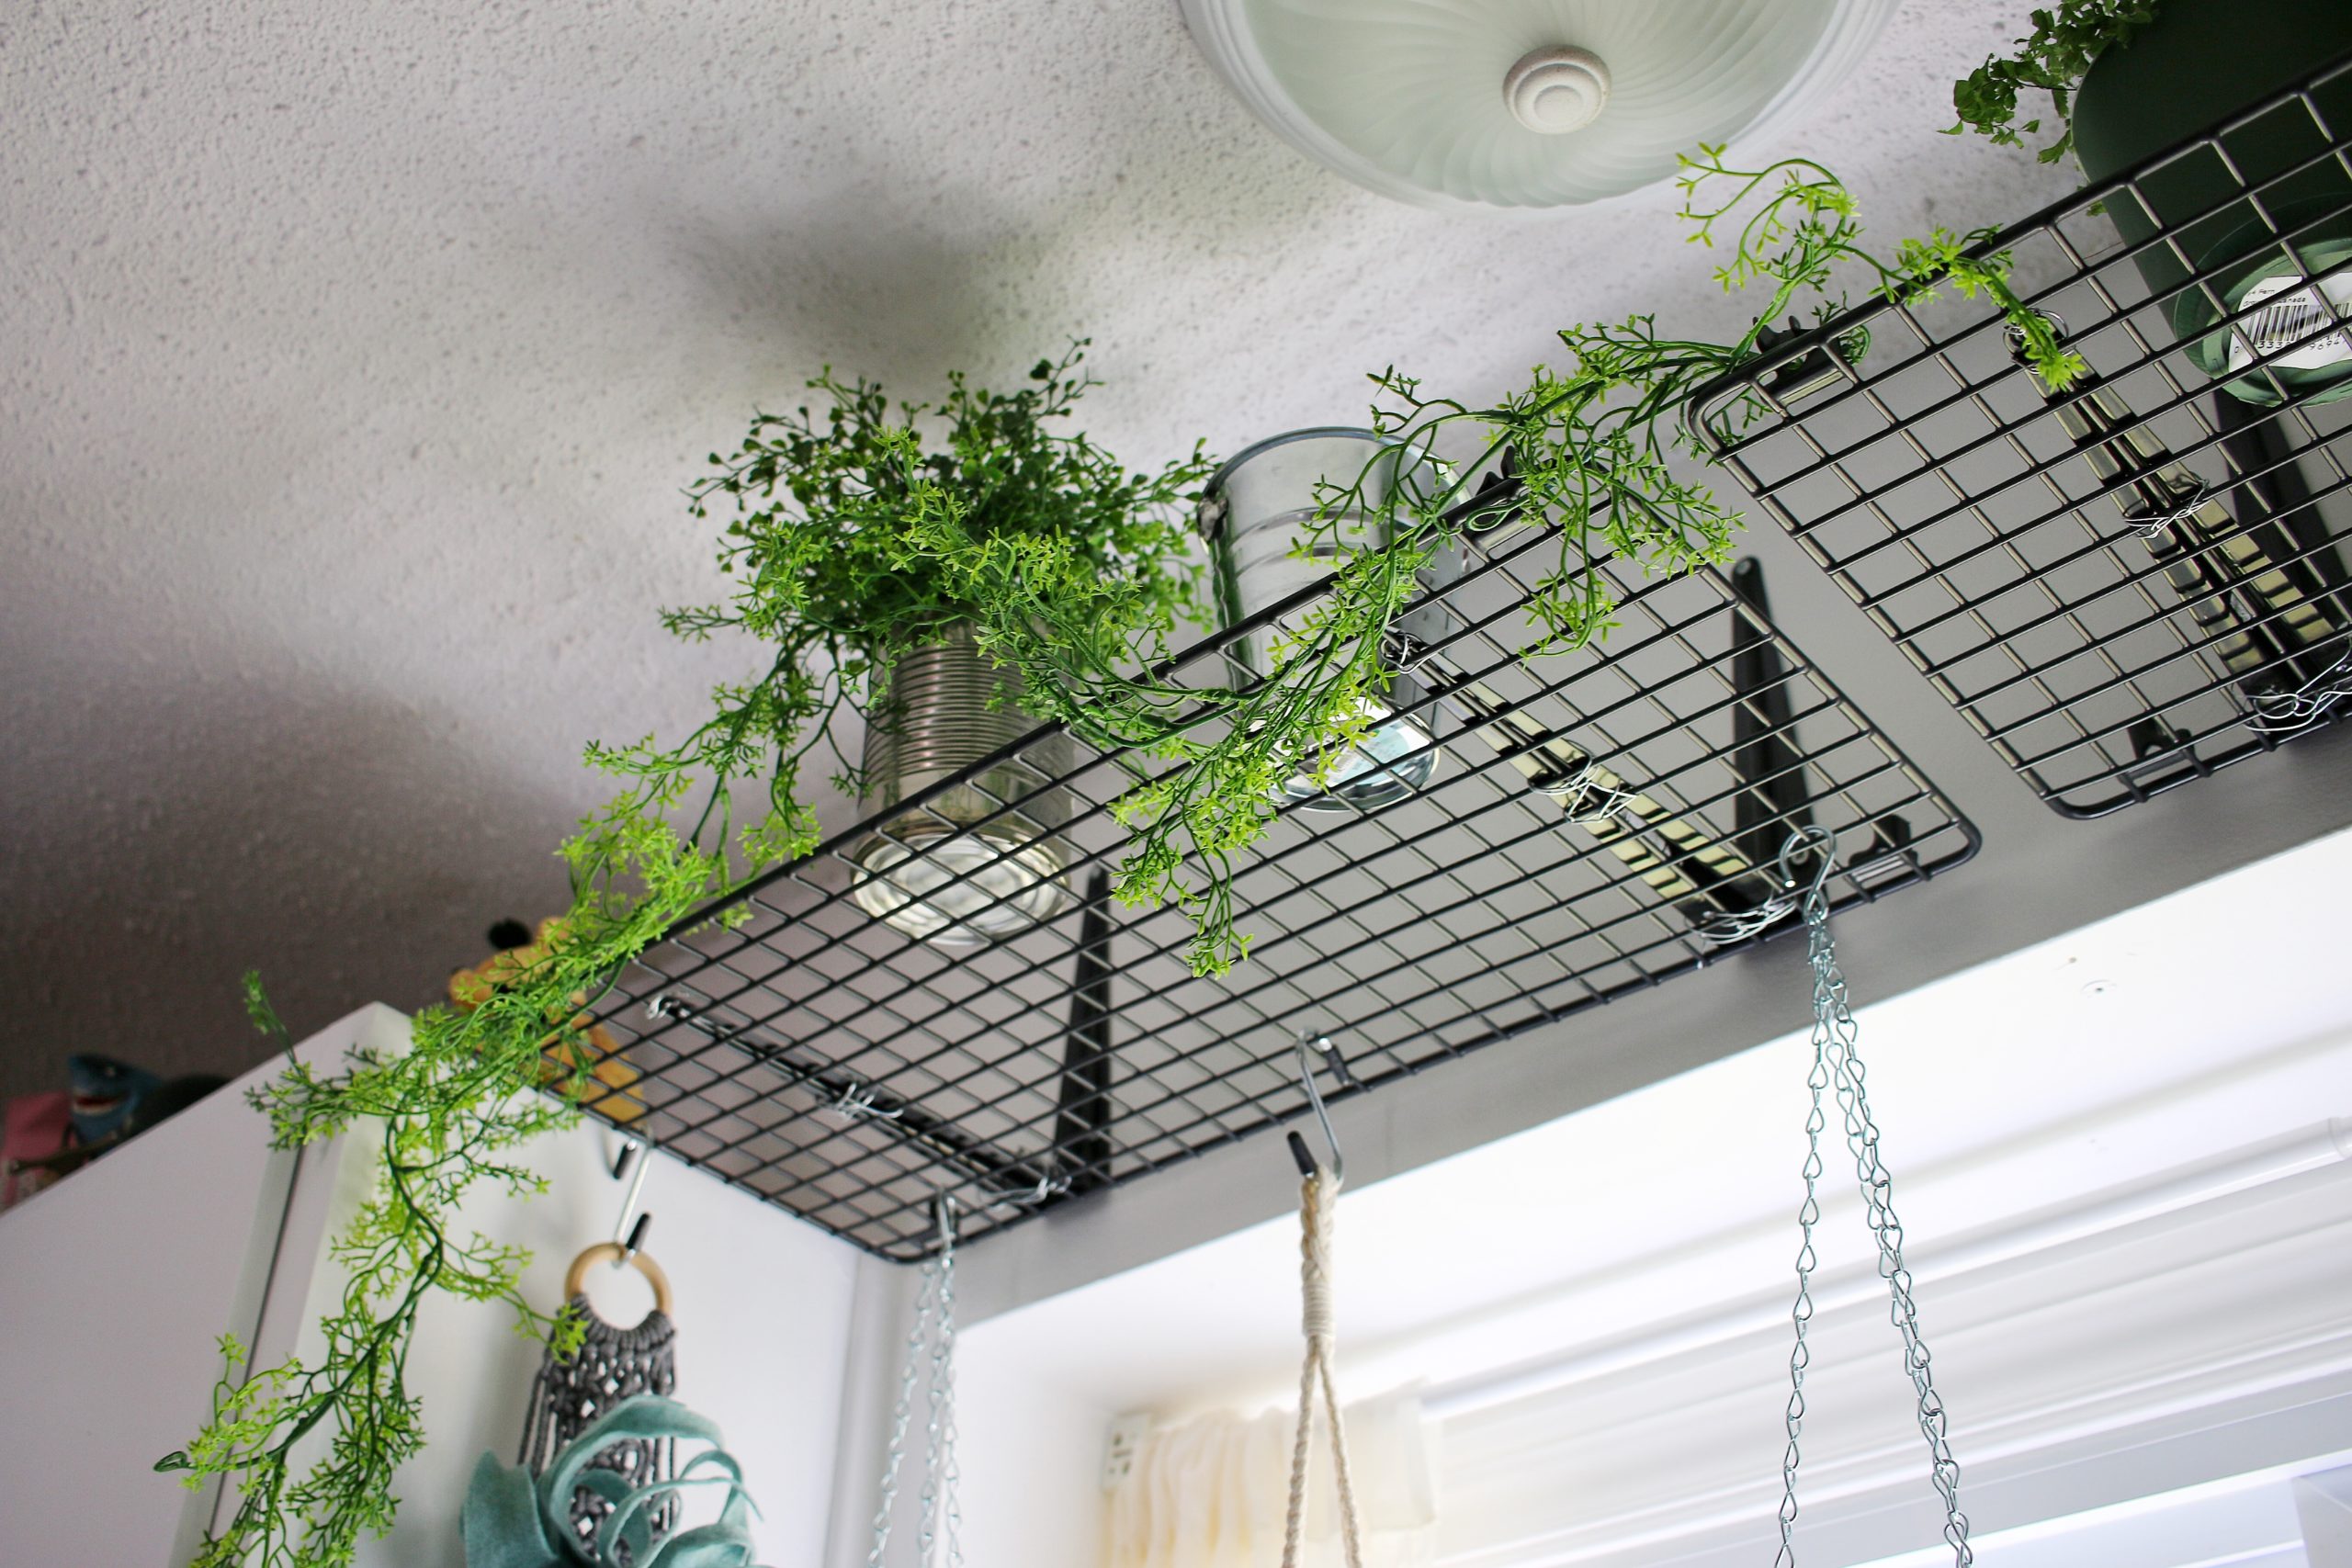
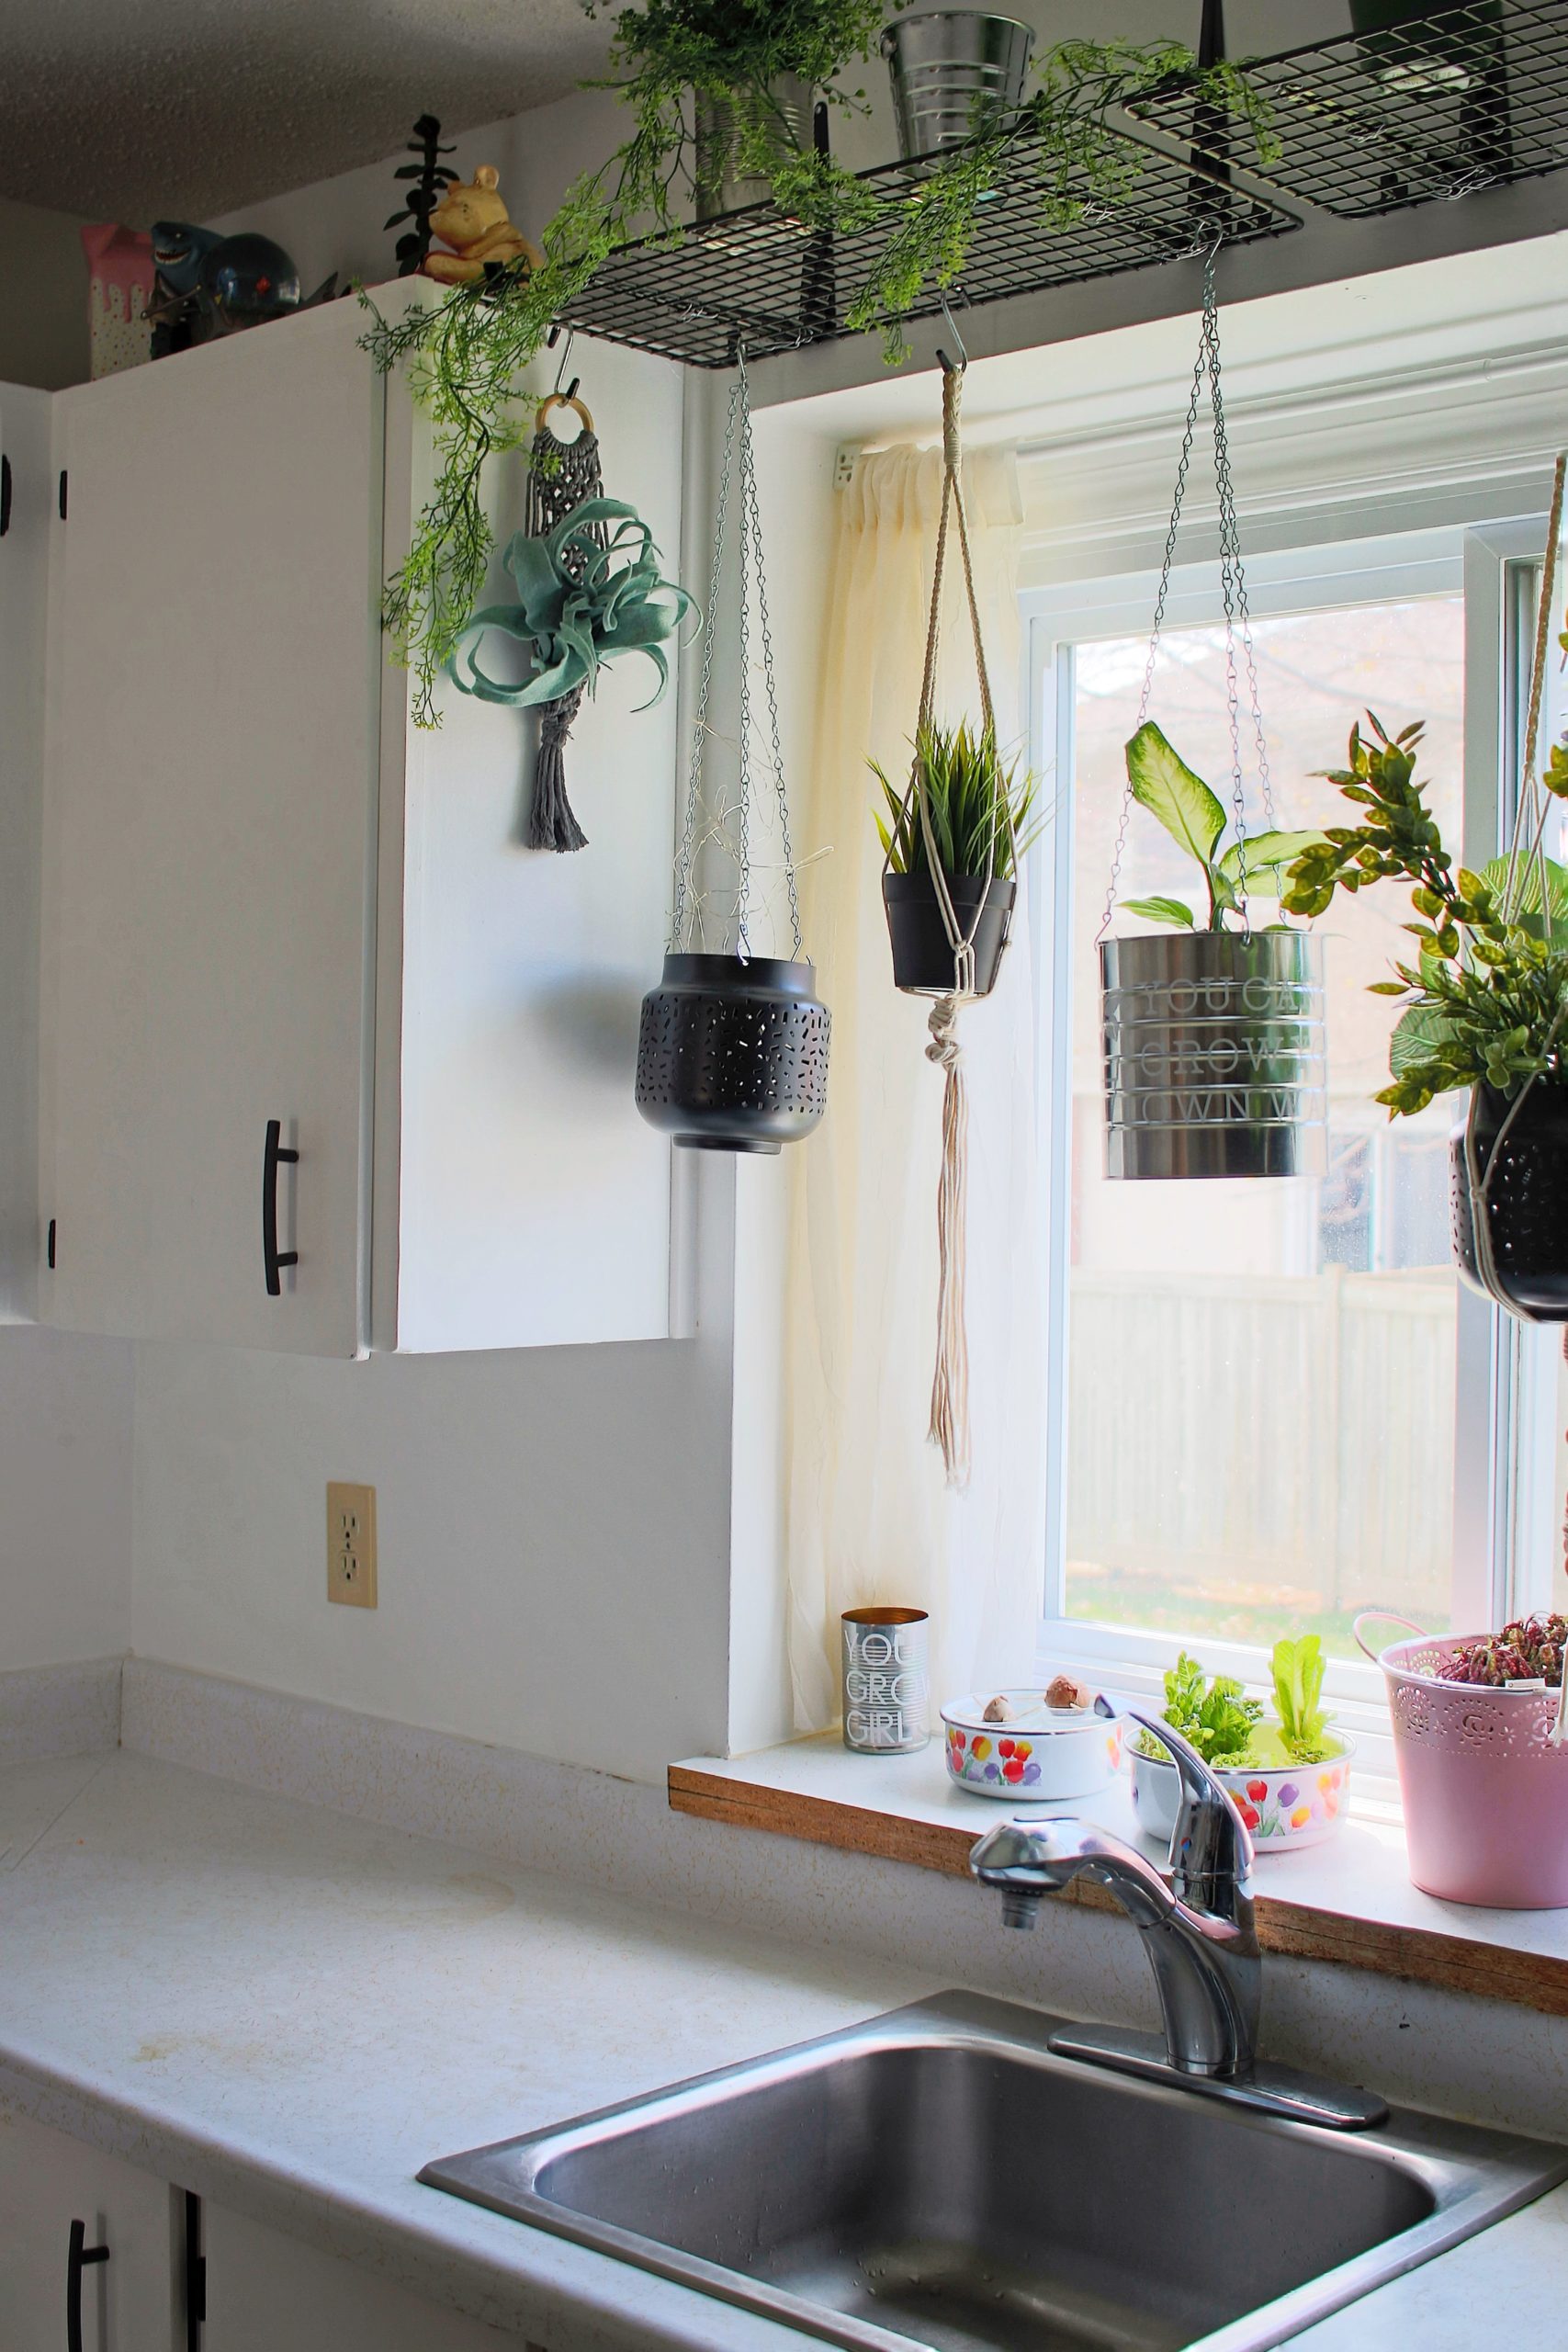
My favourite addition is, hands down, the DIY plant shelf I made from an Ikea shoe rack! You can read all about that one h e r e.
SO HERE THEY ARE,
The after photos of our DIY kitchen makeover adventure!
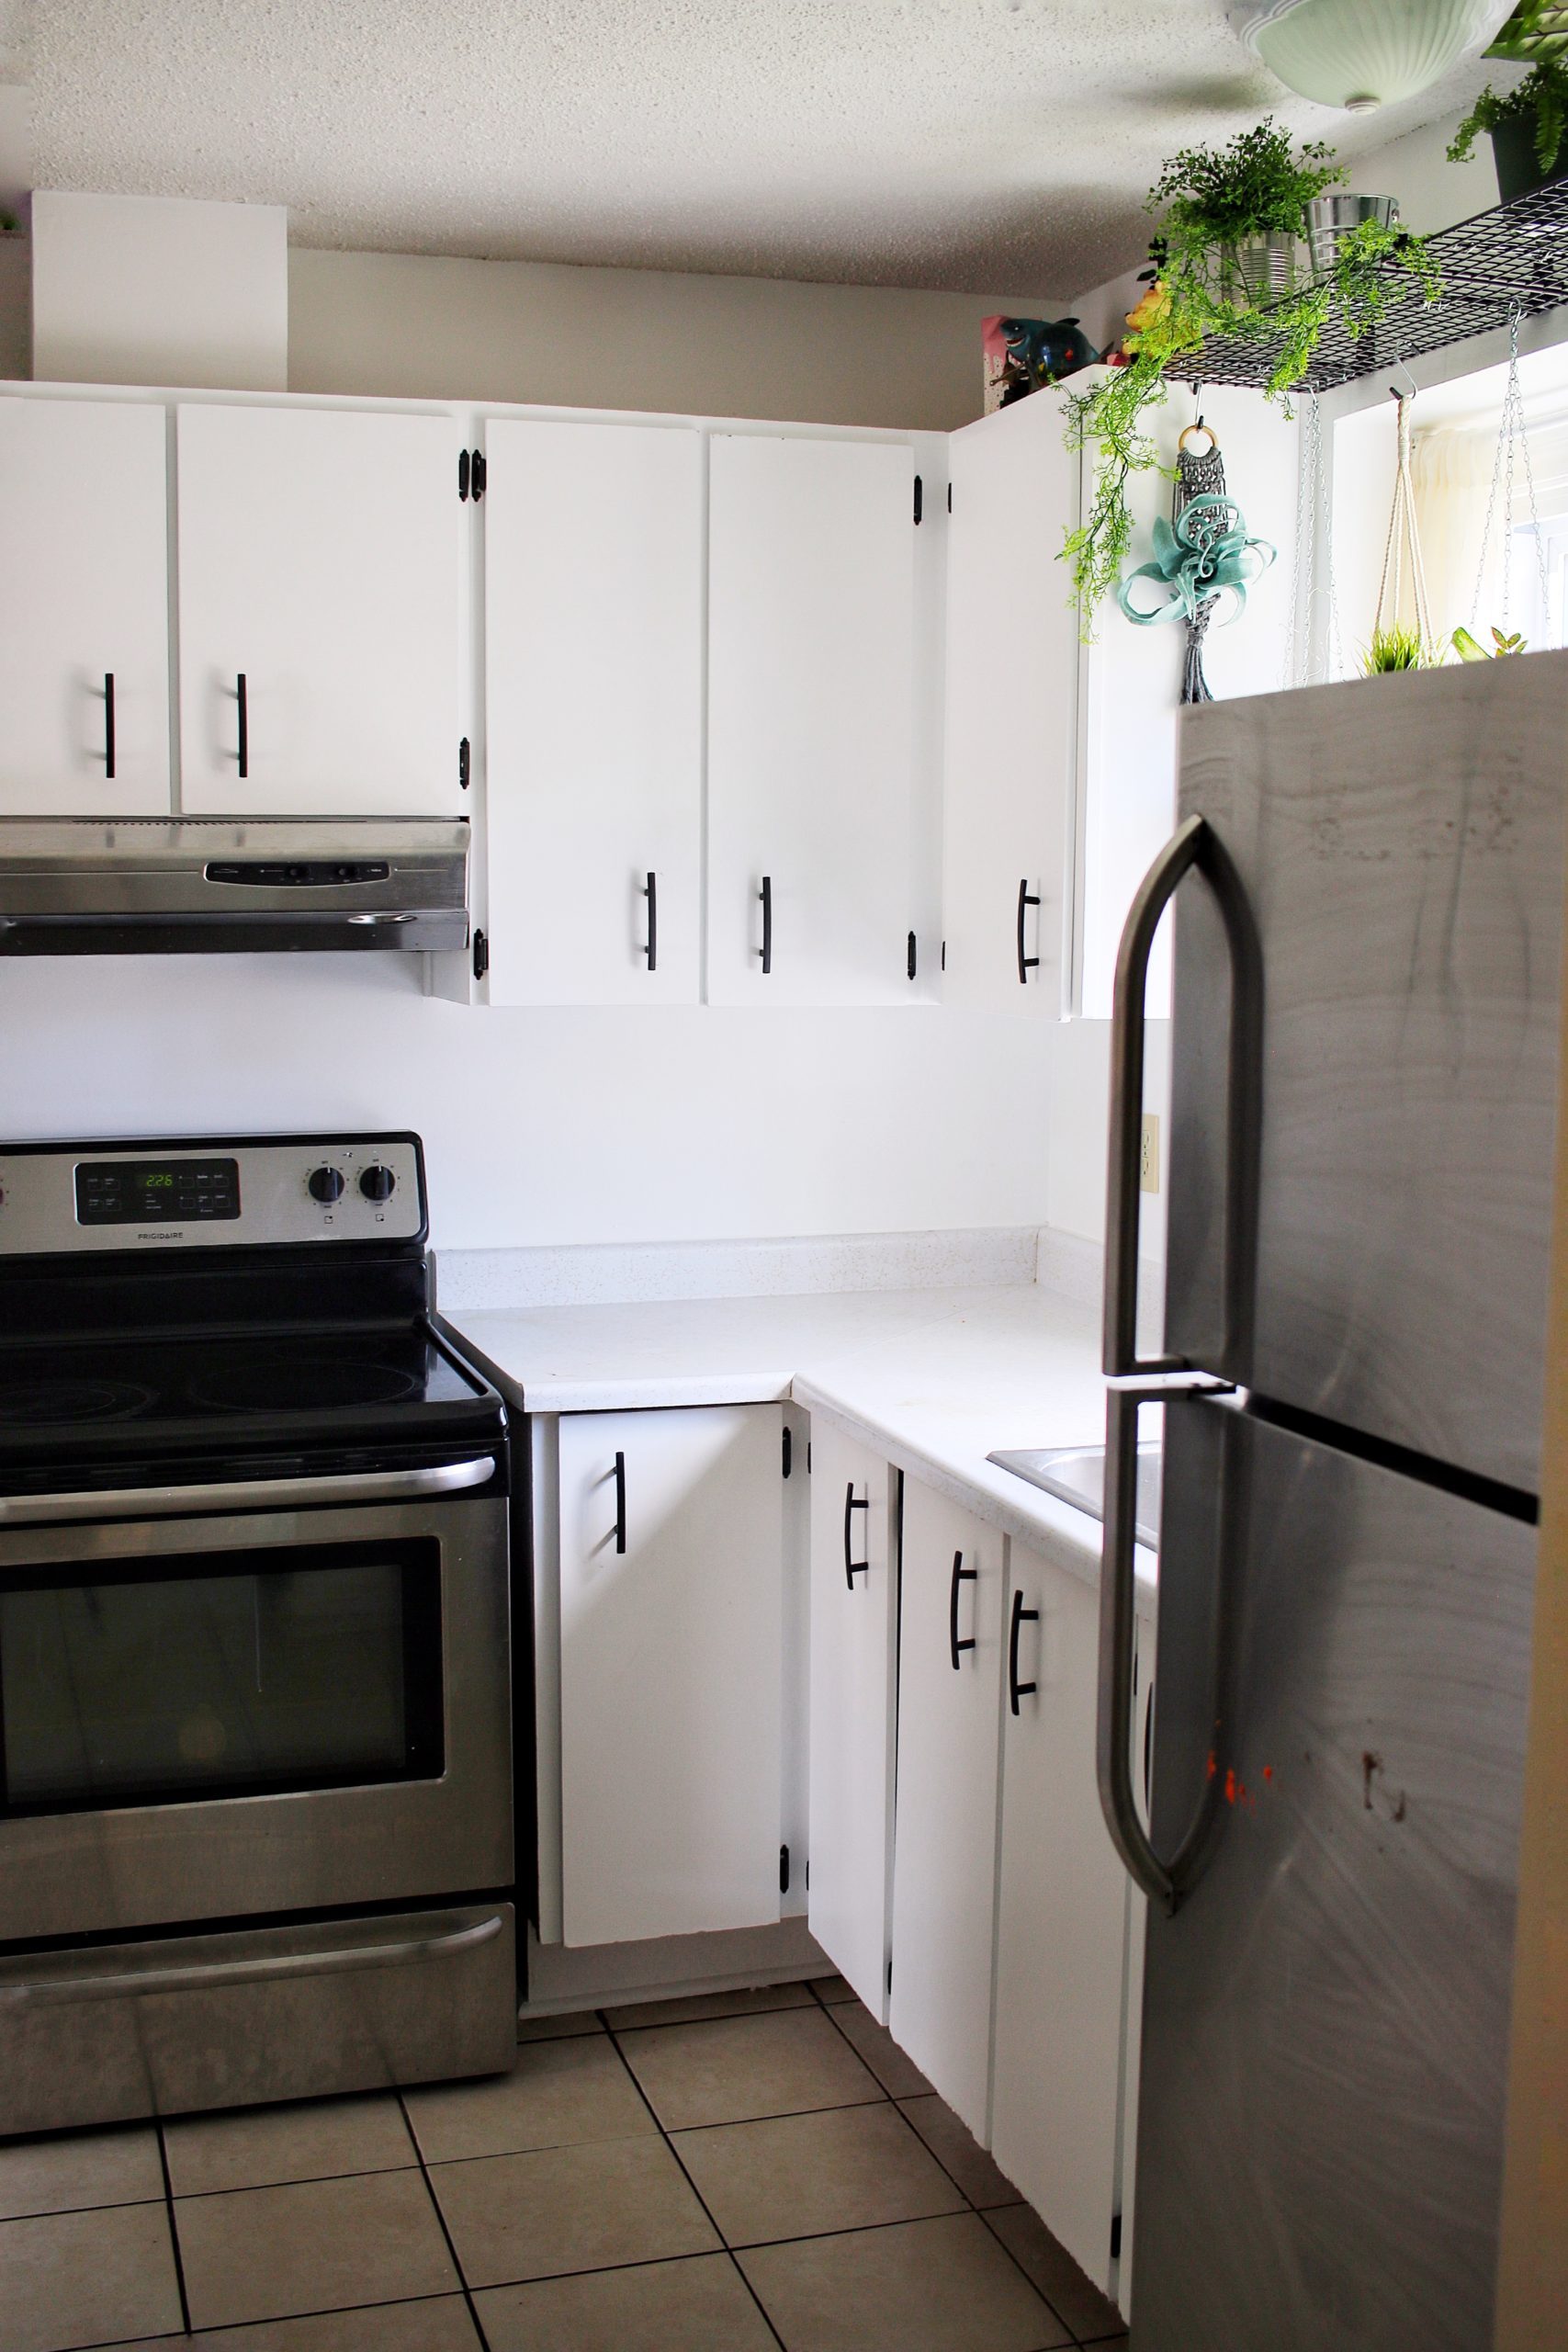

It feels SO DARN GOOD to walk into our kitchen now.
There’s still some small bits and bobs to finish slowly, especially once this pandemic is over and we can finally get back into the thrift stores. I’d love to find a nice wooden bread box for the counter, maybe some cool lightswitch and outlet covers to replace the ones in here now.
Or, maybe this pandemic will keep dragging on and I’ll decide I finally want to cover these old, ugly countertops with some good peel and stick.
But overall, despite all the mess and chaos, I’m so happy we did this DIY kitchen makeover!
Be sure to sign up for my newsletter below to keep up to date on all the future DIY projects I decide to embark upon.
The form you have selected does not exist.
Laundry Room Tins DIY by Being This Mama
May 21, 2020 at 2:55 am[…] OUR DIY KITCHEN MAKEOVER […]
Melissa and Doug Grocery Store Makeover by Being This Mama
June 19, 2020 at 2:45 am[…] CHECK OUT OUR KITCHEN MAKEOVER […]