DIY ORNAMENTS USING CRICUT SCRAPS
Have you been saving your vinyl scraps but unsure what to do with them? Here’s a fun and easy DIY ornament you can make using Cricut scraps and can lids!
PARTS OF THIS POST WERE SPONSORED BY CRICUT BUT ALL OPINIONS ARE MY OWN

When I first got my Cricut machine I was a little worried about the amount of waste I might create through my projects. So, I made a promise to myself that I would keep every scrap possible and use them in projects when I could! When I’m crafting I cut off as much excess as possible and they all get stored in a box together. While I may not always have the colour I need on hand, so far I’ve been able to adjust my project to make them work with the scraps that I have.
Scraps can be used for various types of projects: cutting out small details like eyes or small decorations, cutting out letters and numbers, cutting out stick on nail decals or using them to cut out small shapes!
Here’s how I made these DIY ornaments using Cricut scraps.
Materials:
- Cricut machine (I used the Cricut Joy)
- Cricut Joy StandardGrip Mat
- Cricut Brayer
- Cricut Weeder
- Cricut vinyl scraps
- Can lids (jar lids would work too)
- Twine/string for hanging
- Glue Gun
- Design Space (click here for my DS Canvas)
Before you start designing and cutting you’ll want to pull out your scraps and decide what you want to make with the colours you have. Keep in mind if you’re planning on cutting very detailed designs that they don’t always do well being cut on a really small scale – I had to change snowflake designs because it couldn’t do it!
Once you have an idea of what variety of colour and scrap sizes you have to work with you can start planning! I used only options in Design Space that Cricut offers and didn’t have to add any custom SVG files. They provide a ton of holiday themed ones and you’re bound to be able to search and find what you need!
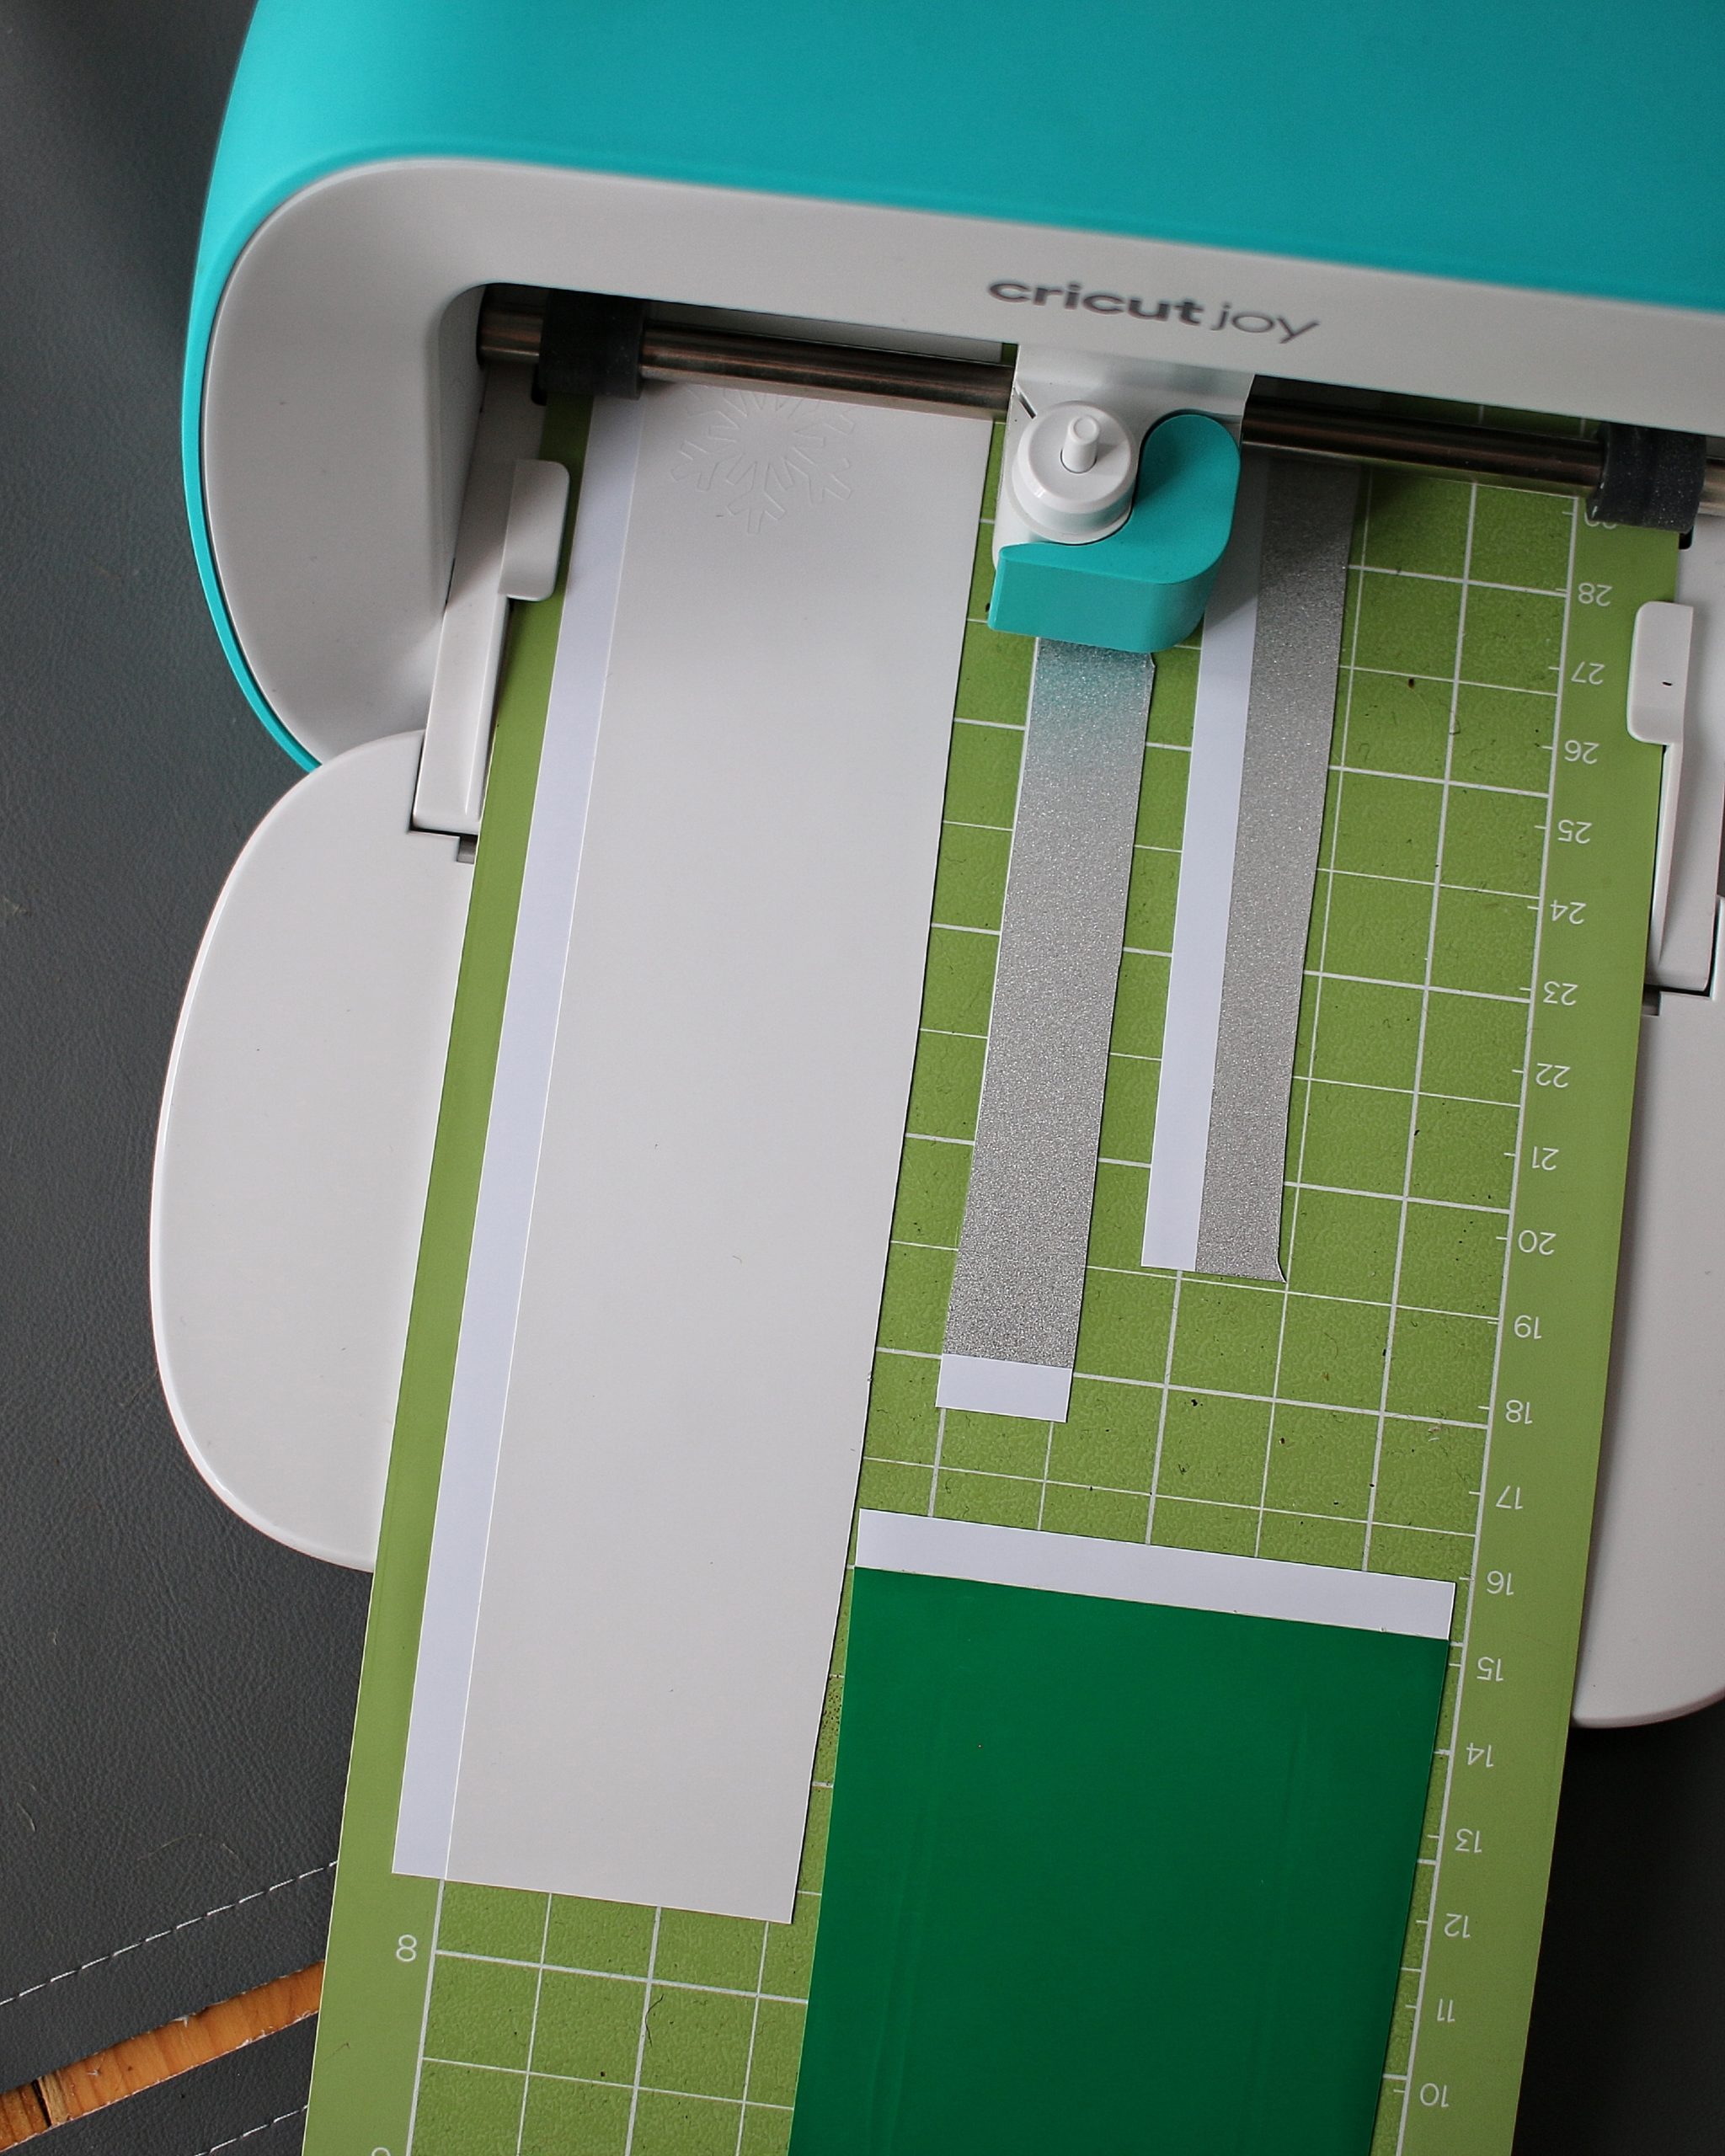
The next step in these DIY ornaments using Cricut scraps is preparing your mat for printing. Usually with the Cricut Joy you can do matless cutting – but the Smart Vinyl can be cut using the Joy Mats as well. It comes as a standard or a light grip – I used the standard mat.
When using scraps, you’ll want to line each piece up against the measurement markers. I stick to the main inch marks – it’s the easiest way to match them to Design Space afterwards.
/Note: if you’re using a Cricut machine other than the Joy you should be able to use the Cricut app to “scan” your scraps on your mat and line your design up.
Once your scraps are lined up on your mat proceed to click “make it” on Design Space. Design Space will automatically line your design up to print on the least amount of vinyl possible, so this is where you’re going to need to arrange your pieces to be sure they’re waiting your scrap and on the right colour, too! Follow the measurement guides on your mat to align the design pieces – be sure to leave a slight buffer on the edges.
While your vinyl is being cut, you can prepare your lids to transform into DIY ornaments using Cricut scraps. I prewashed mine when I did the dishes – you’ll need to be sure you give them a good soapy wash to get off any food residue that may be there. Once clean and dry I did give them a quick rubbing alcohol rub to be sure any residues were removed – it’ll help your vinyl stick better.
Once all your scraps are printed you’ll want to weed them all. I like to keep a container or reusable Starbucks cup beside me like a mini trash can to drop all my little scraps into.
Unlike other Cricut projects I actually didn’t use transfer tape for most of it. Since I printed on scraps instead of full sheets the designs were out of place and not in a one-transfer position. Instead I carefully peeled them off like a sticker and placed them onto

the lids, being sure to touch the sticky side with my fingers the least amount of times possible. The only designs I used transfer tape for were the words, since those were in order and together!
While it sounds like it can take a lot of extra time to not use transfer tape it didn’t. All the DIY ornaments using Cricut scraps that I made were easy and simple! Some images, like the snowflakes, can be fragile though and you will want to peel gently and slowly for those.
To be sure they were stuck on well and all bubbles were gone I went over each design with my Cricut Scraper and gave them all one good rub. The scraper also helped with getting some of the smaller pieces, like the wreath leaves, stuck into place properly.

Once my designs were all printed and placed onto my lids I heated up the glue gun and grabbed some twine. I used twine scraps I had kept from other various crafting projects – I’m kind of a crafting scraps hoarder, but it works out well. A quick dab of glue attached the twine onto the back of the lids.
Since I’m only planning on having these indoors and used the permanent style vinyl I didn’t coat my lids in anything. If you’re planning on having them outdoors or did not use a permanent style vinyl, you could give it a good top coat in something like varnish or waterproof Mod Podge to prevent any peeling or rusting!
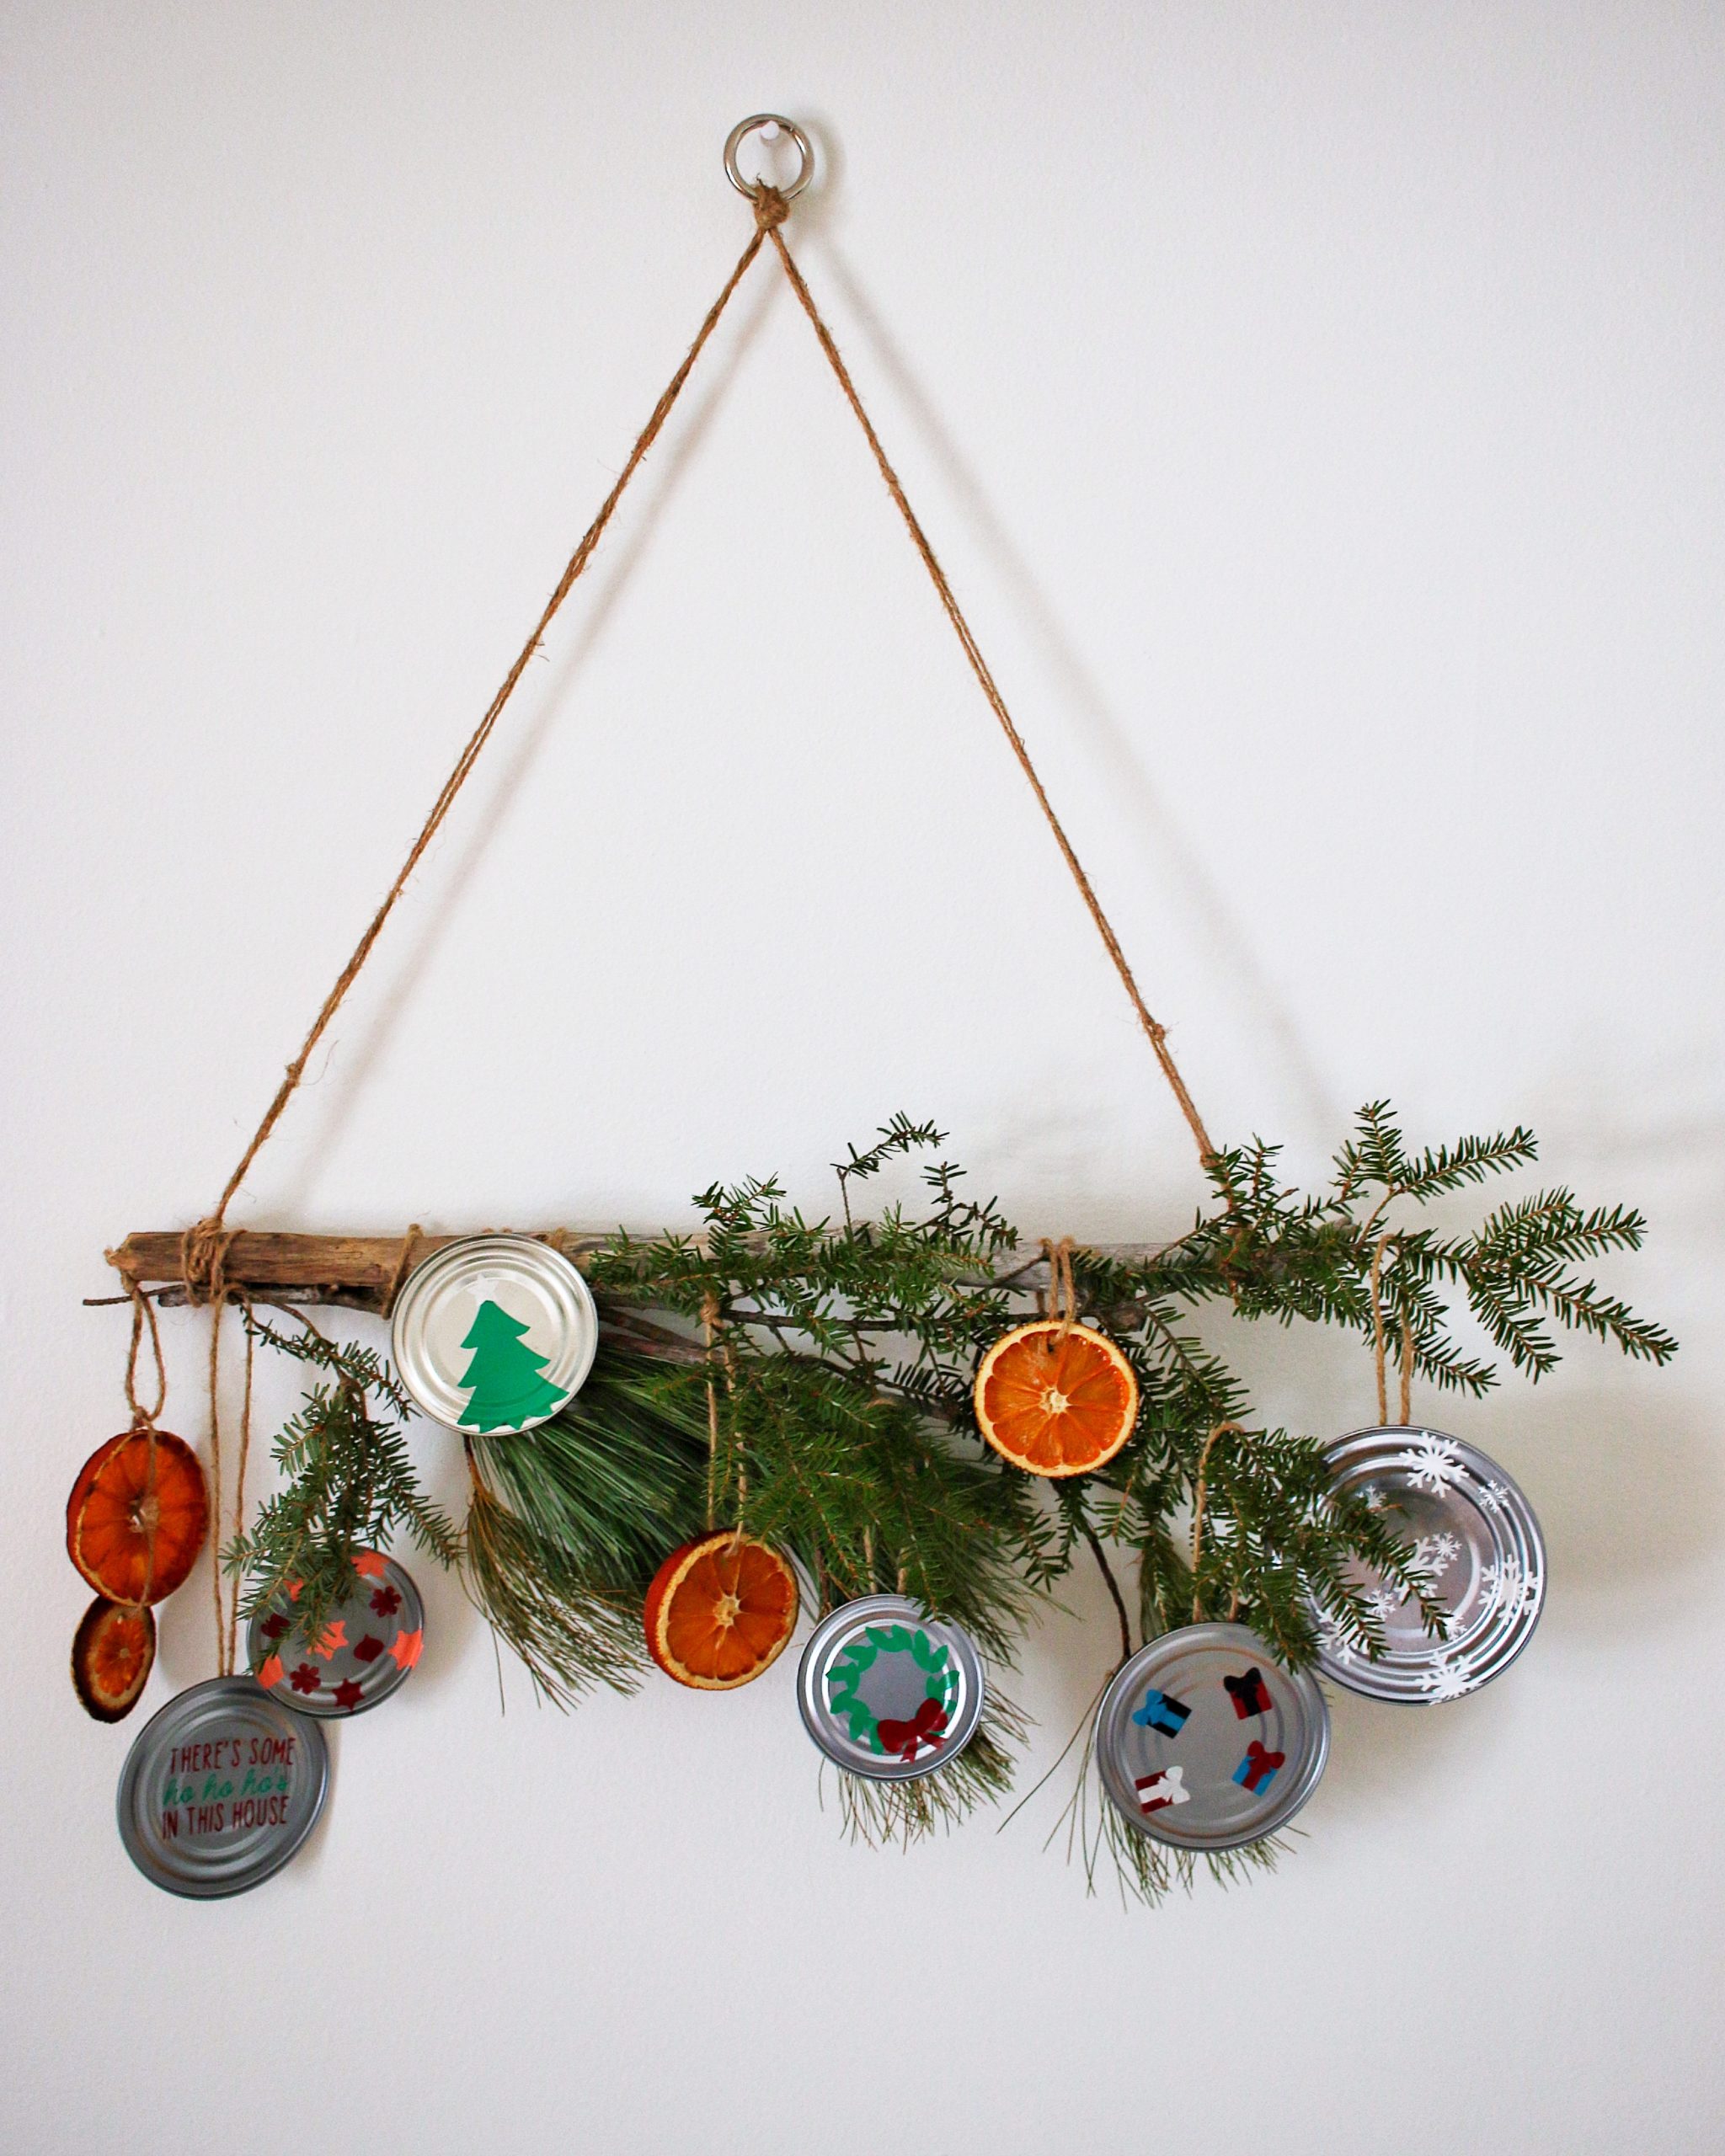
Here’s my final results:
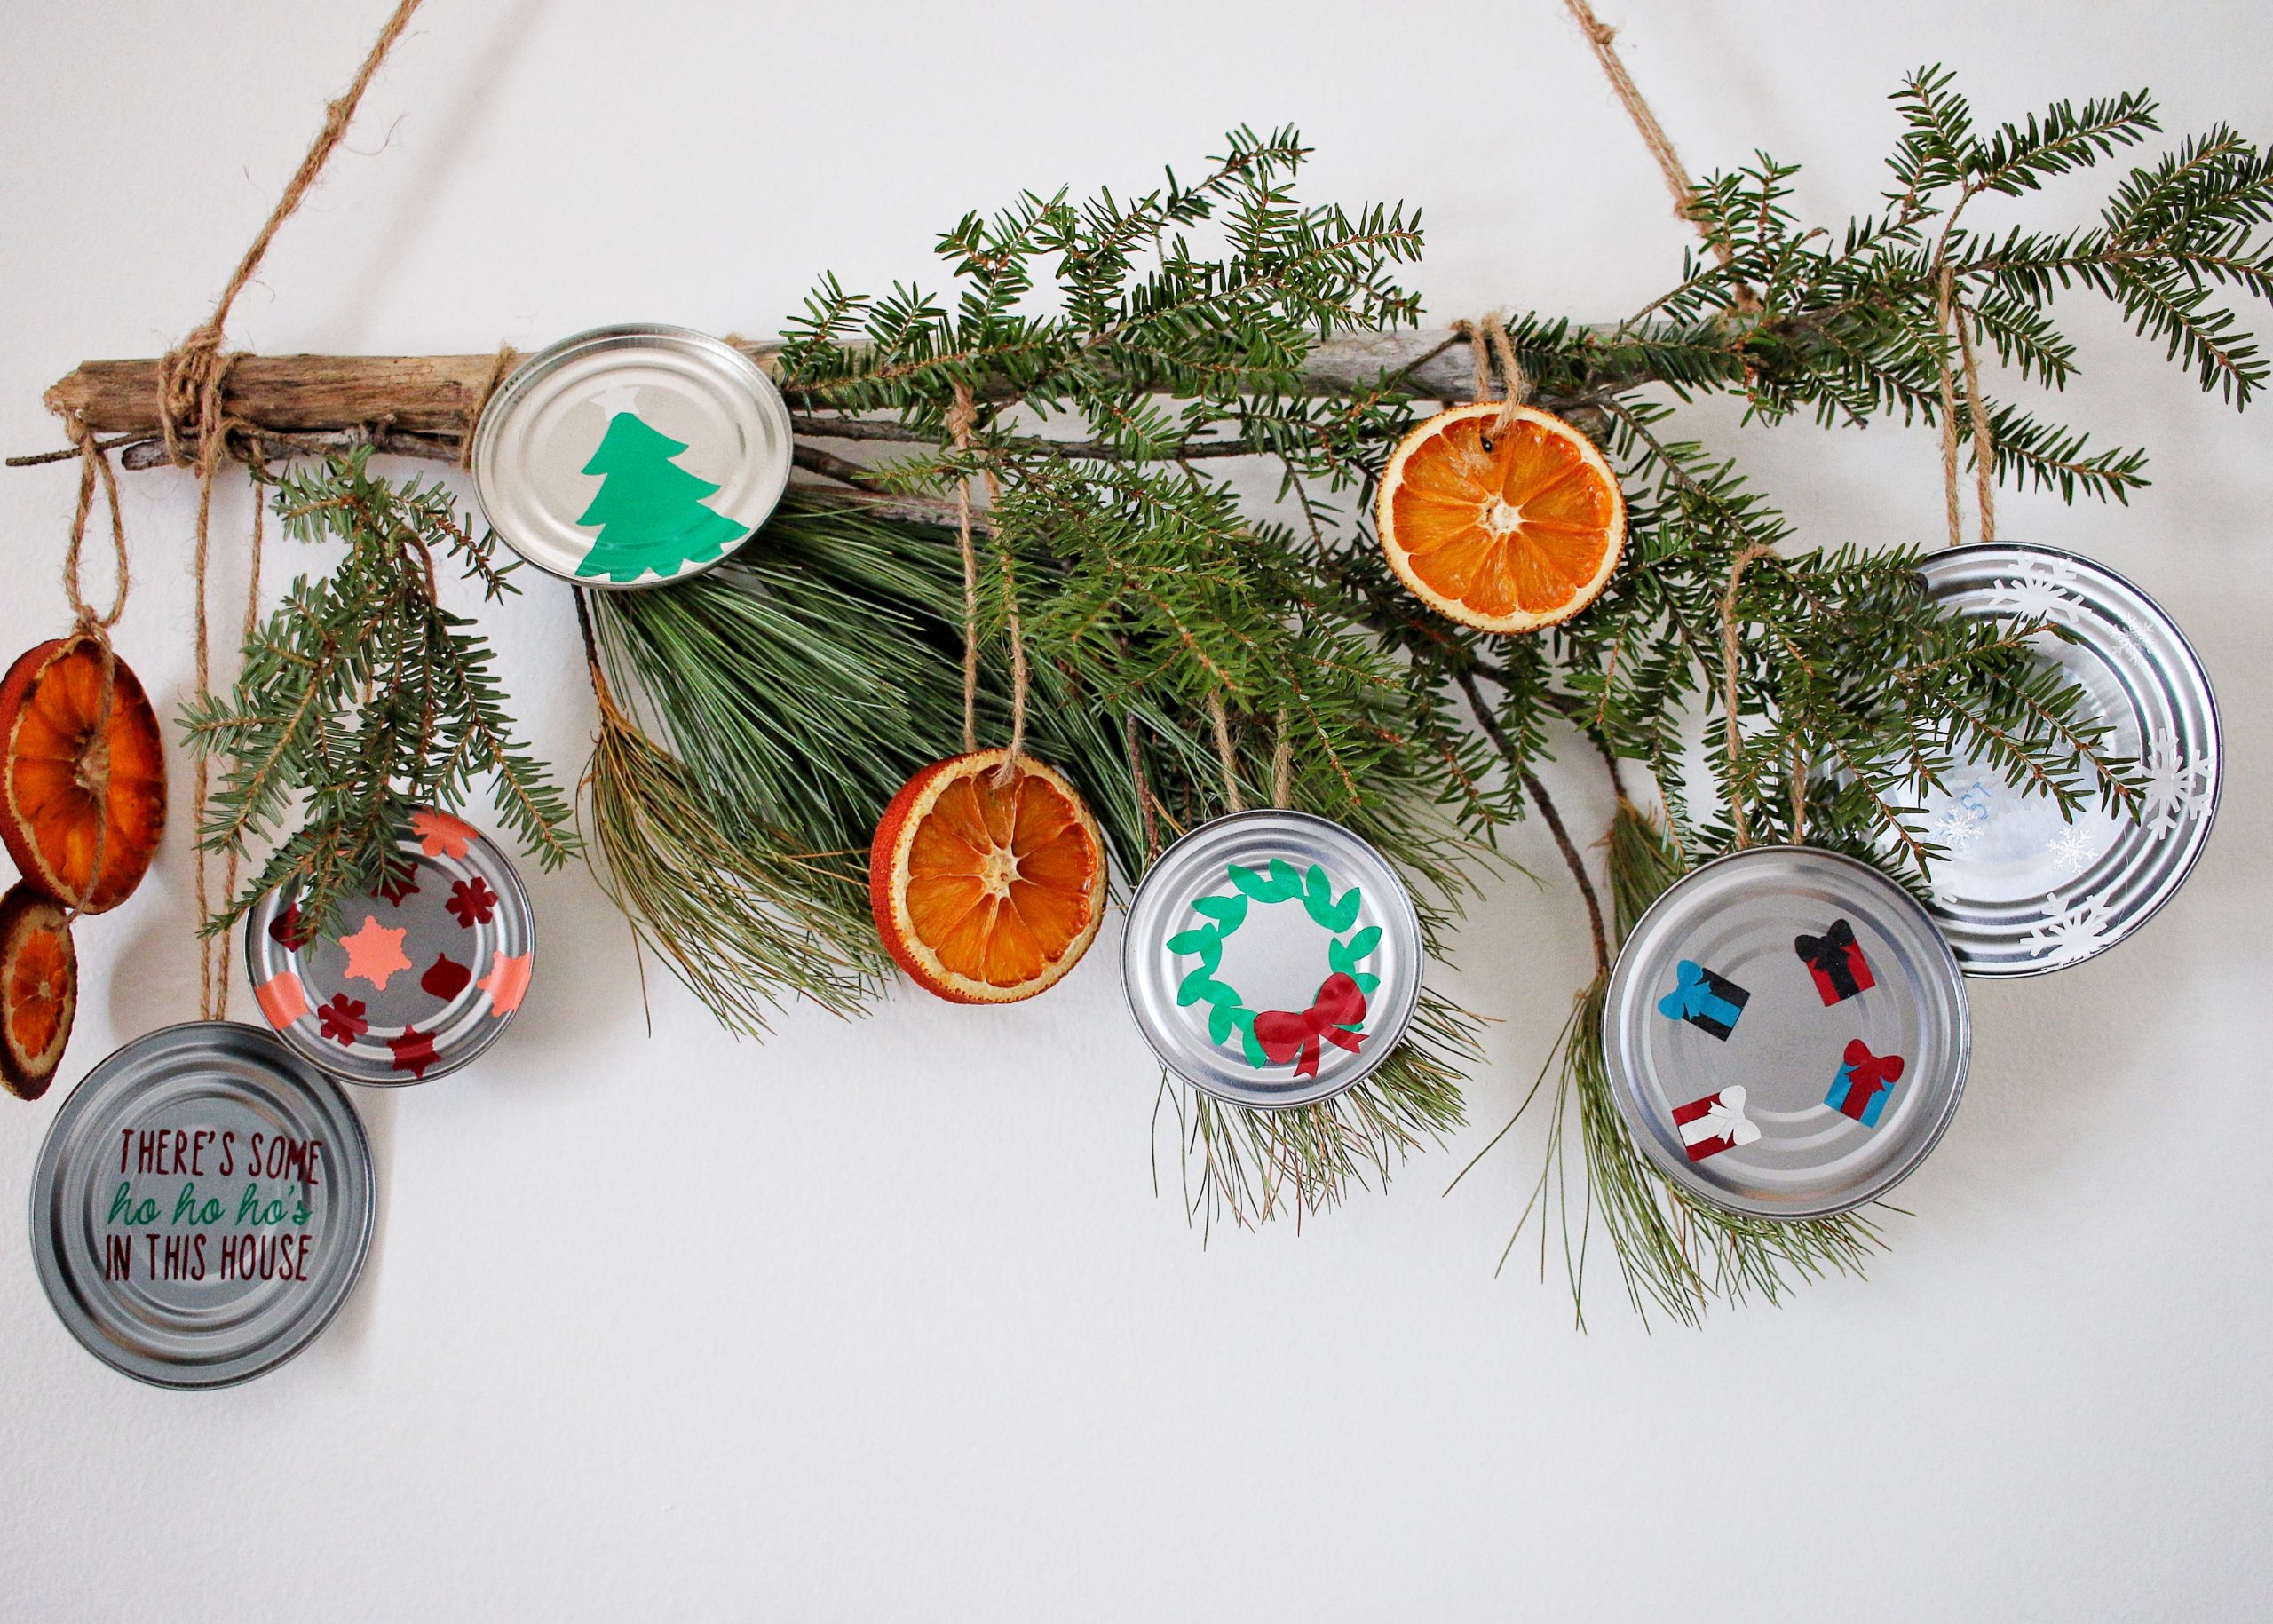


I love them! They’re simple but cute and easy decor to add onto the tree or garland.
If you have more scraps, you could use the same type of method and make:
- Gift tags
- Mugs
- Cards
- Characters
and more.
I hope you enjoyed this DIY ornaments using Cricut scraps idea. Be sure to check out some of my other Cricut crafting ideas below!
Leave a Reply