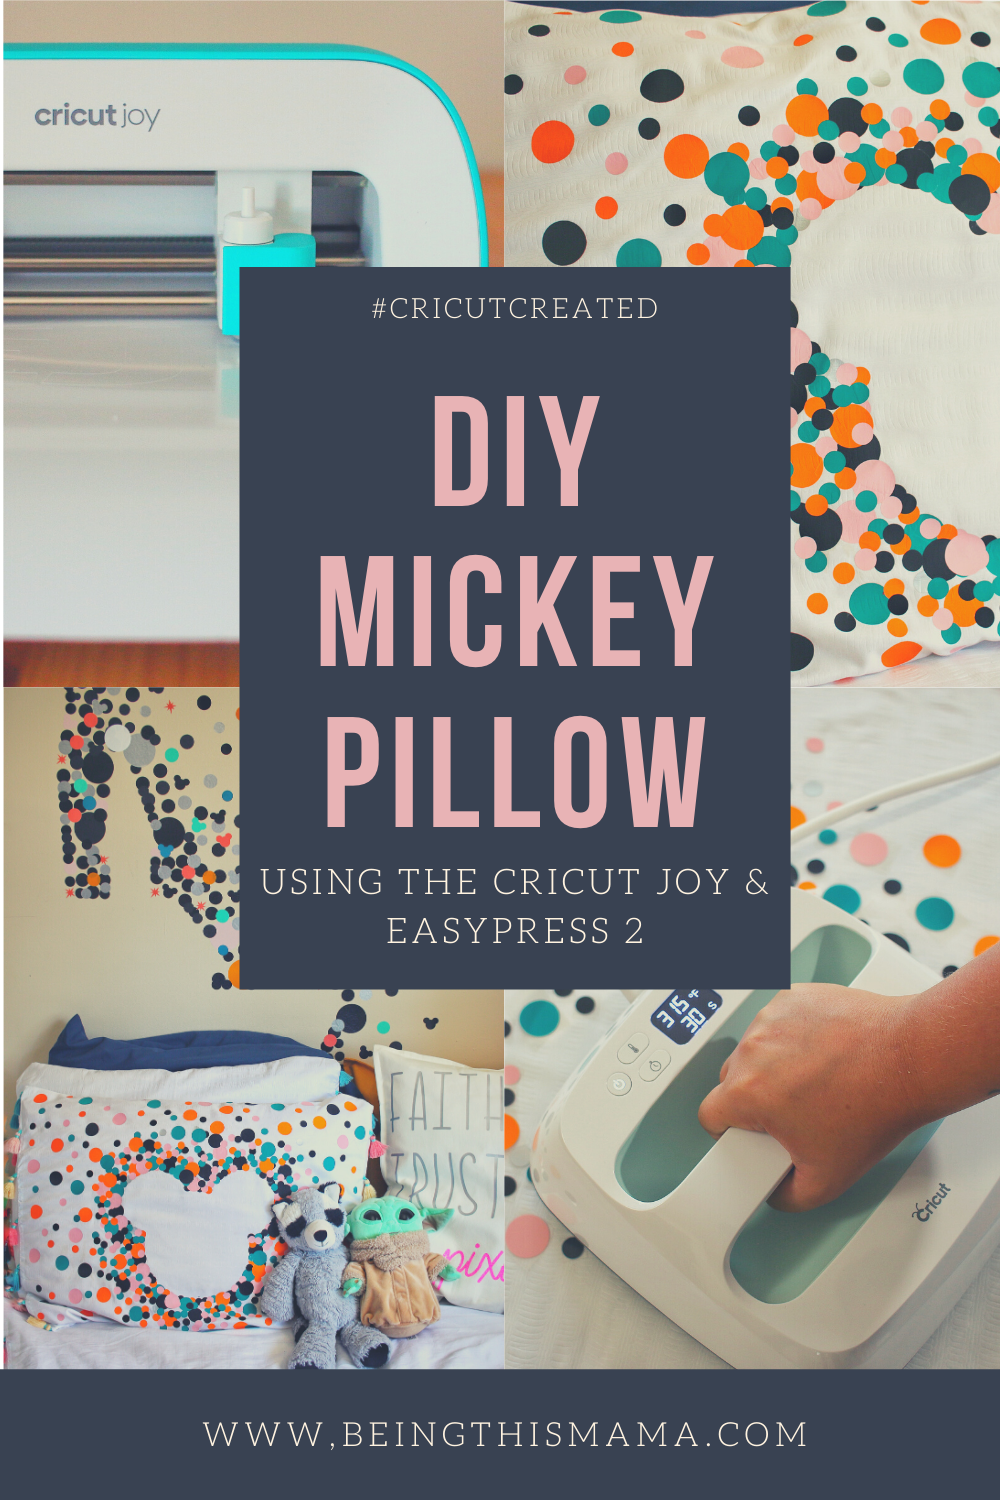
DIY MICKEY PILLOW USING THE CRICUT JOY
Who’s the leader of the club that’s made for you and me?
M-I-C-K-E-Y M-O-U-S-E!
He’s also the centre of attention in this DIY Mickey pillow using the Cricut Joy.

After finishing up the Disney Castle wall decor in our toddler’s room I was obsessed with the idea of creating a matching pillow that used the same concept. I went back and forth on what character I should do, if I should recreate the same castle or do something different and finally decided the best addition to her room would be a simple Mickey head.
I can’t lie, I was a little scared to attempt it. It was only my second time using the Smart Iron-On and EasyPress 2 and I’d never layered Iron-On before either. I was fairly convinced I was going to ruin the pillowcase and have a disappointed kid. Turns out it was actually super easy to do it and I worried for nothing!
Here’s how I accomplished this DIY Mickey pillow using my Cricut Joy.
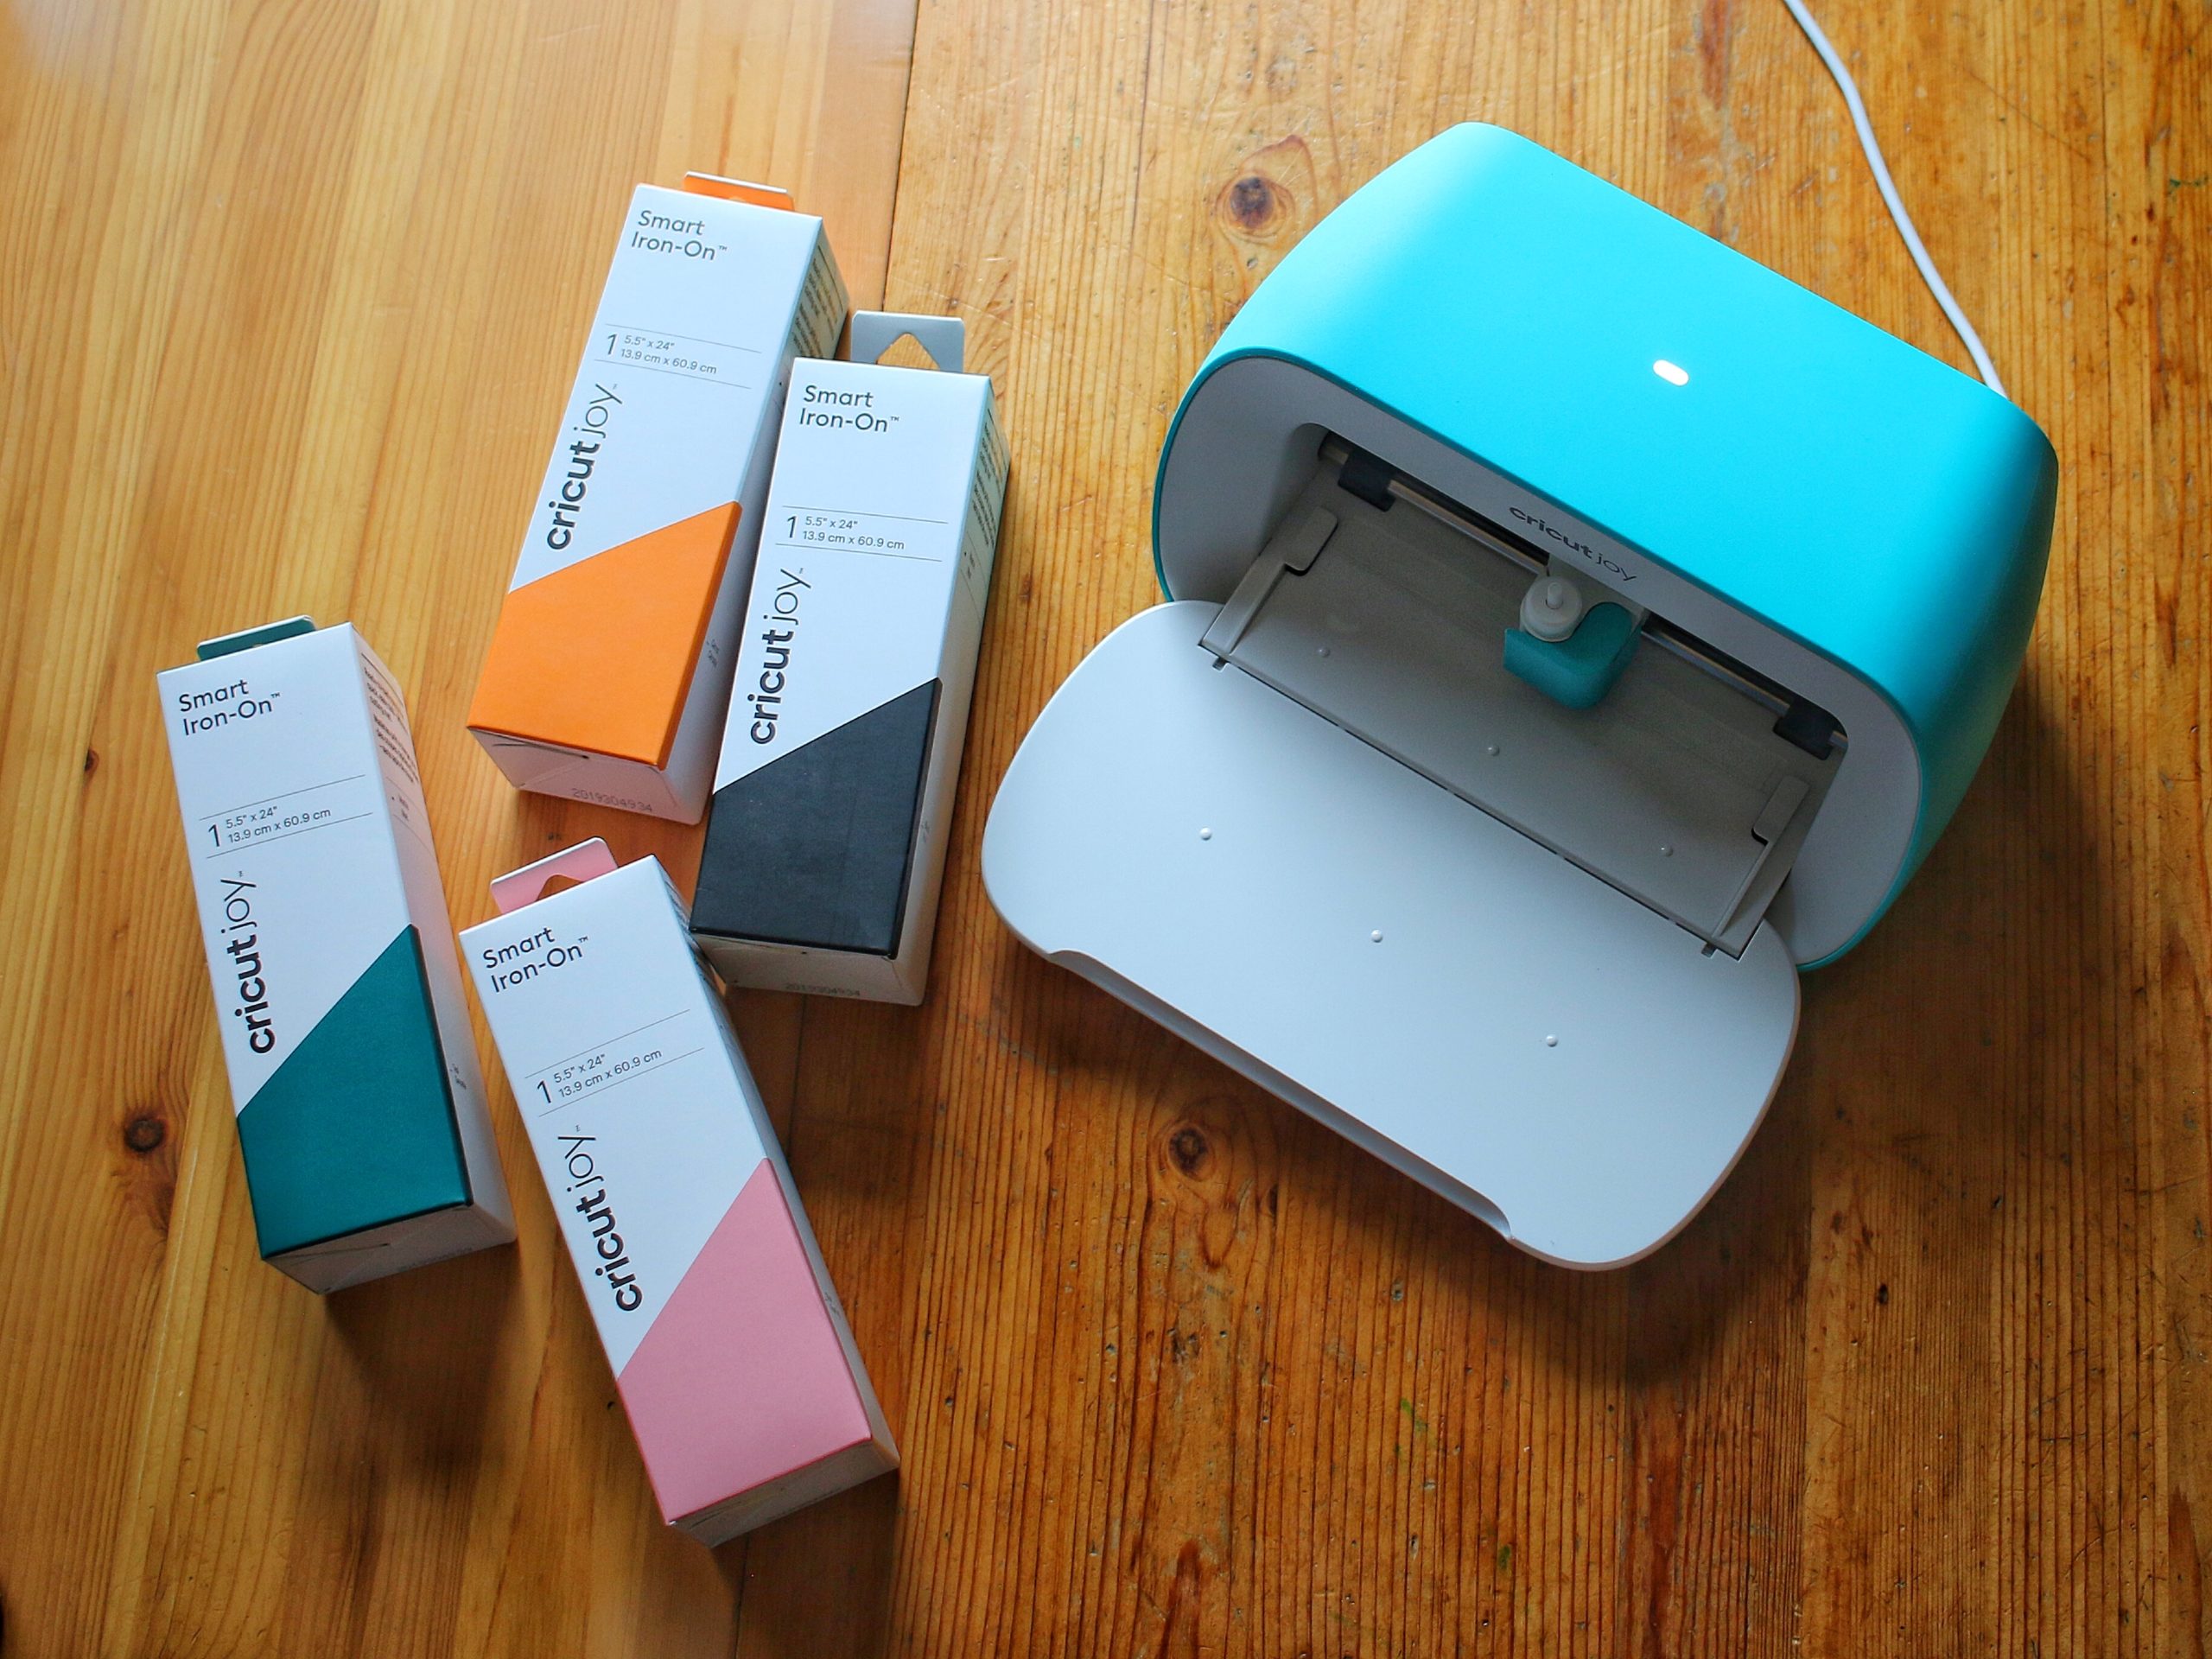
MATERIALS:
- Cricut Joy
- Cricut EasyPress2
- Cricut Smart Iron-On in Carrot, Teal, Blush and Black
- Cricut Weeder
- Cricut Spatula
- Cricut EasyPress Mat or Towel
- Pillowcase
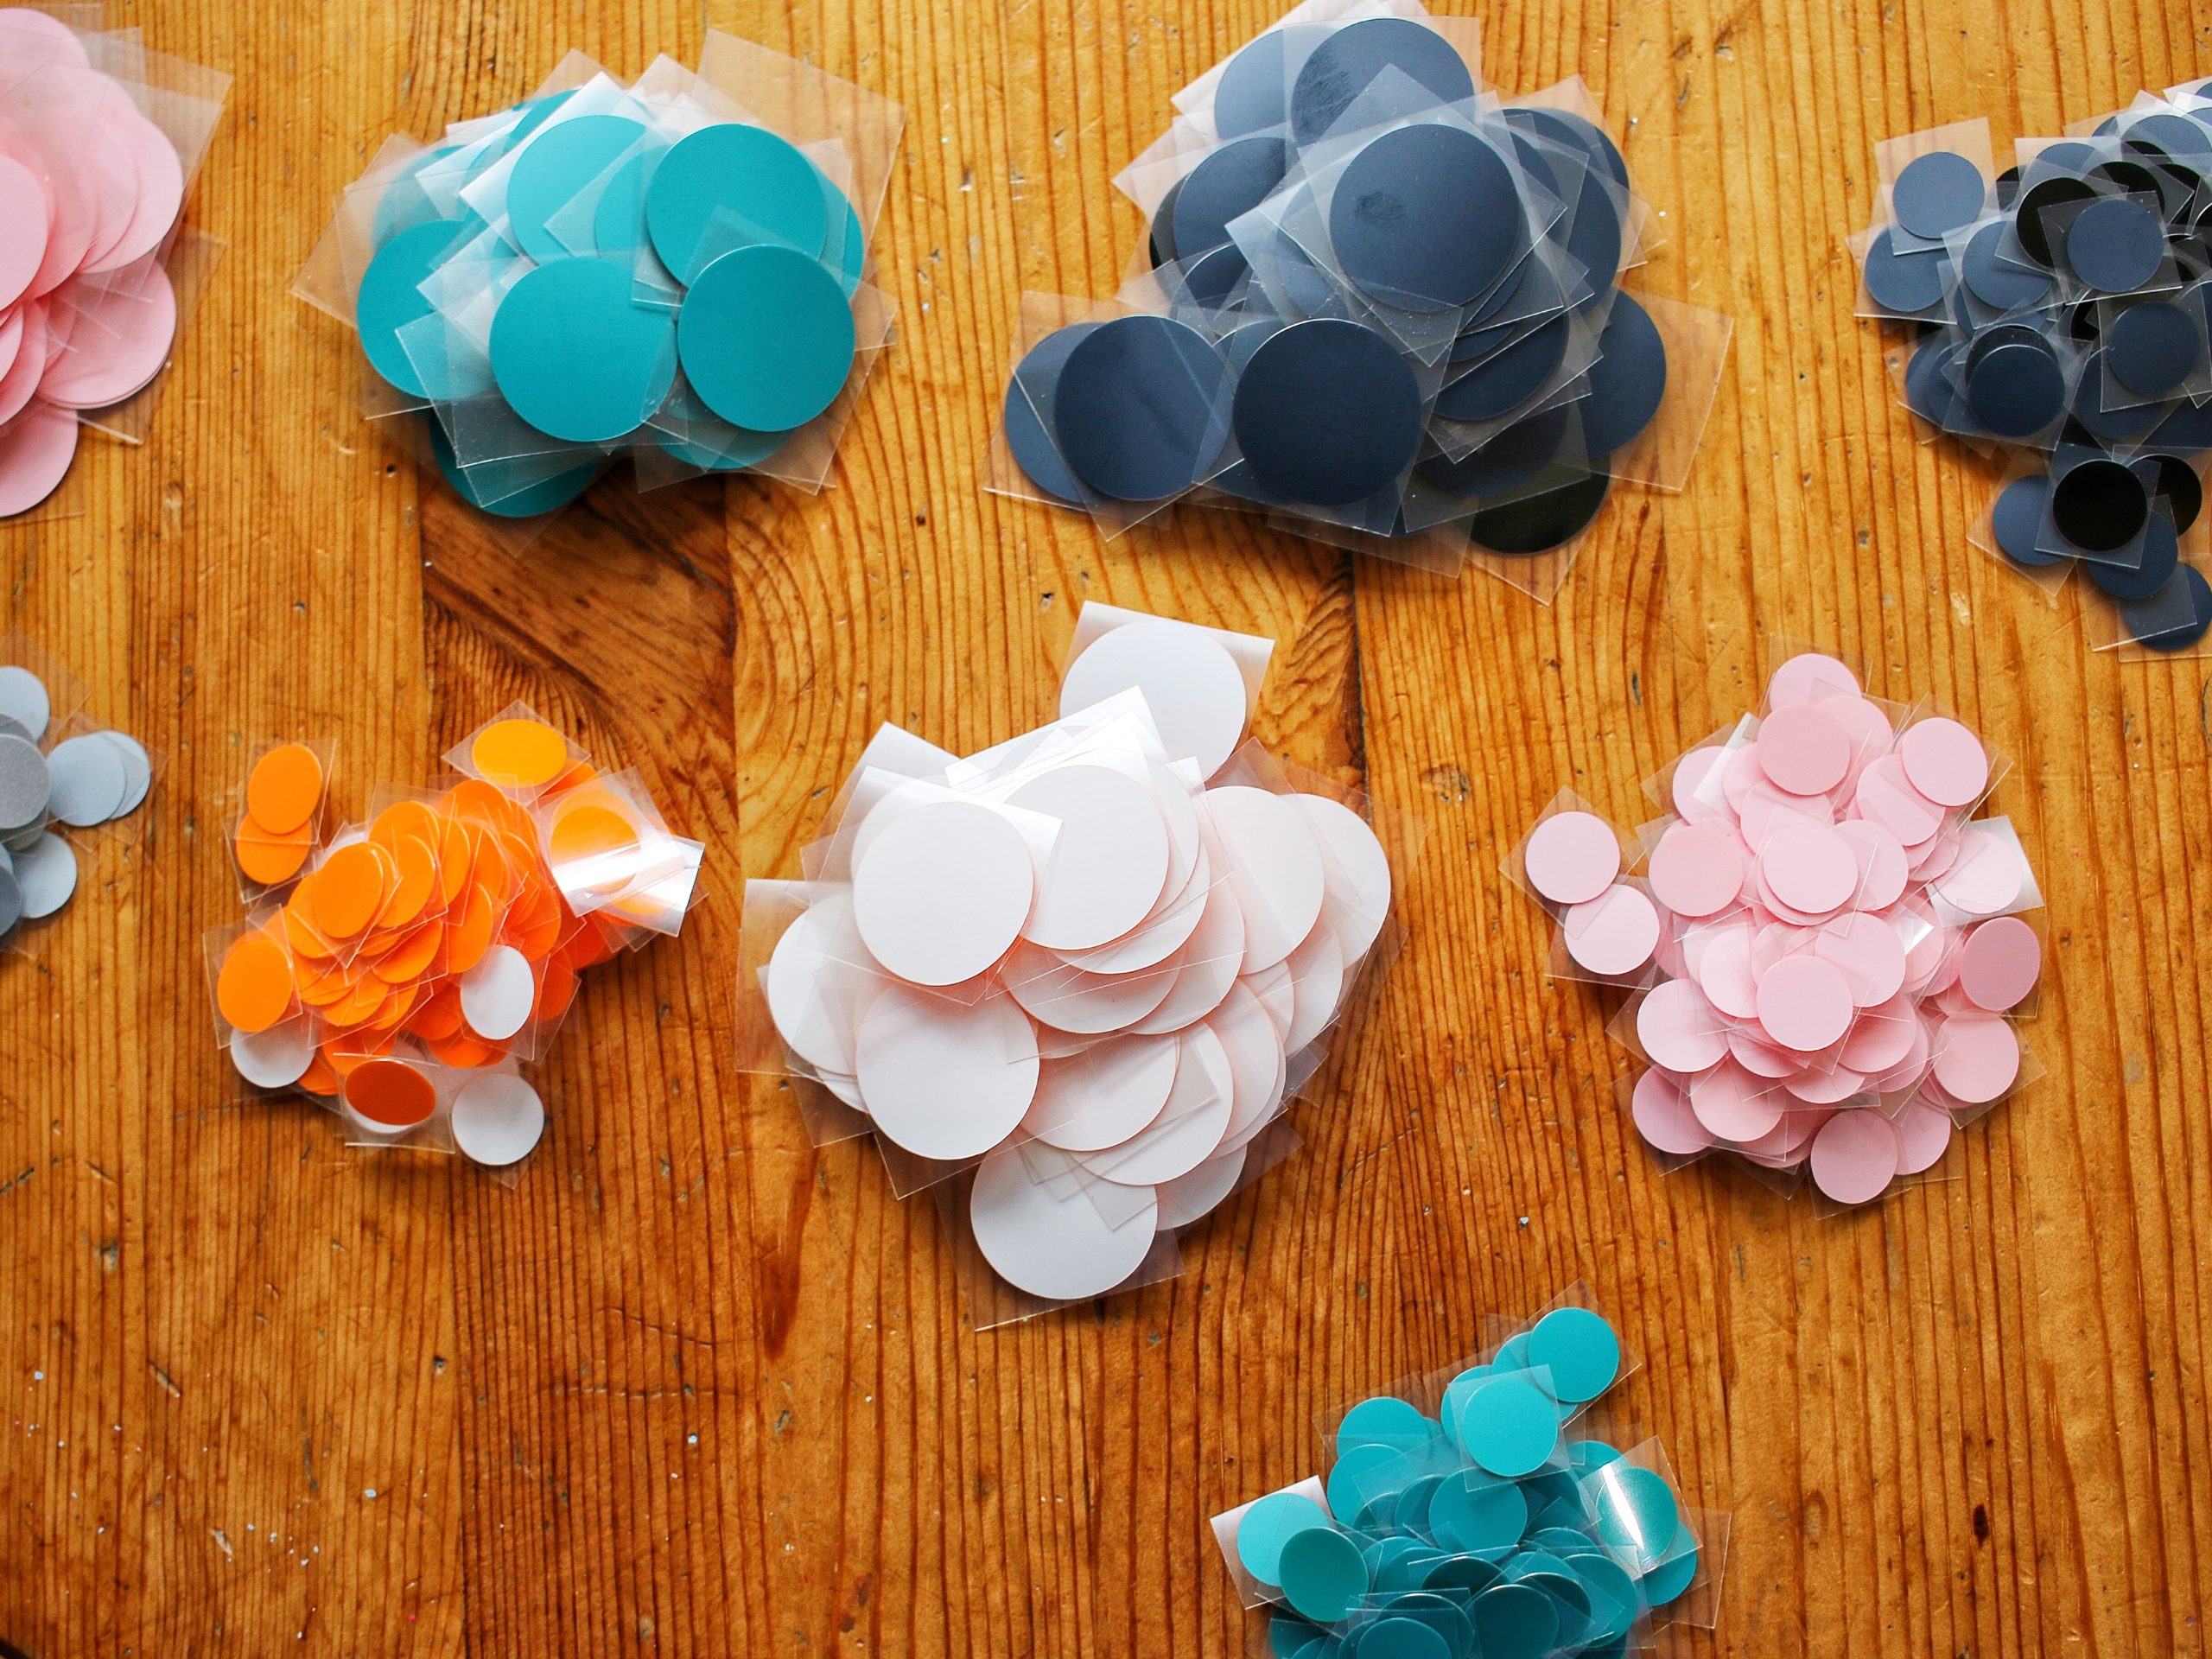
STEP ONE
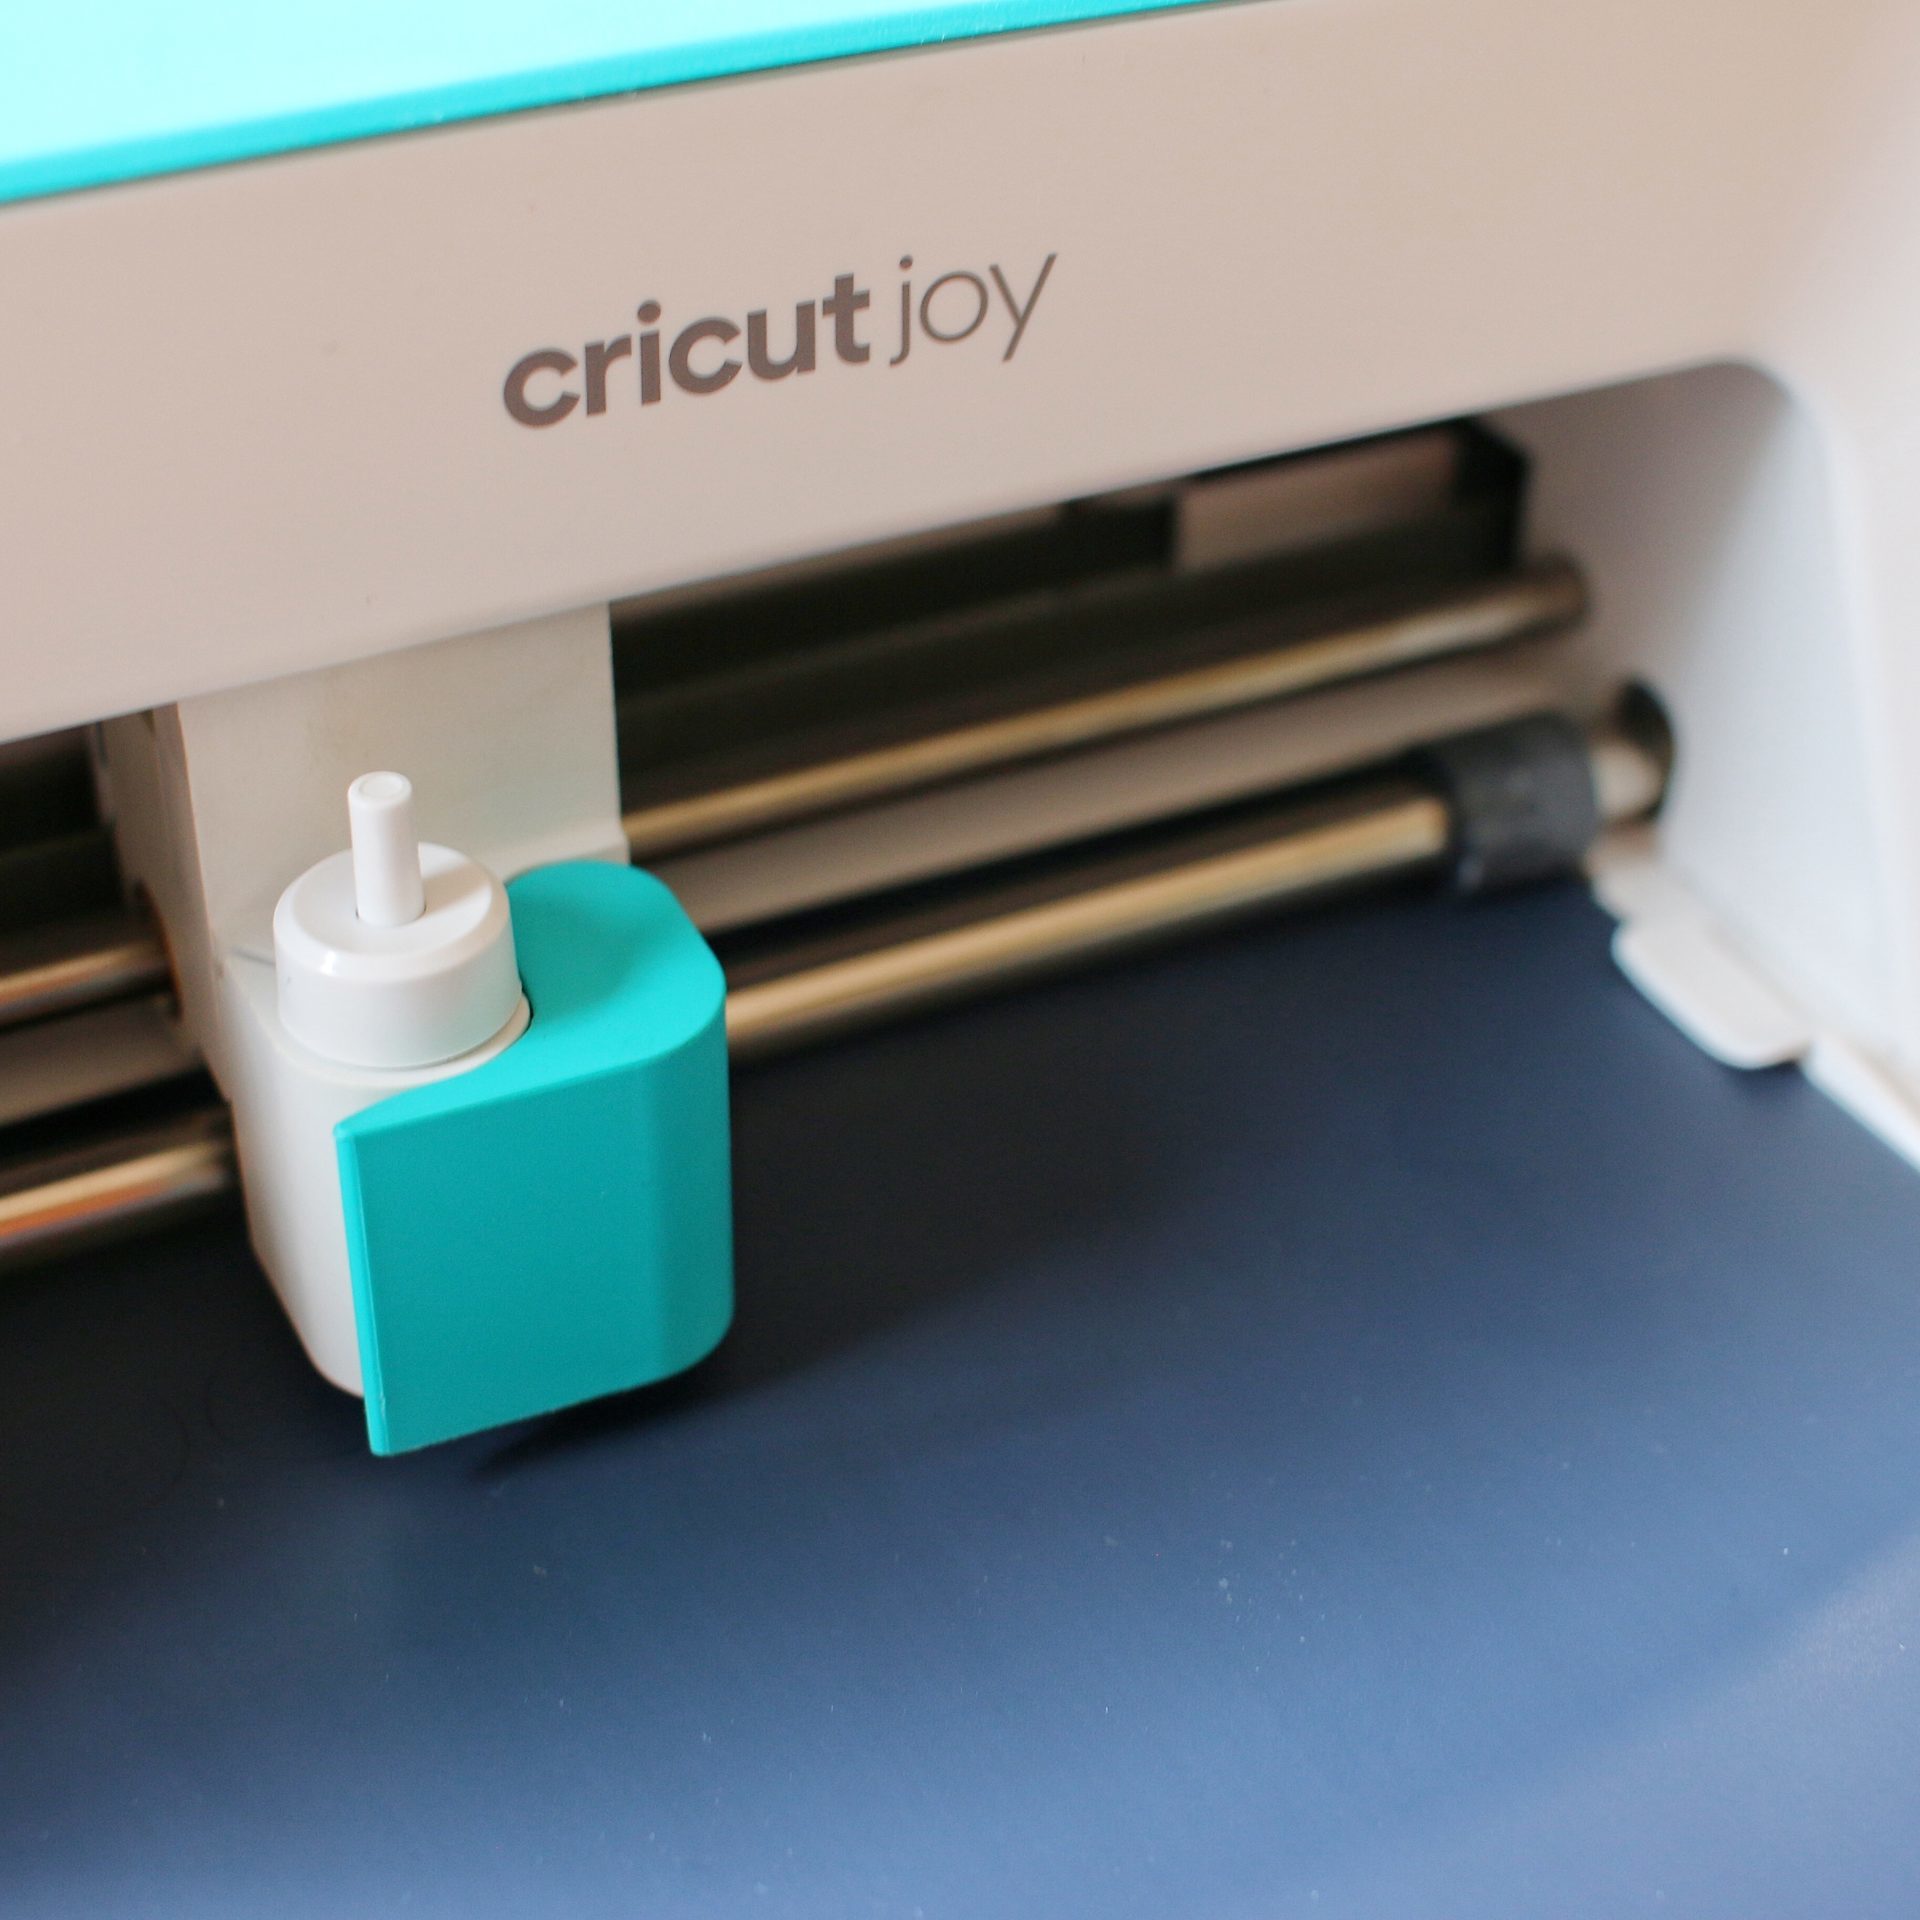
After choosing what size circles I wanted in Design Space, I cut all my Smart Iron-On colours to the right size and proceeded to cut them all out.
Since they’re just circles you don’t need to worry about mirroring your design but be sure to load the Iron-On the right side up!
STEP TWO
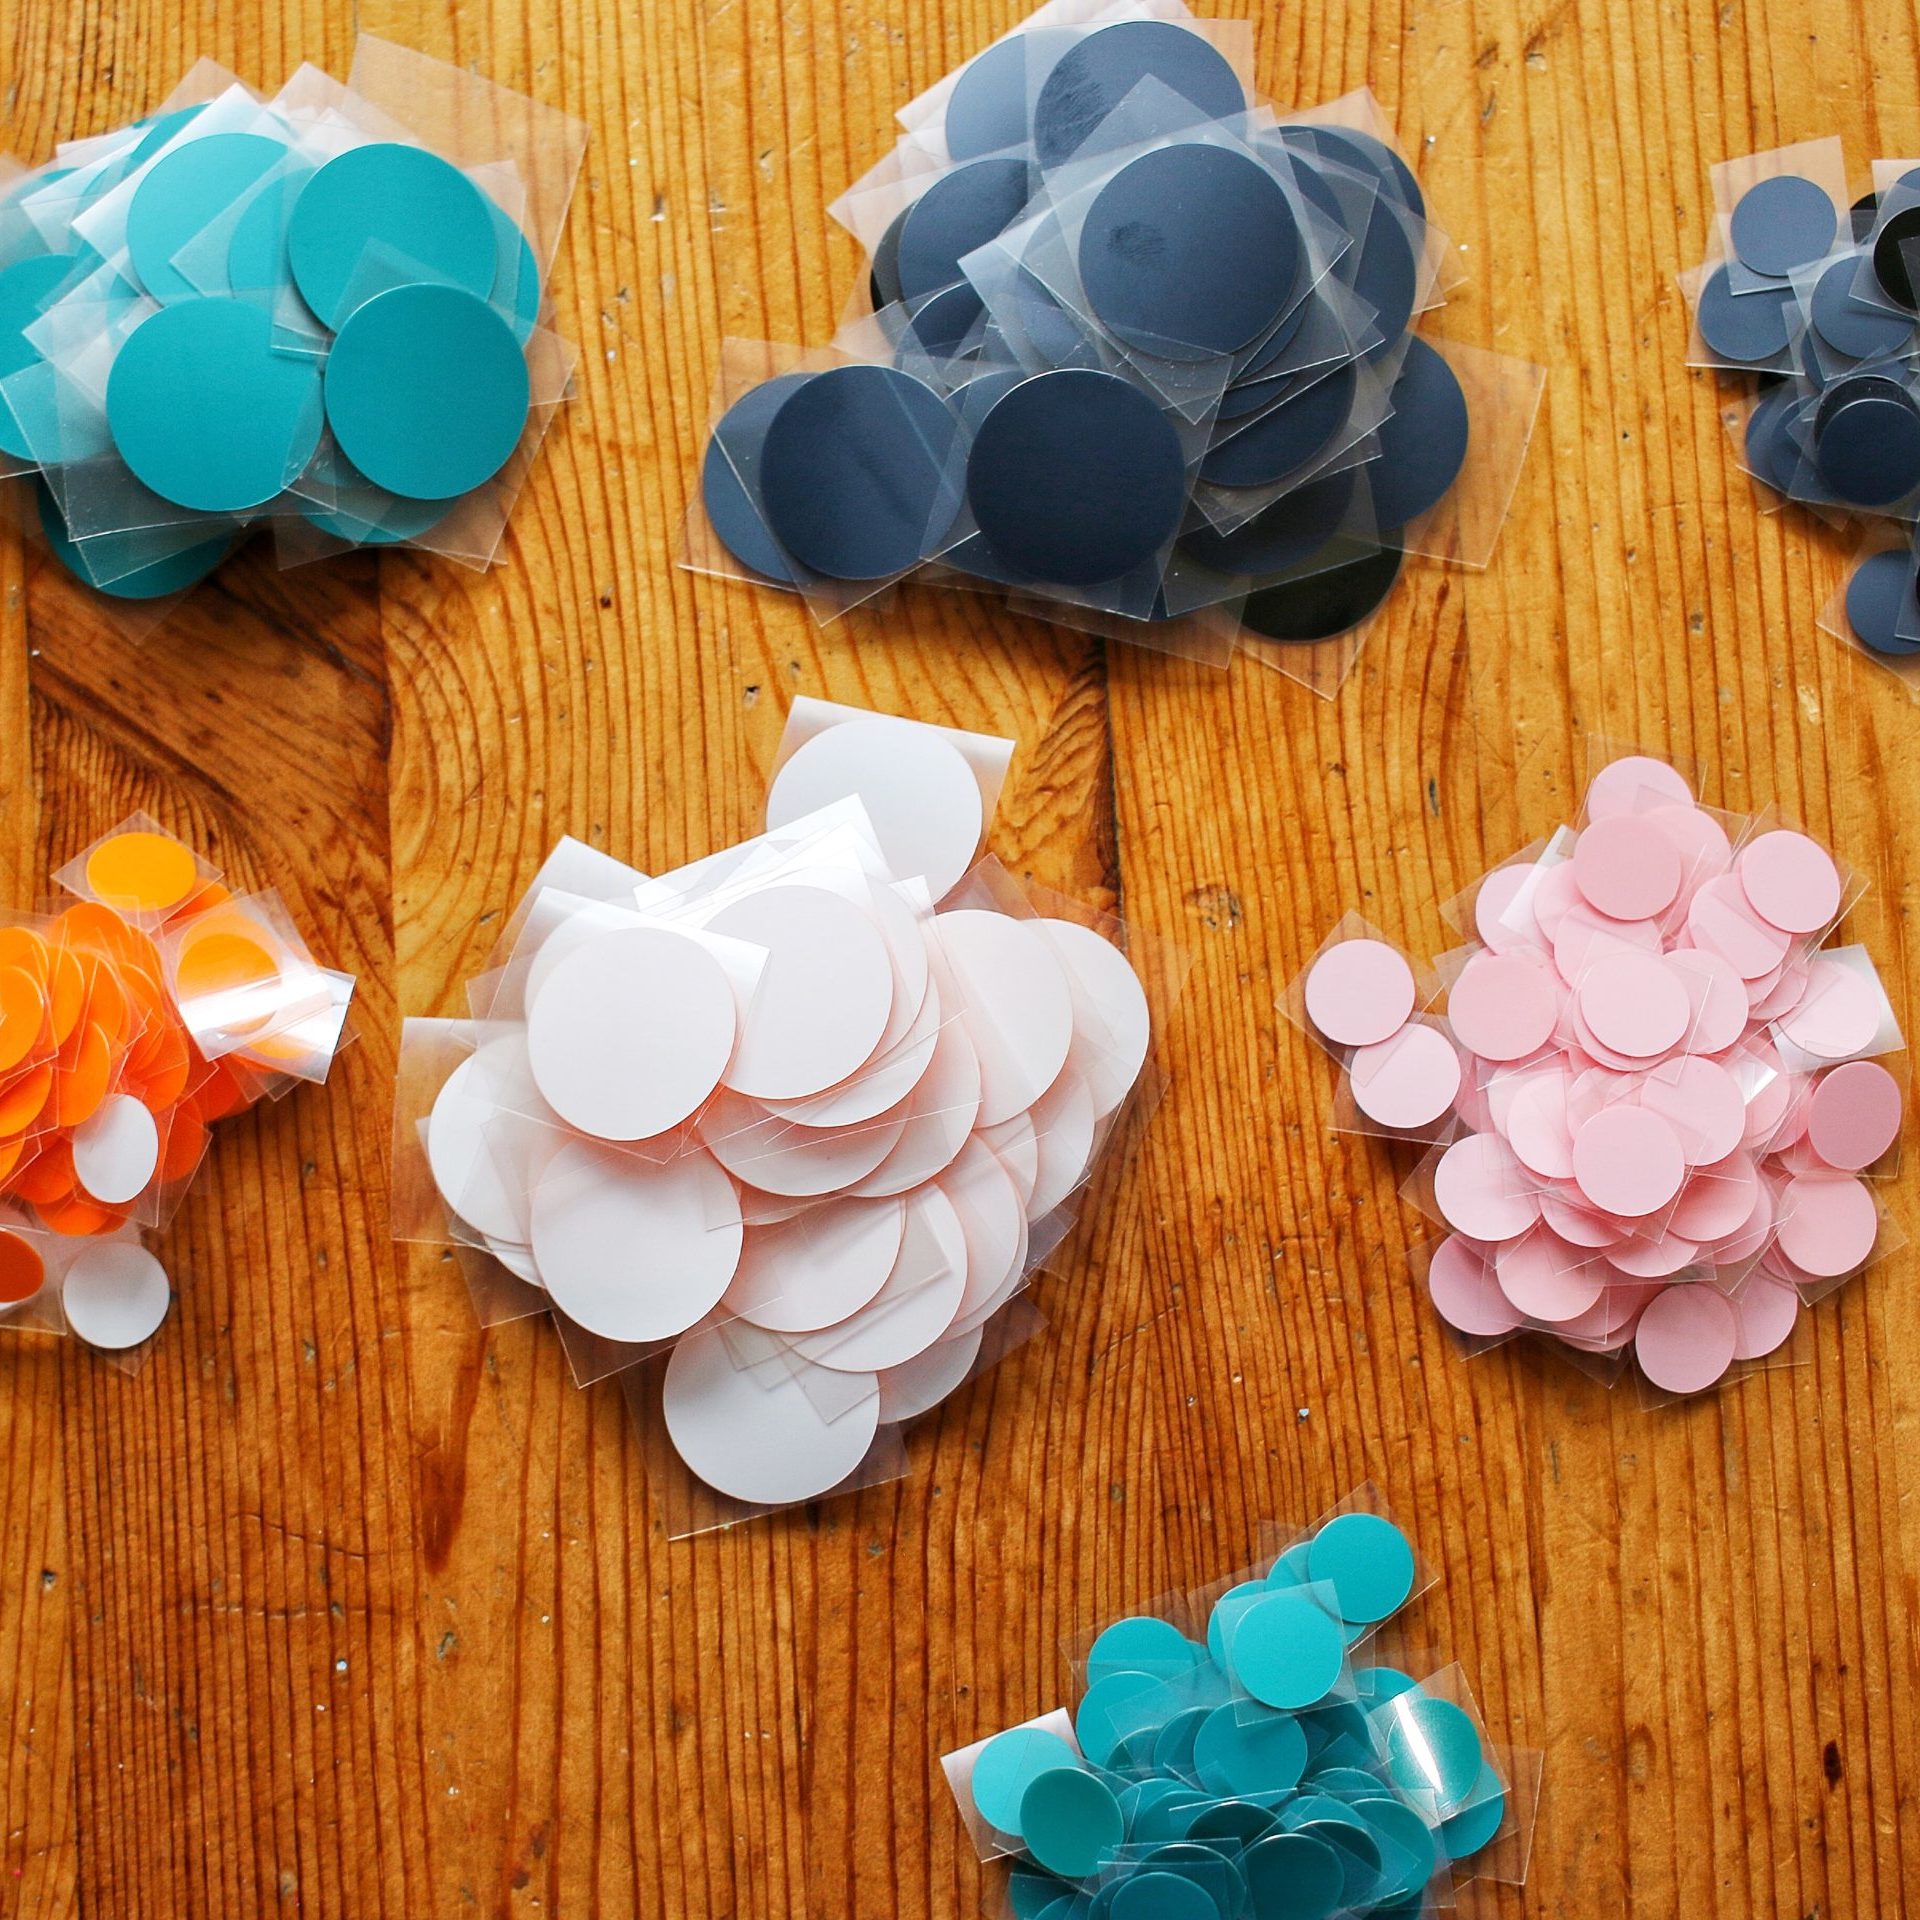
Once everything was cut I used the Weeder tool to carefully remove the excess vinyl from the background.
Because of the way they need to be layered, I then cut all the circles into individual pieces. I used small containers to then sort then by colour and size.
Keep in mind that Iron-On has a sticky back and you’ll want to be cautious about over-handling it.
Tip: before removing the background vinyl, I cut off any big chunks of untouched areas and save them for future projects! Scraps can be loaded onto a cutting mat and used to cut out smaller shapes and letters.
STEP THREE
Next step was to do a few small preparation steps before I could start transferring the circles.
- Preheat the SmartPress 2
- Create a Mickey head template. I used a bowl and a cup to trace circles but you could print out and cut a Mickey head as well.
- Place a Cricut Mat or towel on the table
- Preheat the fabric for a few seconds, removing any wrinkles or creases
- position the Mickey head where it looks best – I centered it.
STEP FOUR
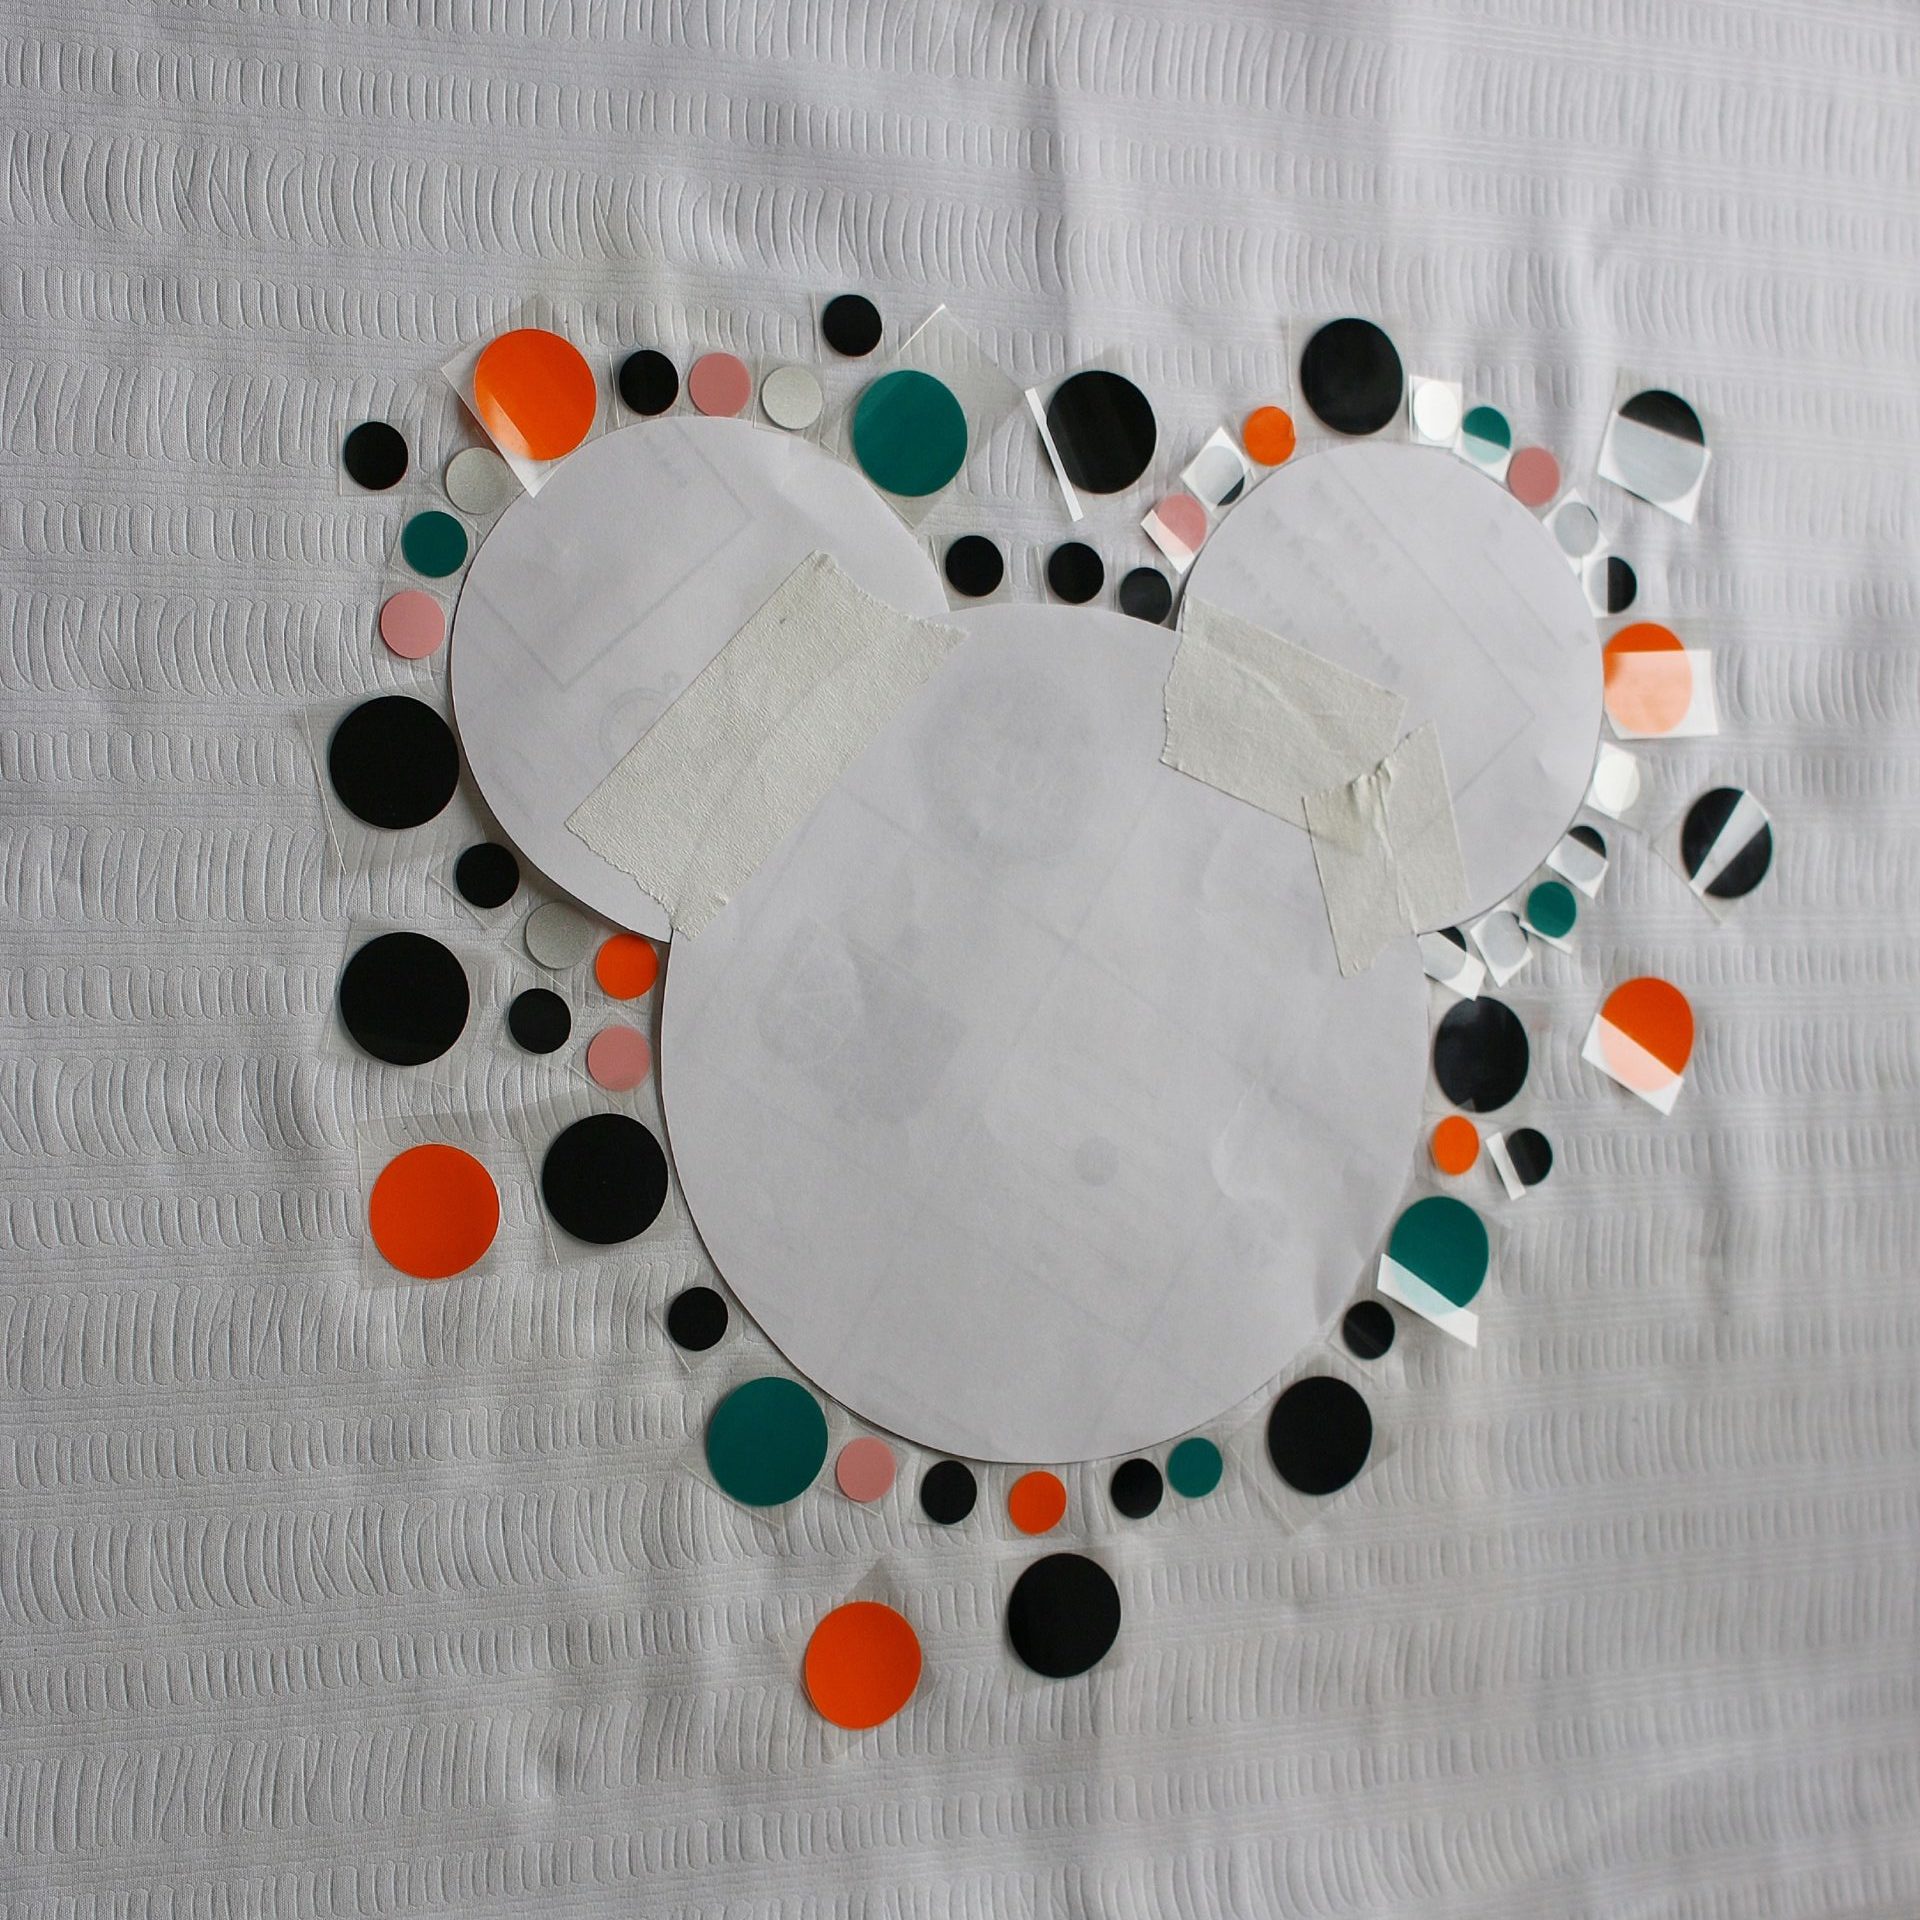
Start positioning the first layer of your dots, making sure not to overlap any. If they overlap you’ll end up with backing plastic stuck under Iron-On and will have to rip it out!
You’ll want the circles dense around the Mickey head and spread them out the further out you go.
STEP FIVE
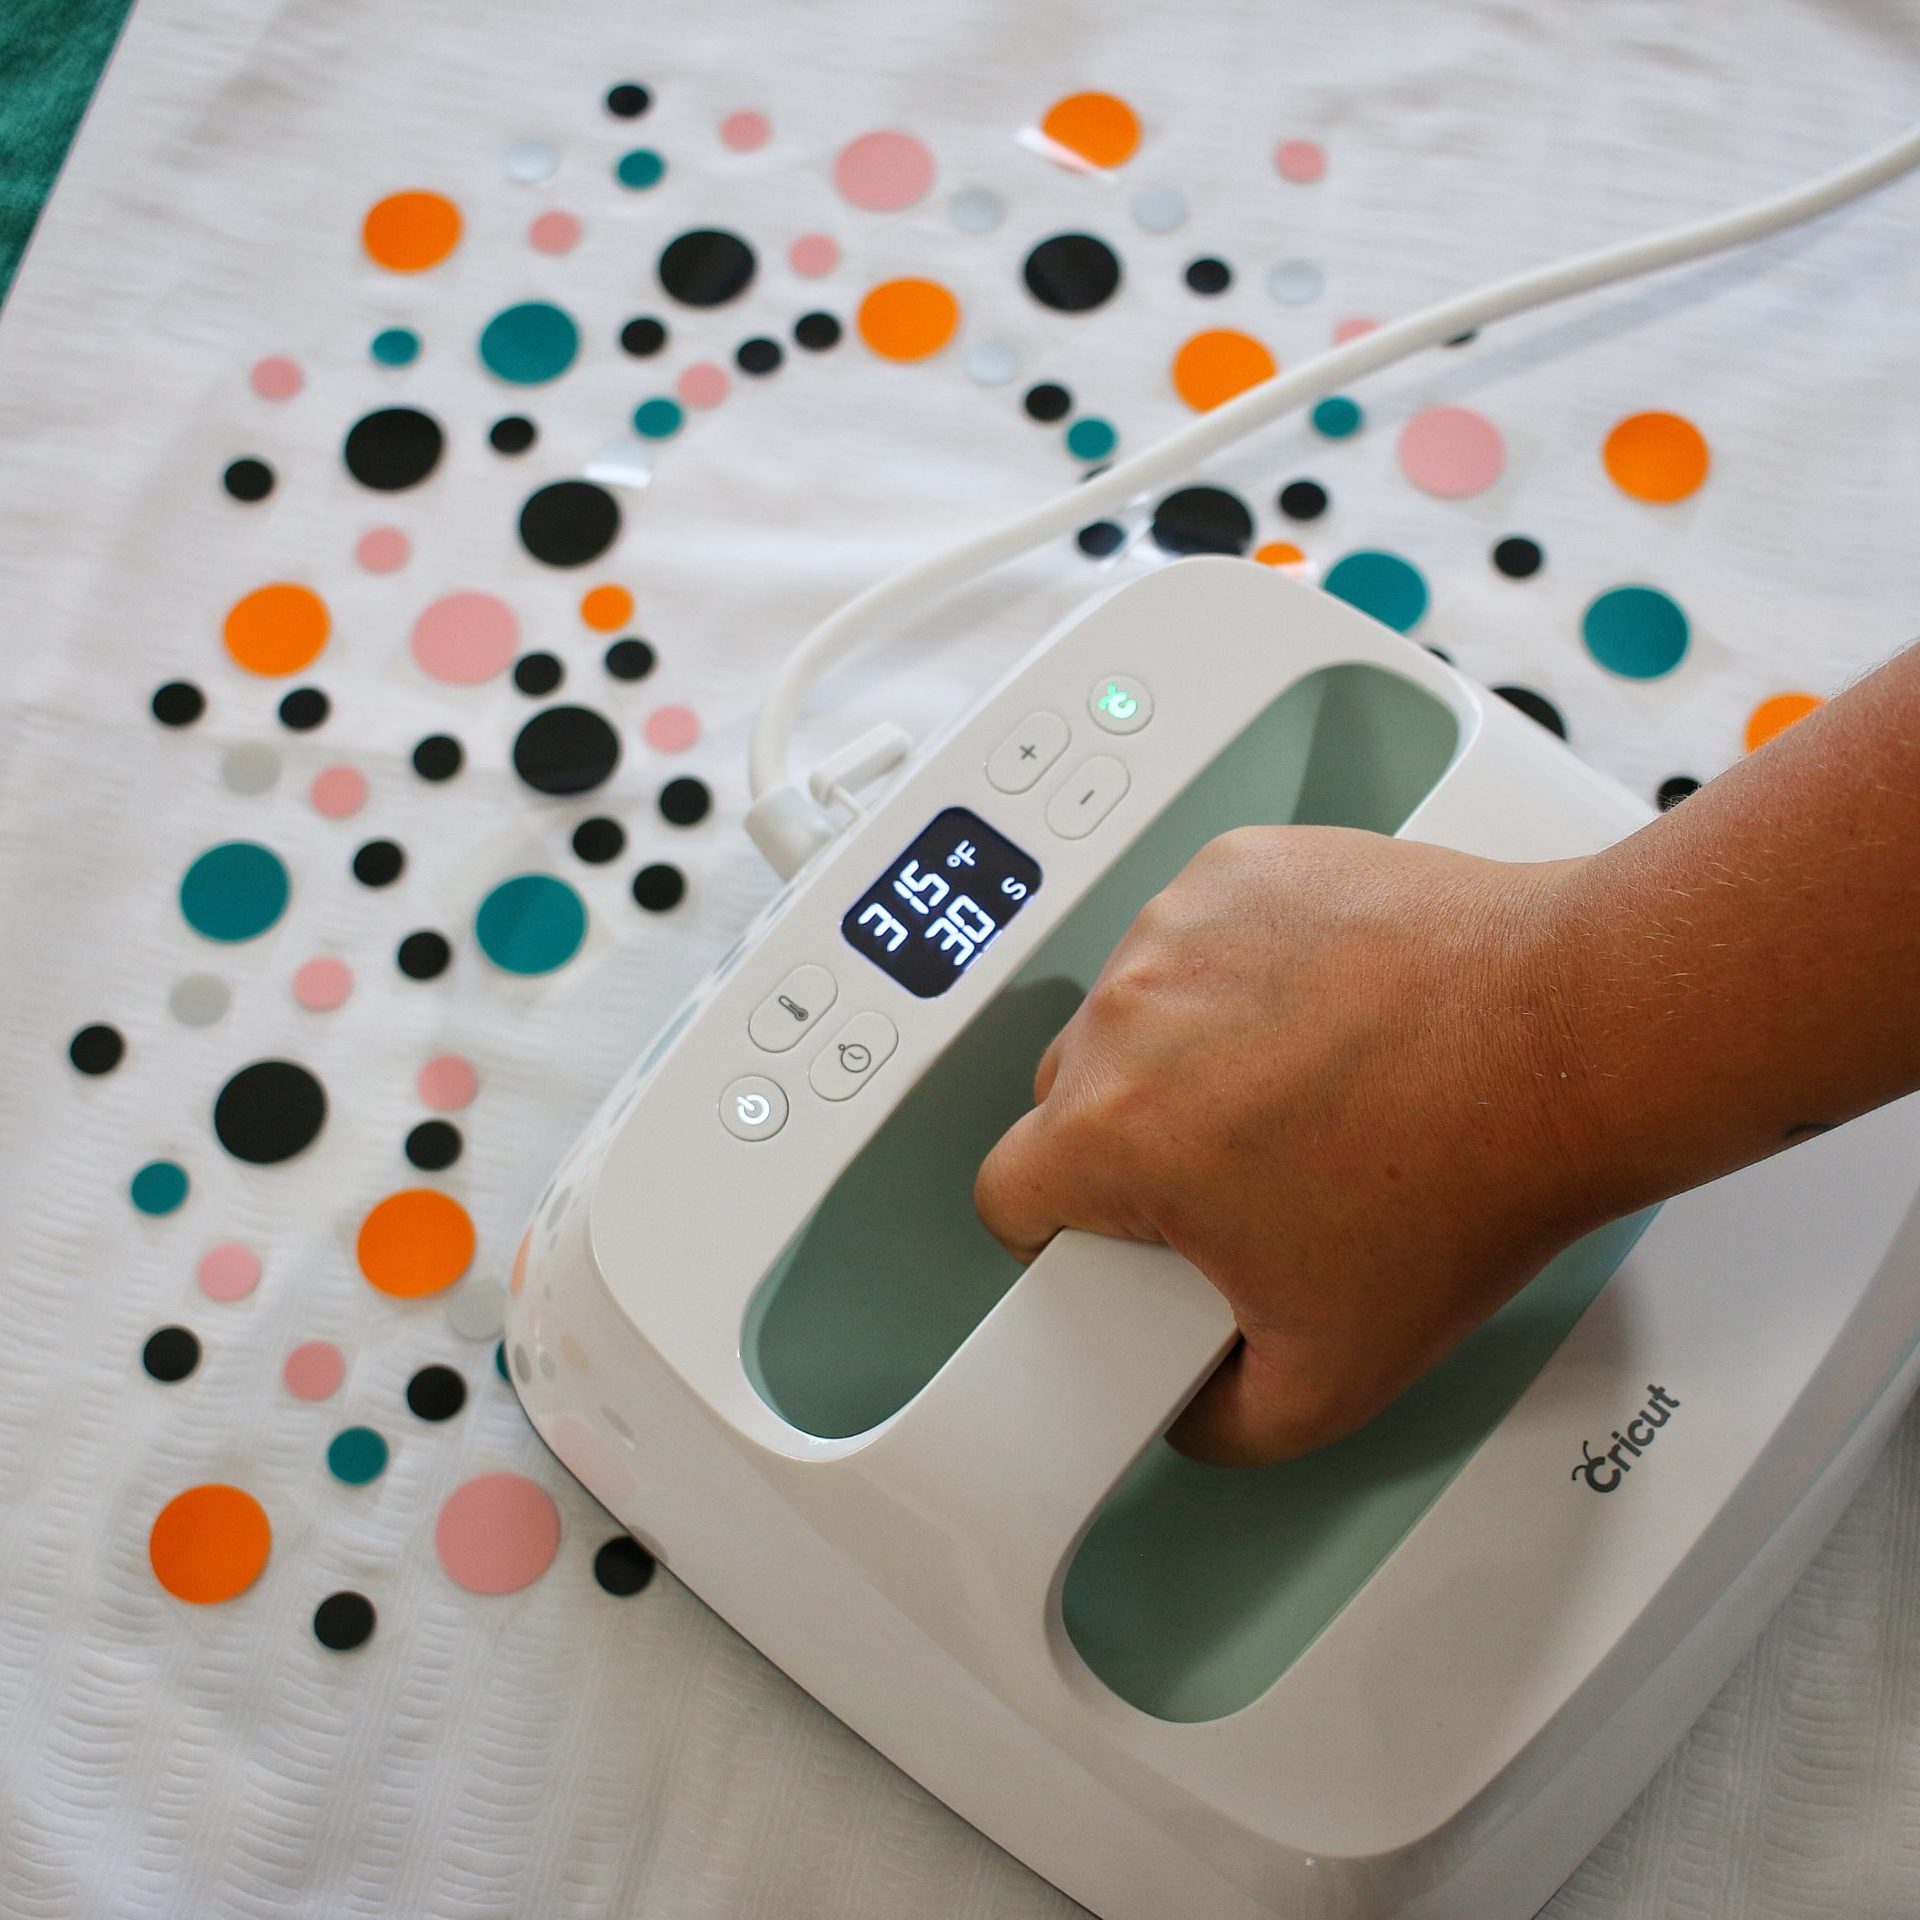
Once the layer of dots is ready, use your EasyPress to iron them on!
Different types of Iron-On/material combos use different heat and time settings.
Cricut has a Cricut Heat Guide on their website to input your heat-transfer material, base material and whether you’re using the Cricut Mat or towel and it’ll tell you all the settings you need to know. It will also tell you whether you should peel your backing when warm or cooled off.
Since you will be layering multiple layers of Iron-On, you’ll only want to press it for a few seconds vs the full amount of time. You’re aiming for it to be warm enough to remove the backing pieces but still be able to continuously be re-ironed. Be sure to remove the plastic backing after each layer.
Repeat steps four and five until all your layers are complete. After your first layer you’ll need to use parchment paper (or something similar) to avoid having Iron-On melting onto your iron.
Keep in mind Cricut recommends doing no more than four layers of Iron-On!
AND HERE’S THE FINAL RESULT:
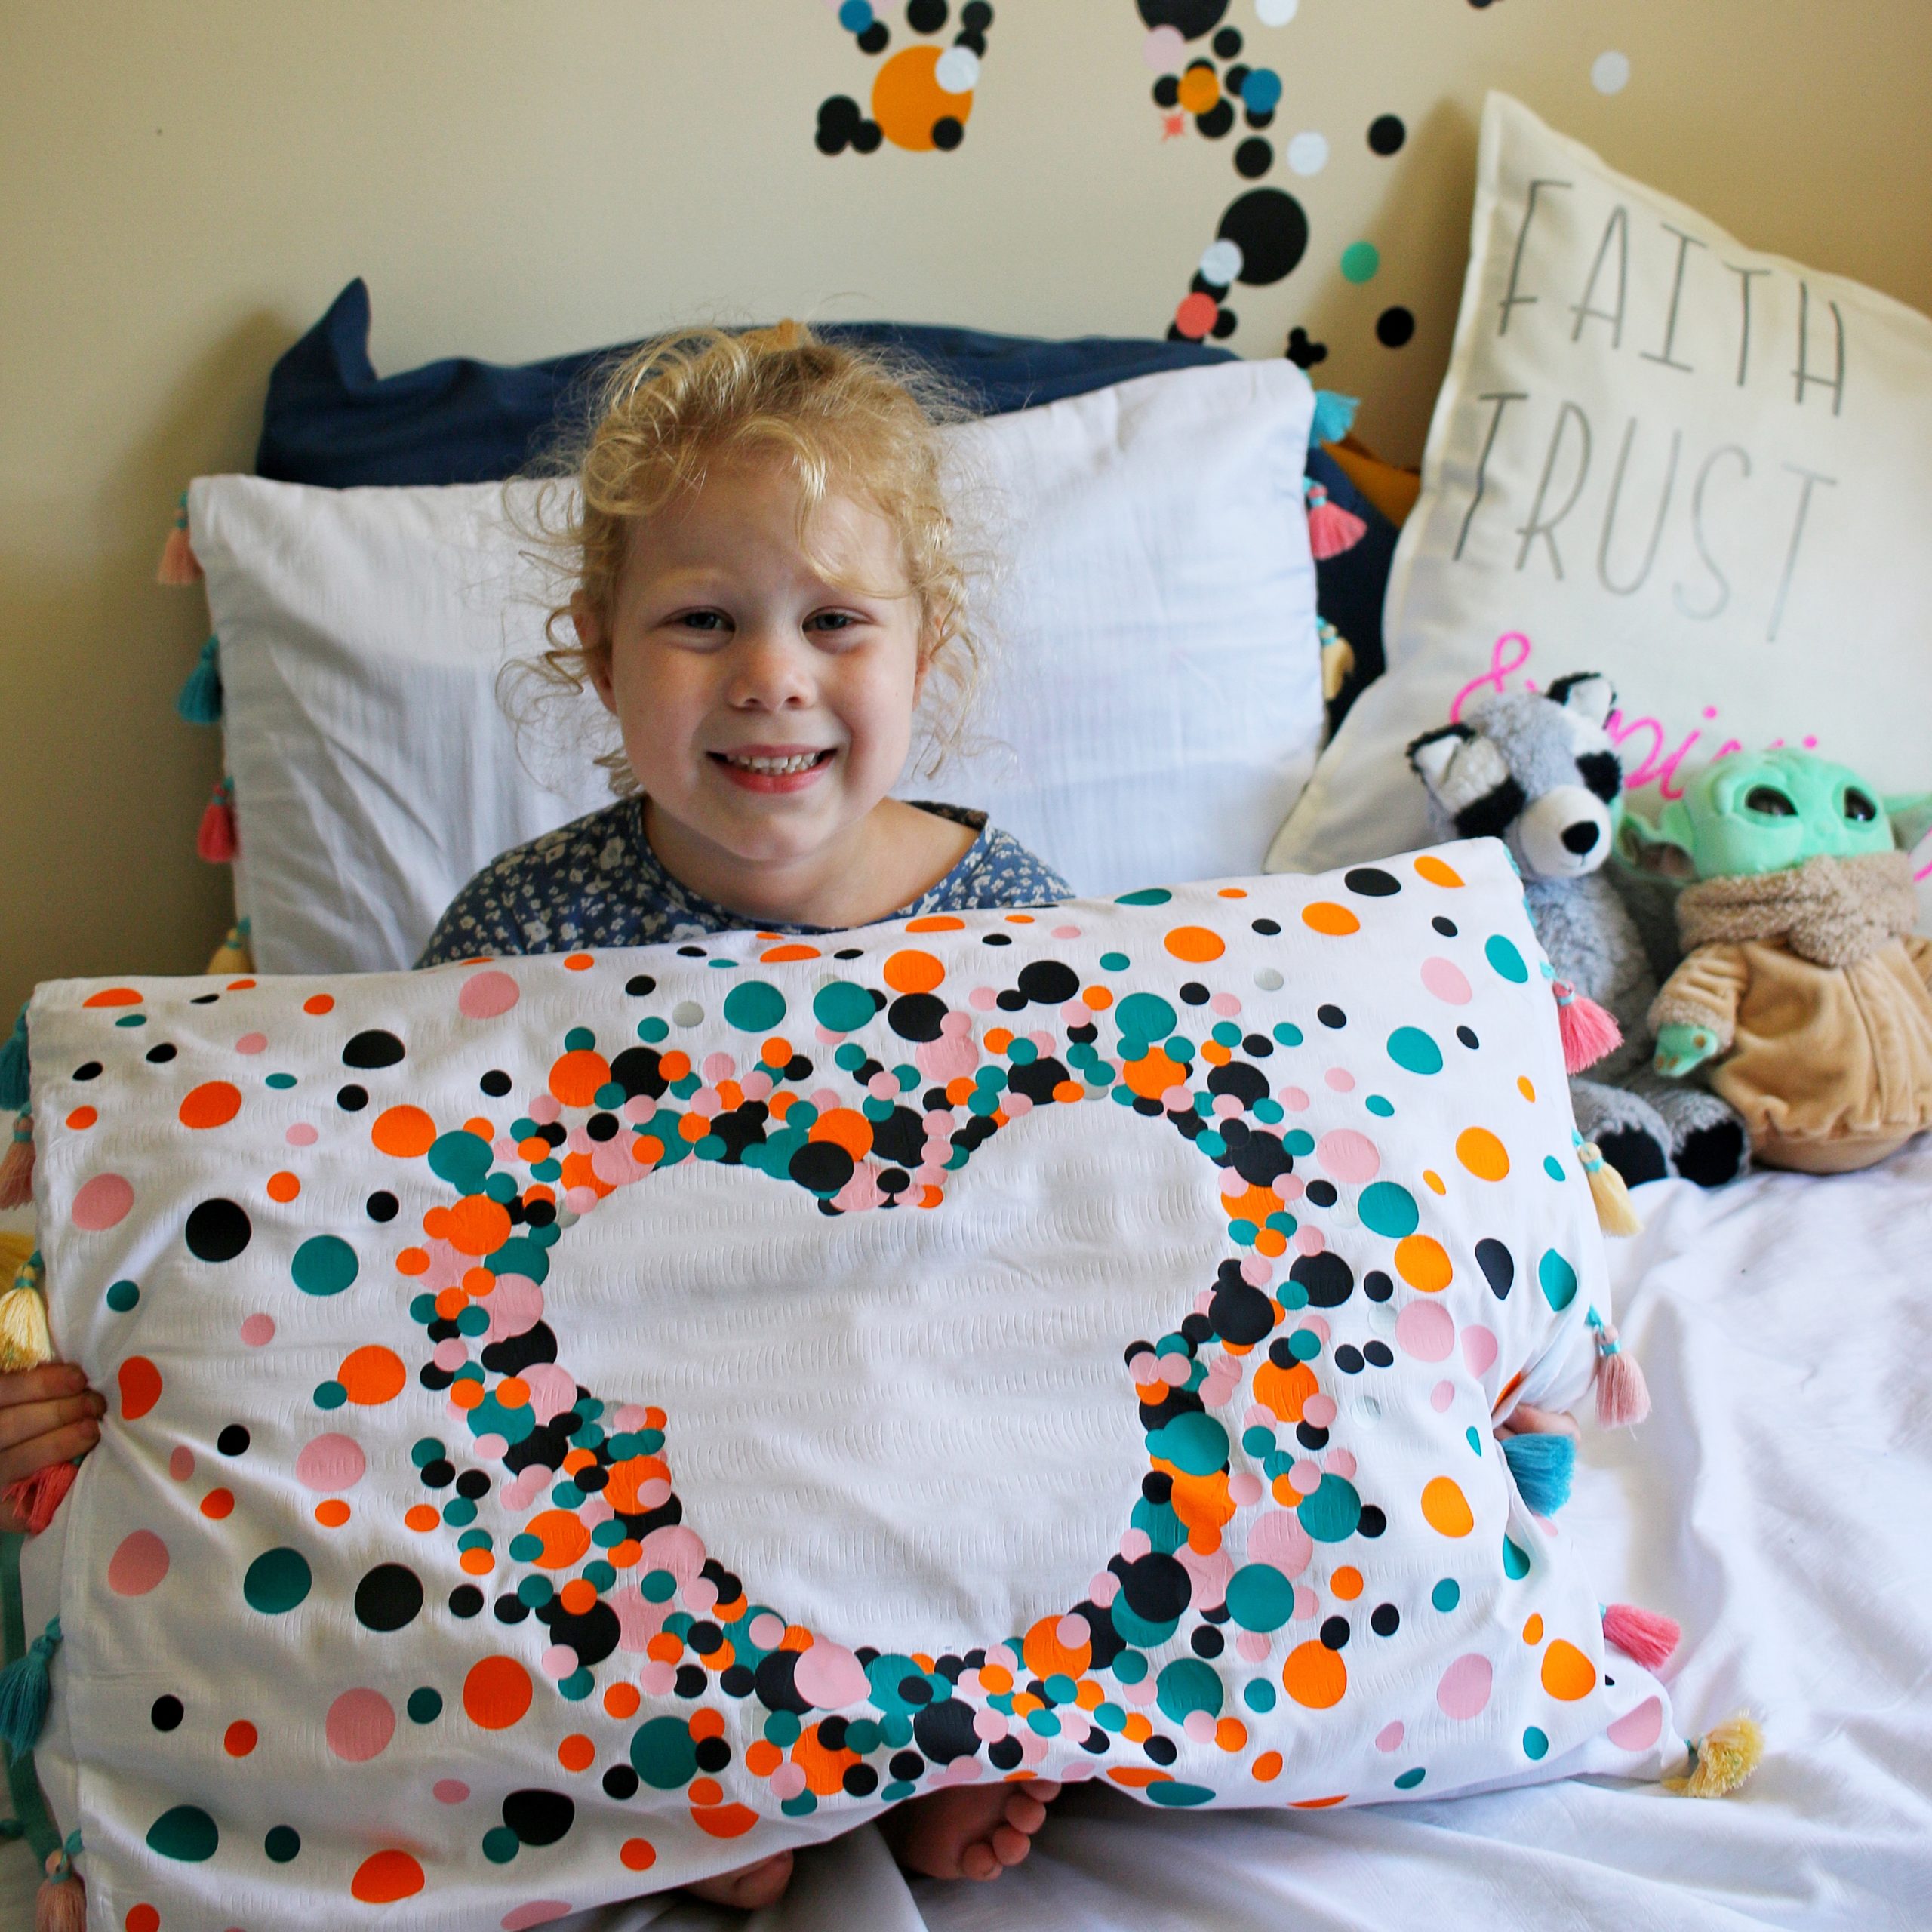
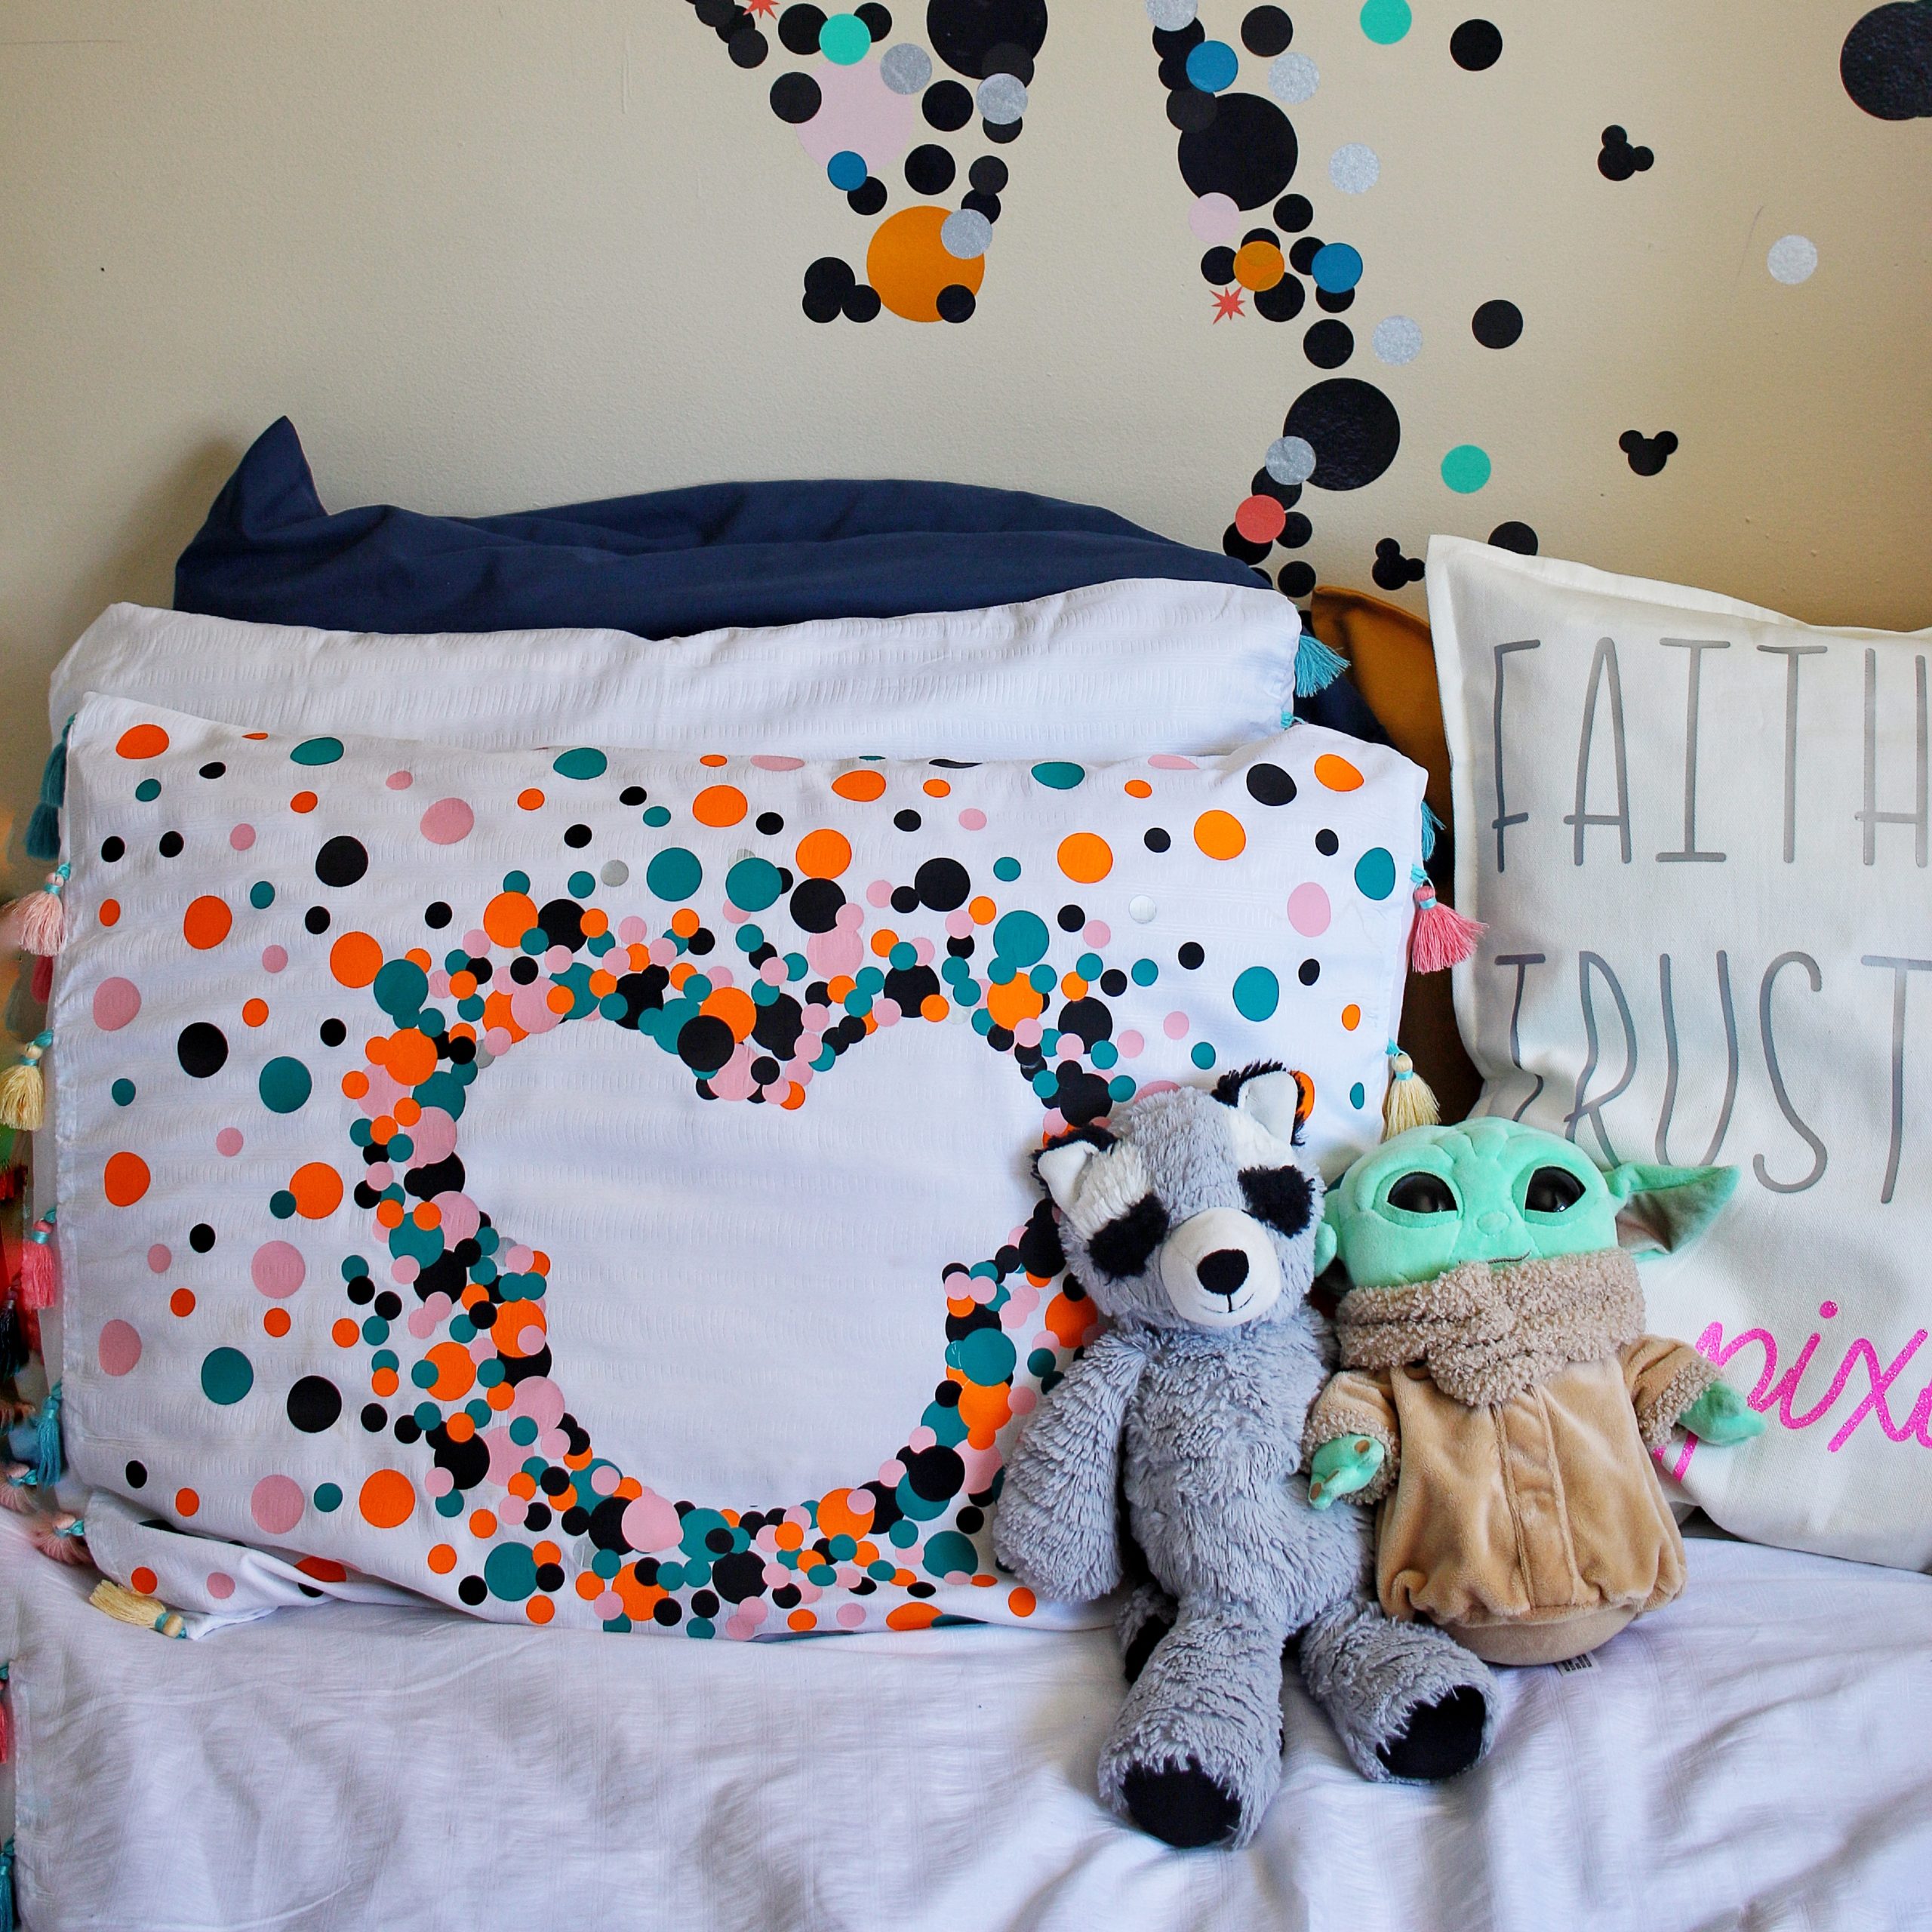
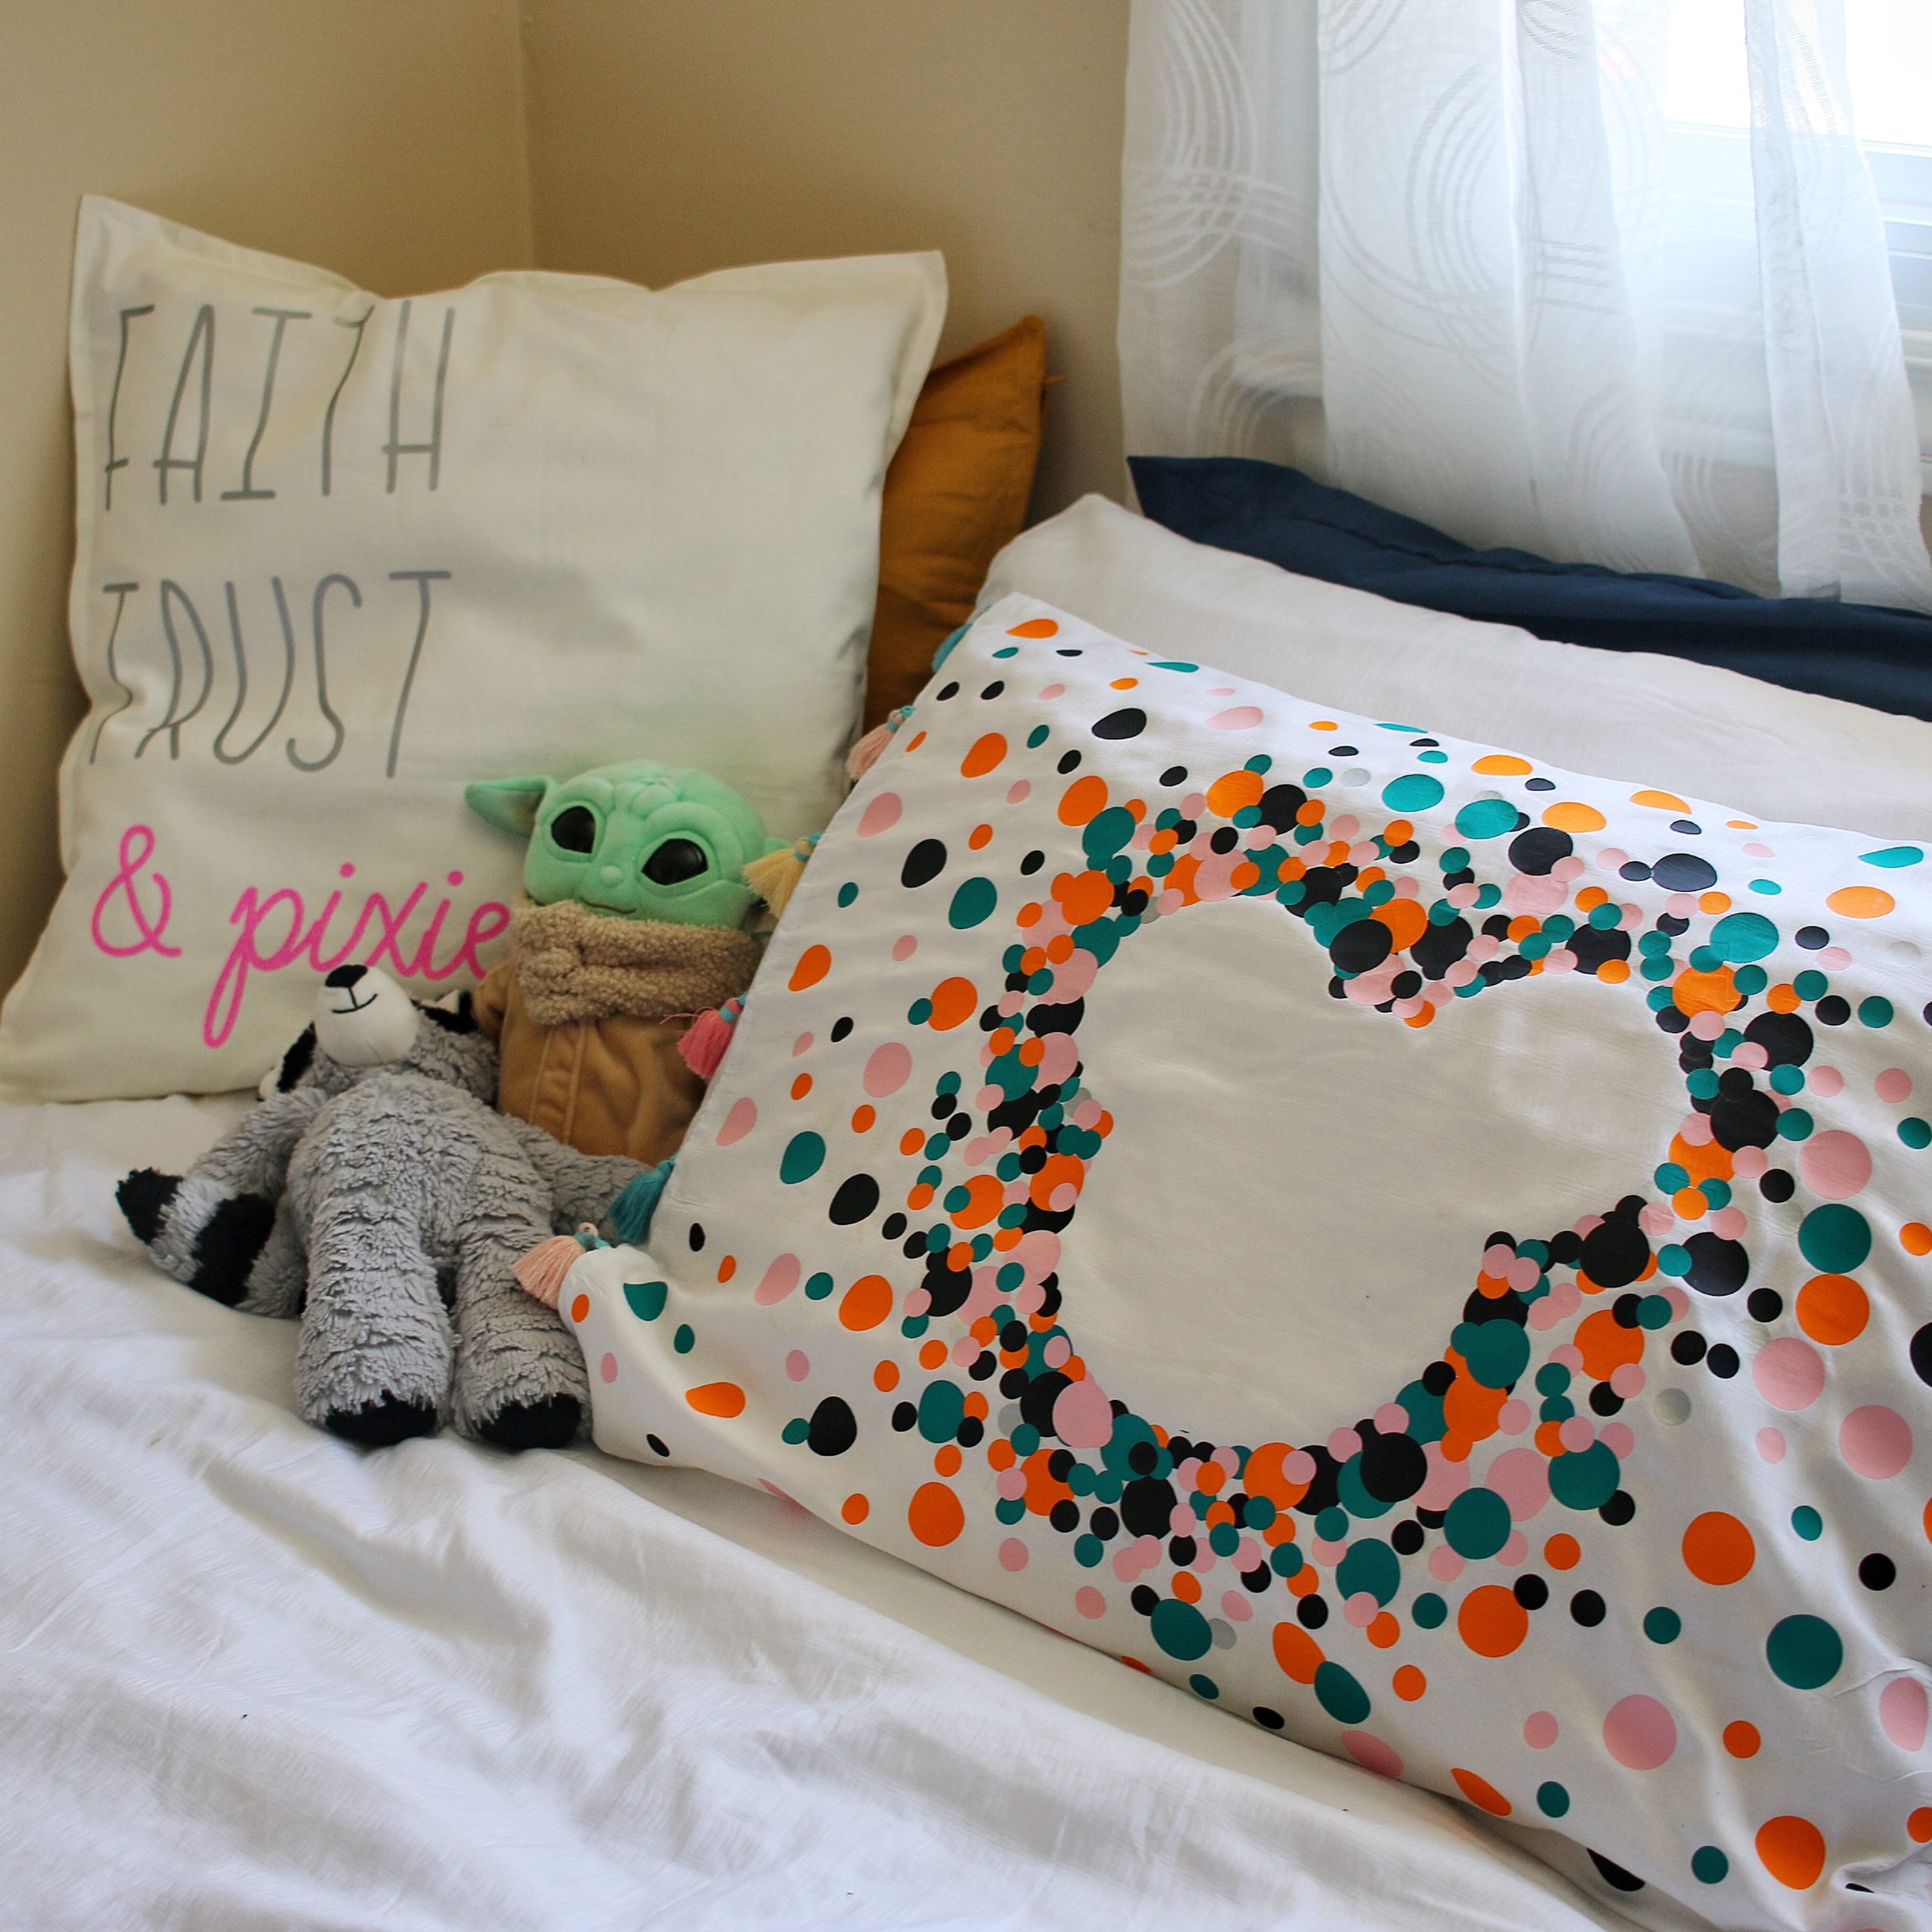
Our toddler LOVES her new pillow. She walked in and yelled IT’S JUST LIKE THE WALL YOU MADE ME! I’m tempted to make her a matching Minnie pillowcase to match it.
Be sure to check out my other Cricut projects below as well as the Cricut blog for more project inspiration!
Five Reasons I love My Cricut Joy - Being This Mama
August 28, 2020 at 2:32 am[…] DIY MICKEY PILLOW USING THE CRICUT JOY […]
14 Back To School Ideas To Make With A Cricut
September 16, 2020 at 7:07 pm[…] DIY MICKEY PILLOW USING THE CRICUT JOY […]
DIY Star Wars Wall Art (Using the Cricut Joy)
October 20, 2020 at 7:11 pm[…] DIY MICKEY PILLOW USING THE CRICUT JOY […]
DIY Ornaments Using Cricut Scraps - Being This Mama
December 1, 2020 at 2:26 am[…] DIY MICKEY PILLOW USING THE CRICUT JOY […]