FIVE REASONS I LOVE MY CRICUT JOY!
This is a sponsored post written by me on behalf of Cricut. All opinions are 100% mine.
Are there really five reasons I love my Cricut Joy? Totally – there’s actually more than five!
(Bonus: Disney Pillowcase tutorial at the bottom)
Alright, I’ll say it: my Cricut Joy is one of the best decisions I’ve made and I regret not getting one sooner.
I’ve shared a few projects now that I used my Cricut Joy for and have nothing but great things to say about it. This little machine packs in some quality cutting, project versatility and is super easy to use.
Not sure if you need a Cricut? What can a Cricut Joy do? Will it work for the projects you have in mind?
Here’s five reasons why I love my Cricut Joy!
#1: IT’S LIGHTWEIGHT AND PORTABLE
This little machine weighs under 4lbs making it perfect for on-the-go crafting, both at home and away. I store my Cricut Joy on one of the shelves in our craft corner and when it’s time to craft, the machine is small and light enough for me to bring it to any room I want to work in. Dining room table, kids room, kitchen counter – I’ve done it all! I already know I’ll be taking it on a road trip with me to my mom’s house so she can use it, too. If there’s somewhere to plug it in, you have somewhere to craft. It even has a beautiful carrying case to keep it safe – you can find it h e r e!
#2. IT’S QUIET
Nap time is a crucial time for me when it comes to getting work done and is frequently the time I get most of my crafting in. If not nap time, then it happens after bedtime. Both these times are when quiet is a necessity and the Cricut Joy makes it possible. While not completely silent this machine is super quiet while cutting and I’ve never been worried it will wake up the kids. Even when the sound machine in their room is off!
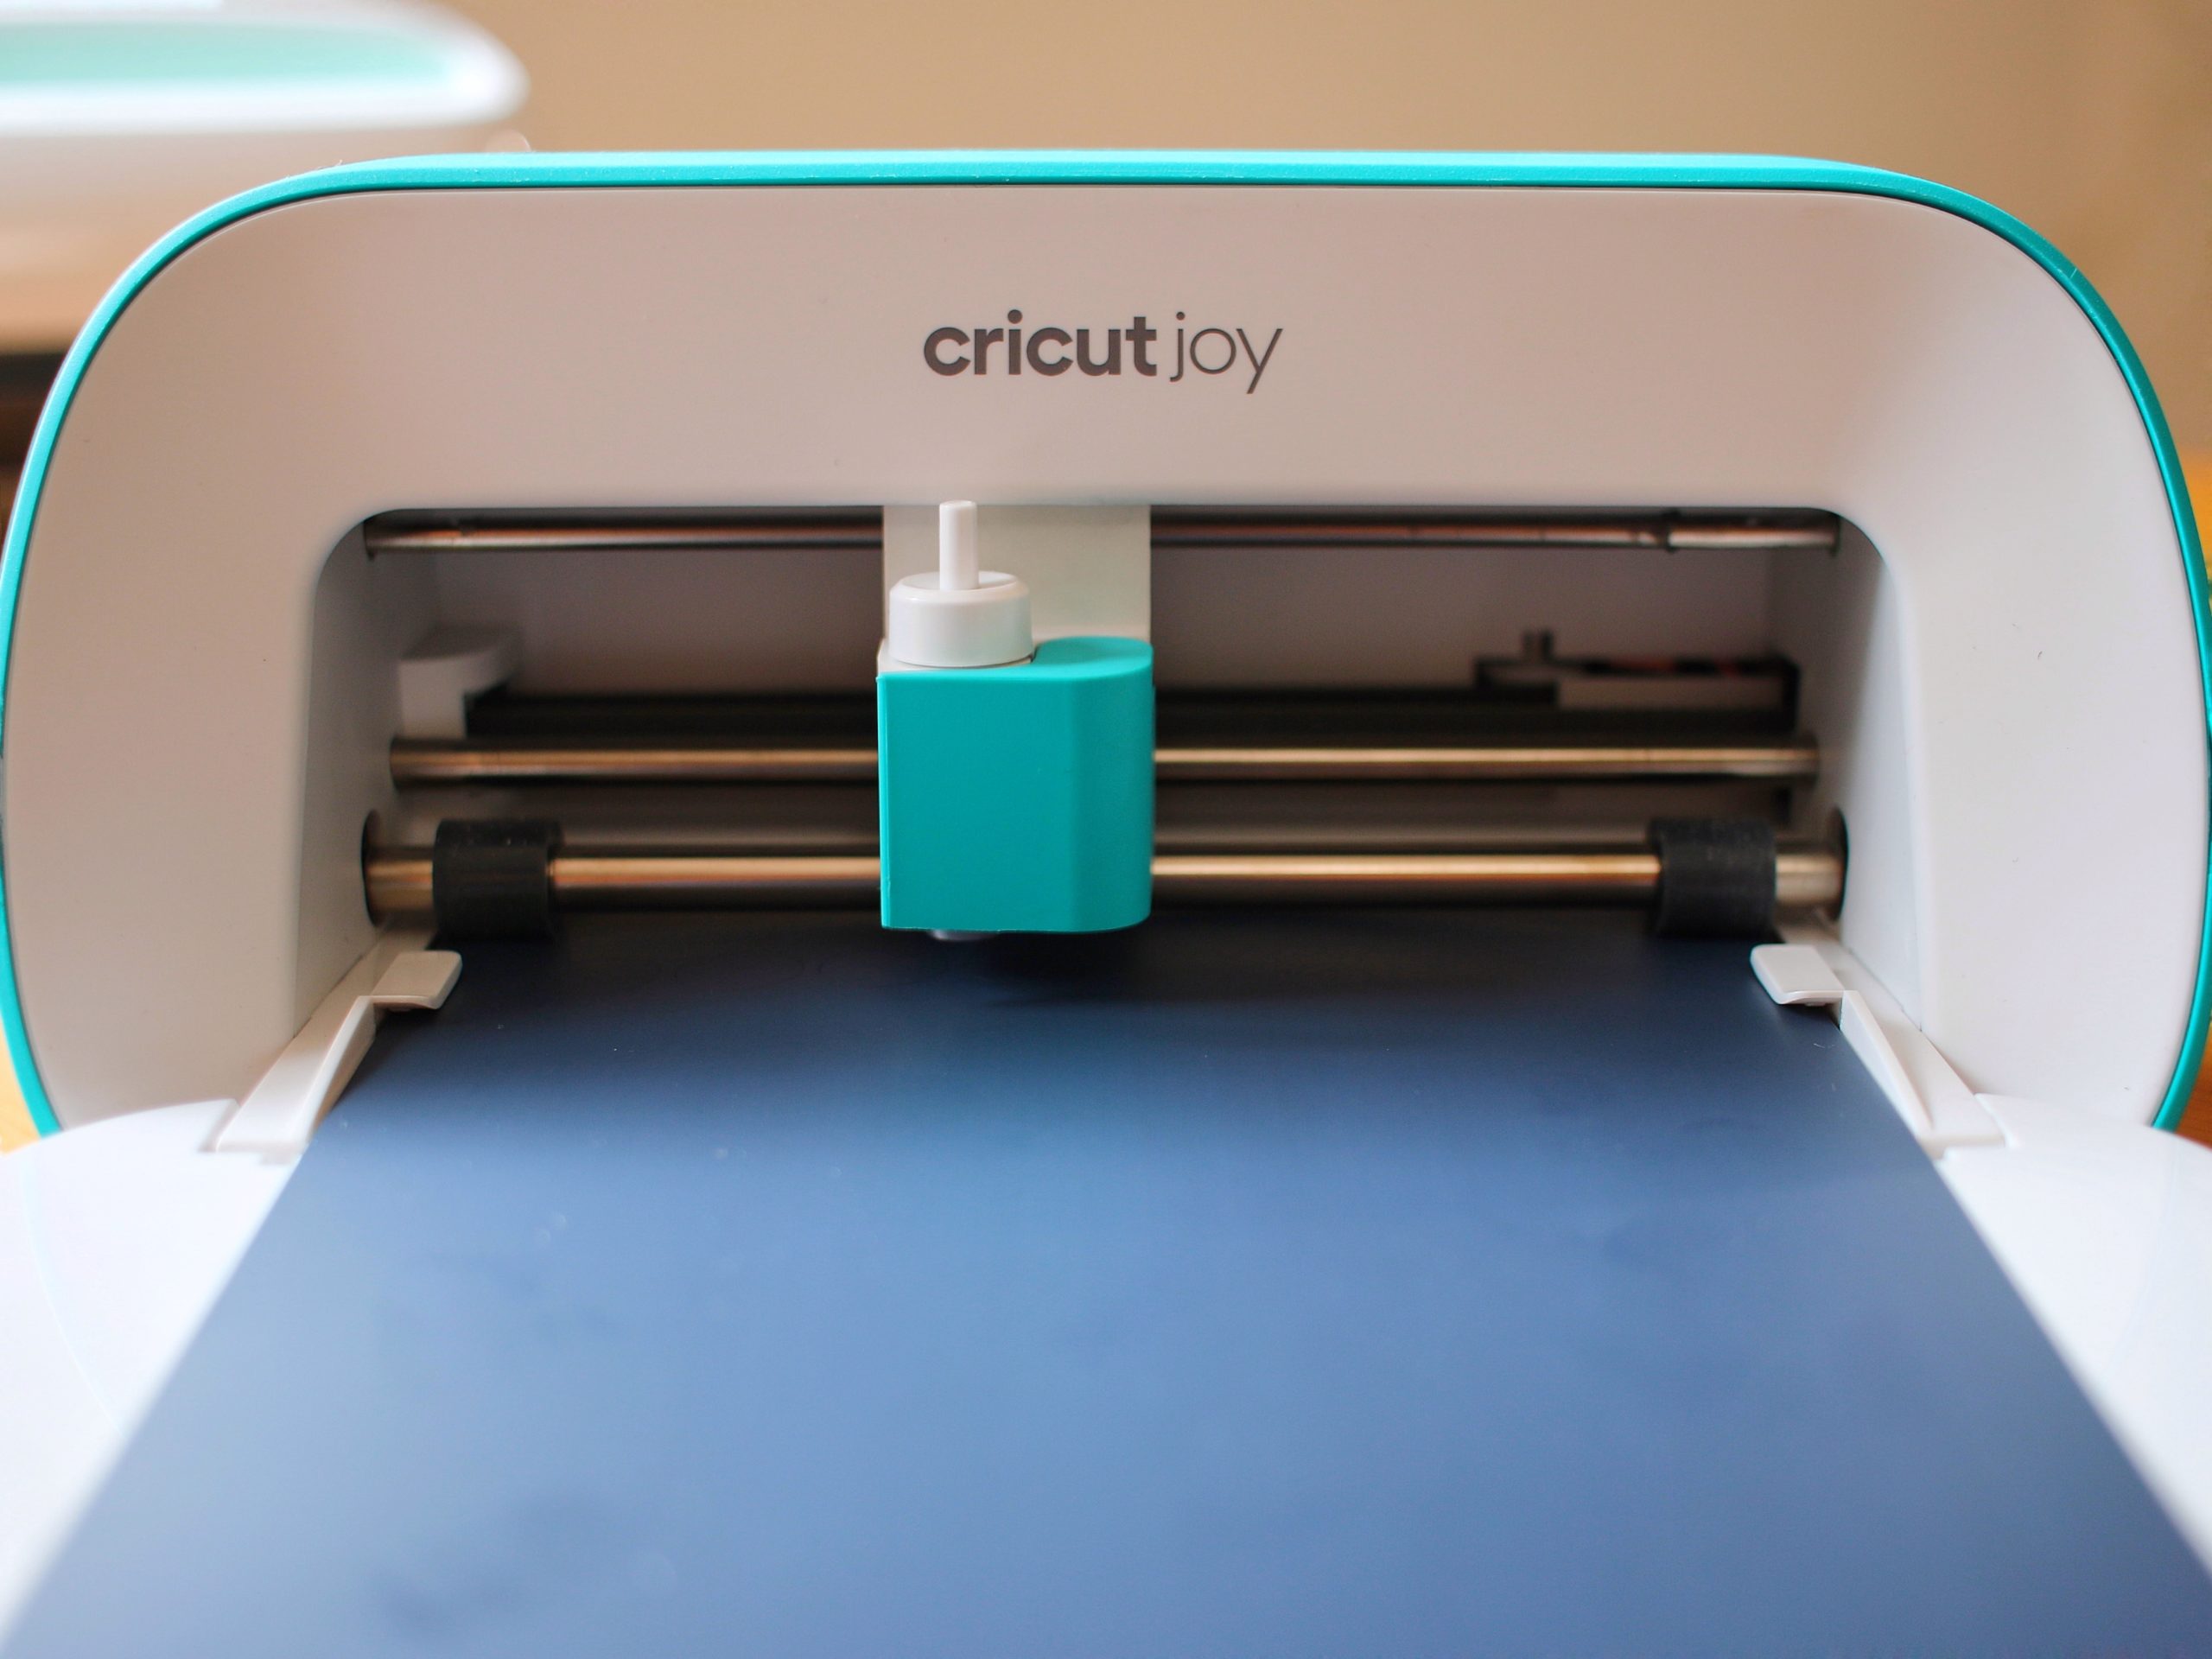
#3: MATLESS CUTTING OPTION
I think one of the features I love about the Joy vs other Cricut machines is the matless cutting option!
Cricut has made a line of materials called Smart Materials™ that allow you to cut without a mat. Just prepare your design, feed a piece of vinyl that’s long enough into the machine and let it do its thing. If you have non-Smart materials you want to use, or want to use up Smart Material scraps, the Cricut Joy does have a selection of cutting mats as well.
#4: ITS VERSATILE
At first glance this little machine might not seem like it can accomplish a lot but there are SO many projects, as well as materials, you can use it for.
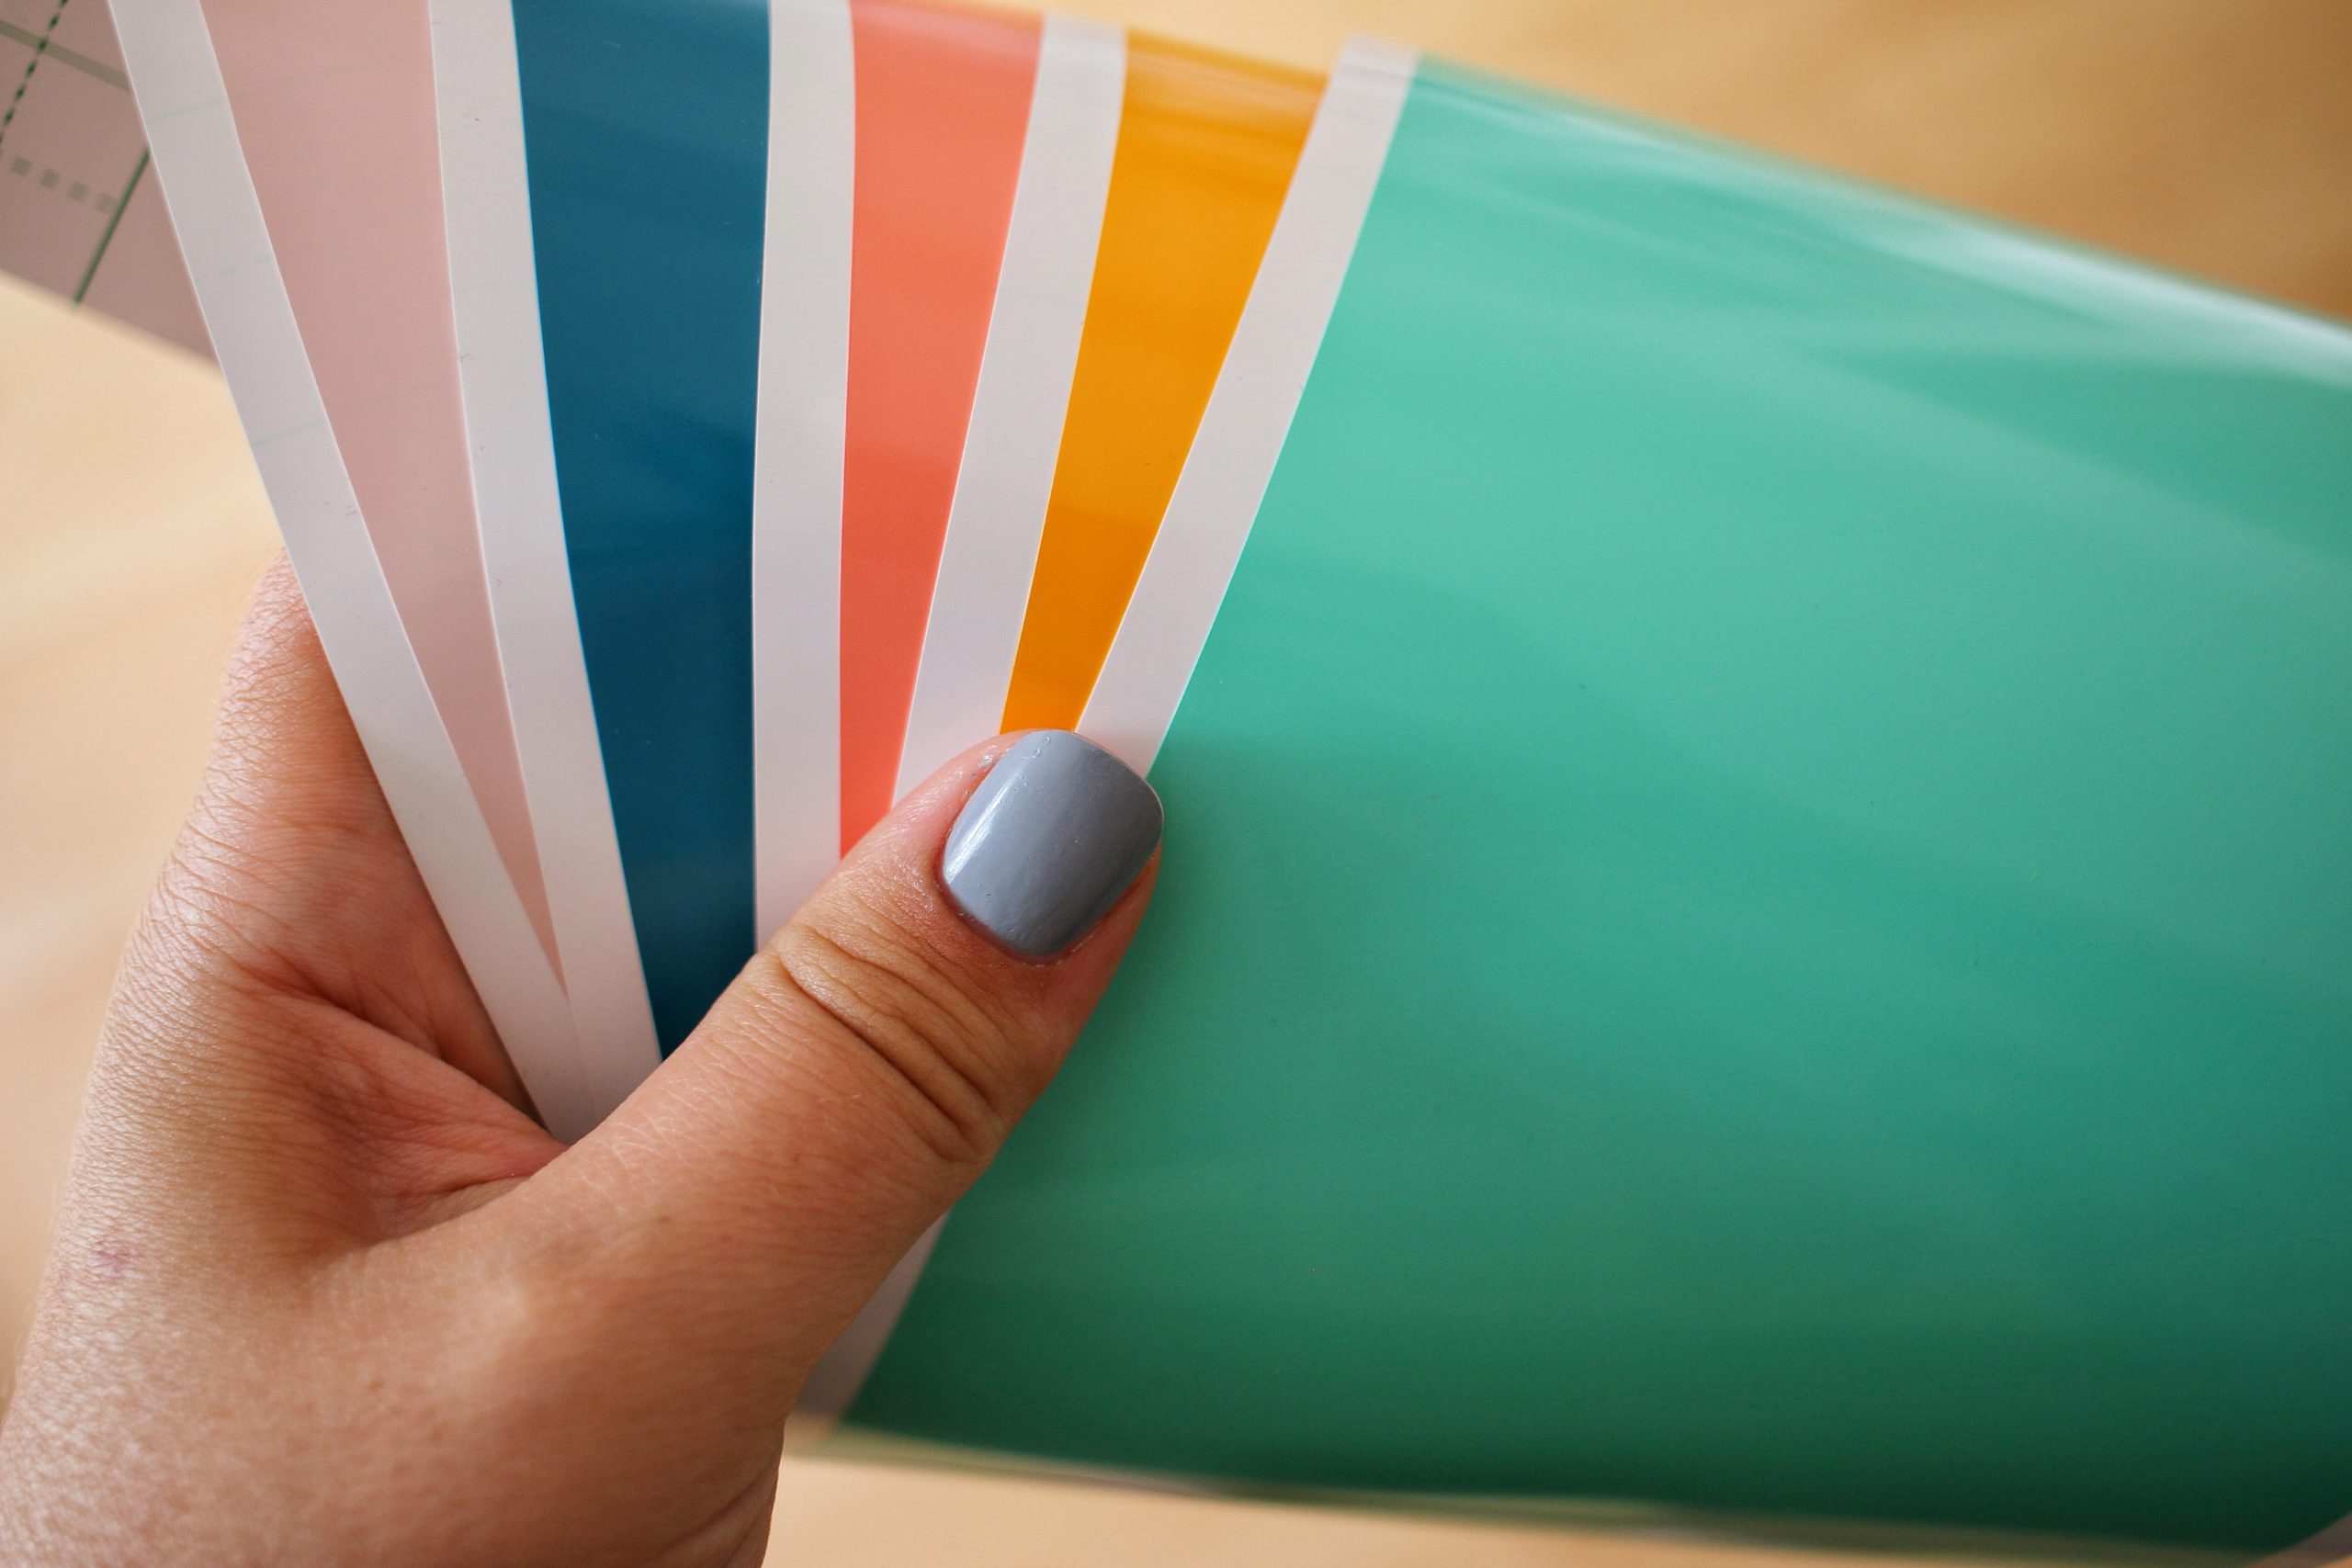
First, there’s vinyl. In every colour you want, as well as options for shimmer, glitter and holographic vinyl. The Cricut Joy can also cut iron-on, cardboard, paper, felt, certain types of wood and fabrics!
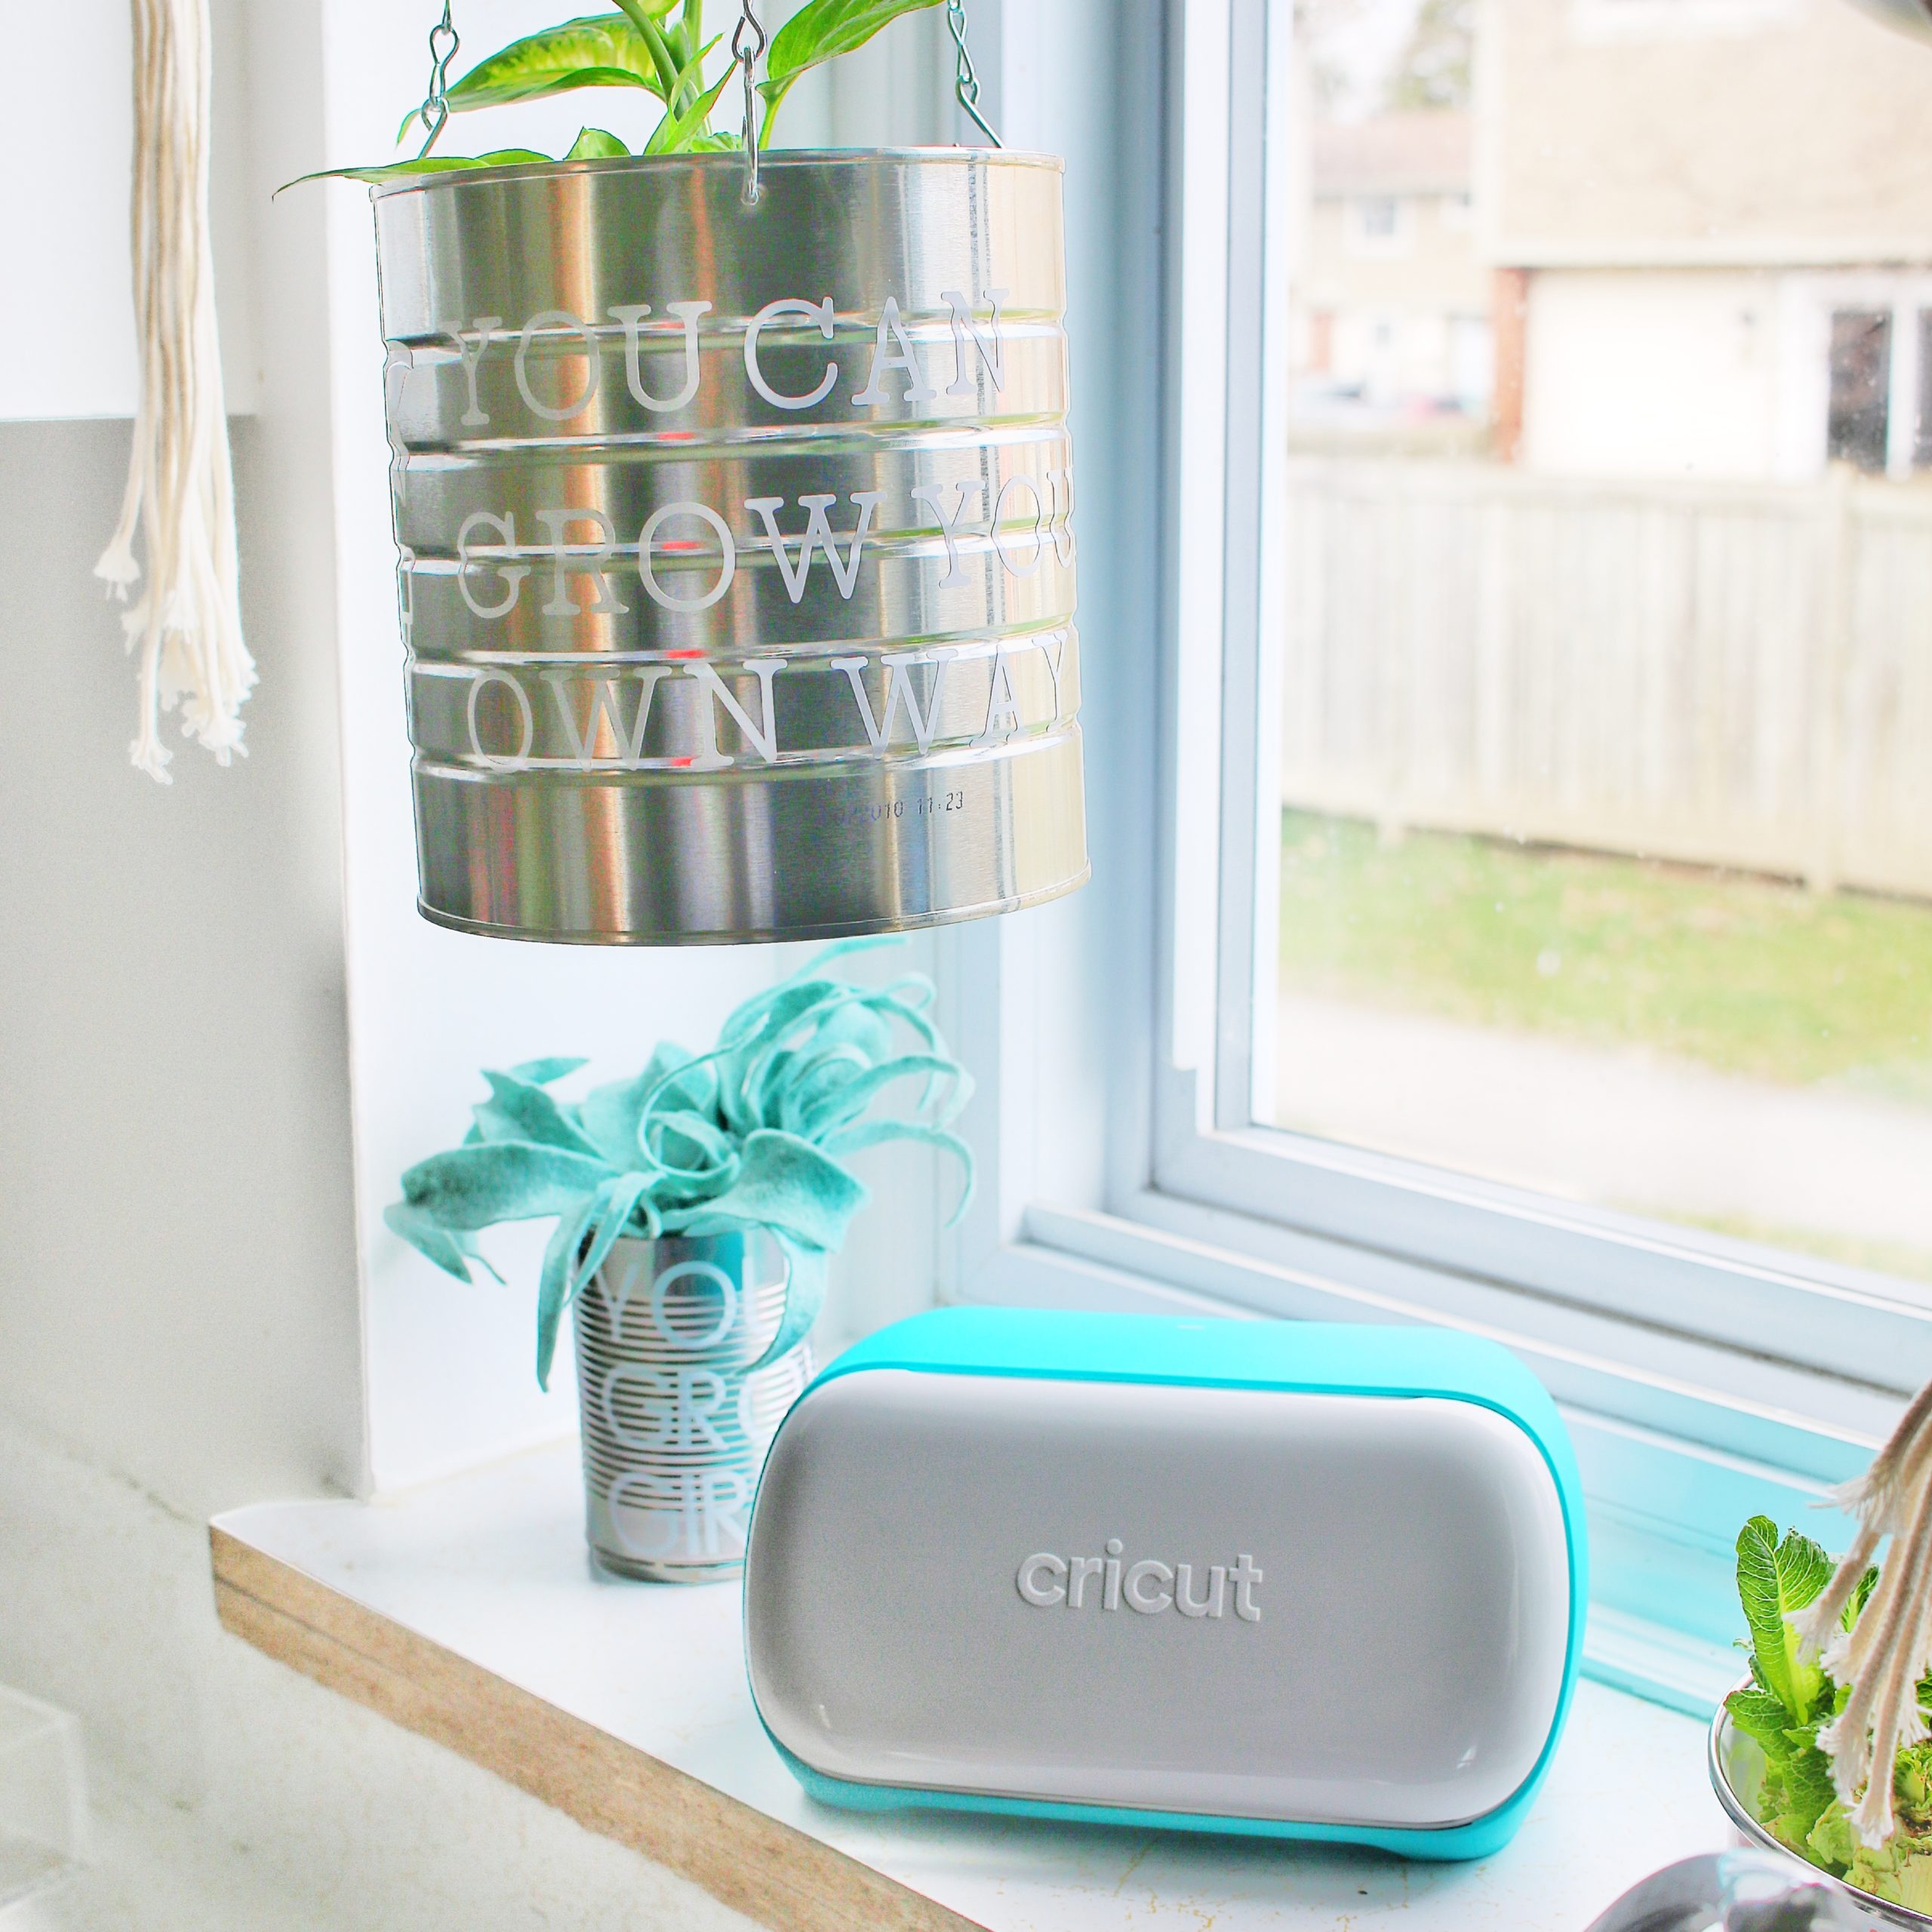
This means your options for projects is endless. Create labels, make a custom t-shirt or make a fun sign for the front door. Cut out materials for kids crafting and school projects. Design unique holiday cards and ornaments for family and friends. You could even cut out nail decals and give yourself a fun manicure!
Scroll down to see what fun projects I’ve personally made with it so far.
#5: EASY AND FAST TO USE
One thing that held me back from getting a Cricut for so long was my idea that using a Circut machine was going to be long or complicated. Turns out it’s neither!

When my Cricut Joy first arrived I downloaded the Cricut Design Space program and then linked my machine to the program. It then did a test run and that’s it – it was ready to use!
When it comes to cutting a project, I just need to plug the Cricut Joy in and then hit Make It on Design Space. Design Space will prompt you to select which material you’re using, what length your material needs to be to print it and you’re good to go.
The Cricut Joy even has it’s own app to quickly pull together fast projects like labels.
The more details your pattern has the longer it will take to cut, but your project will still be cut in minutes.
My favourite project I’ve accomplished so far is definitely the Disney Castle wall I made with decals I cut out on my Cricut Joy. After finishing the wall I decided kiddo’s room could use some matching pillows and so I once again used my Cricut to make it happen!
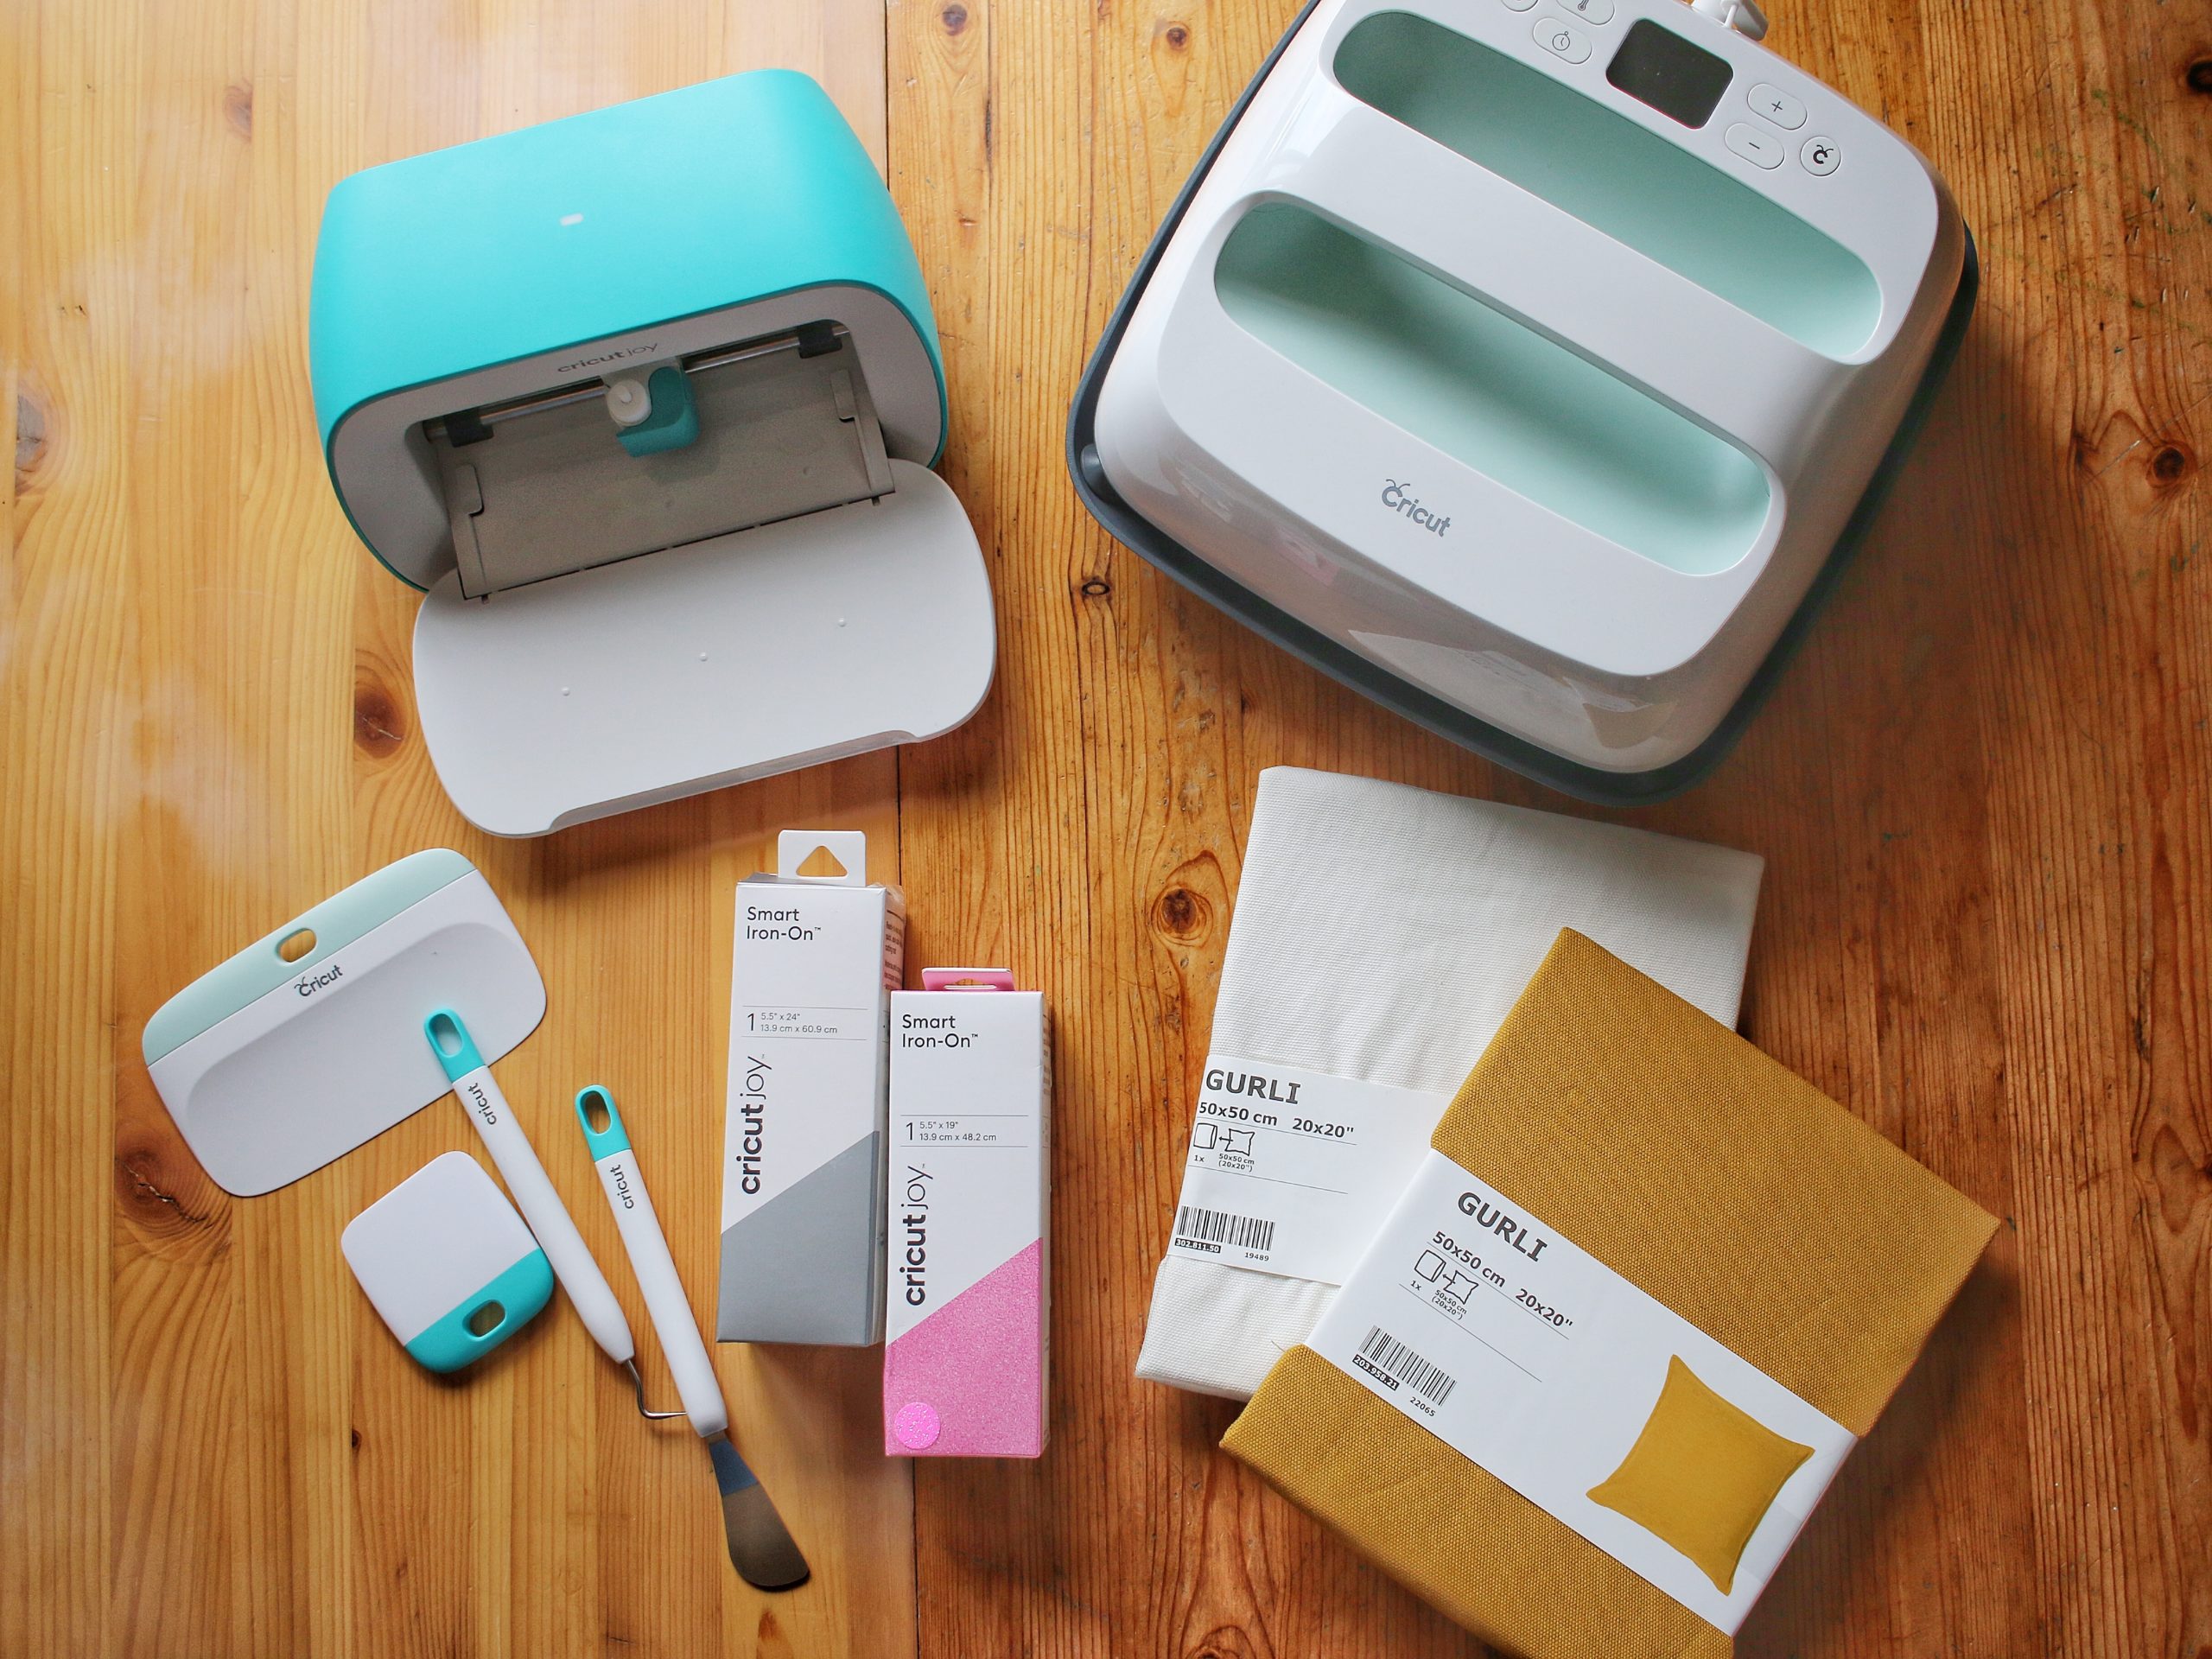
Keep scrolling to see how I used the Cricut Joy as well as my Cricut Easypress2 to make some fun Disney pillowcases.
FAST AND EASY DISNEY PILLOW CASE
STEP ONE
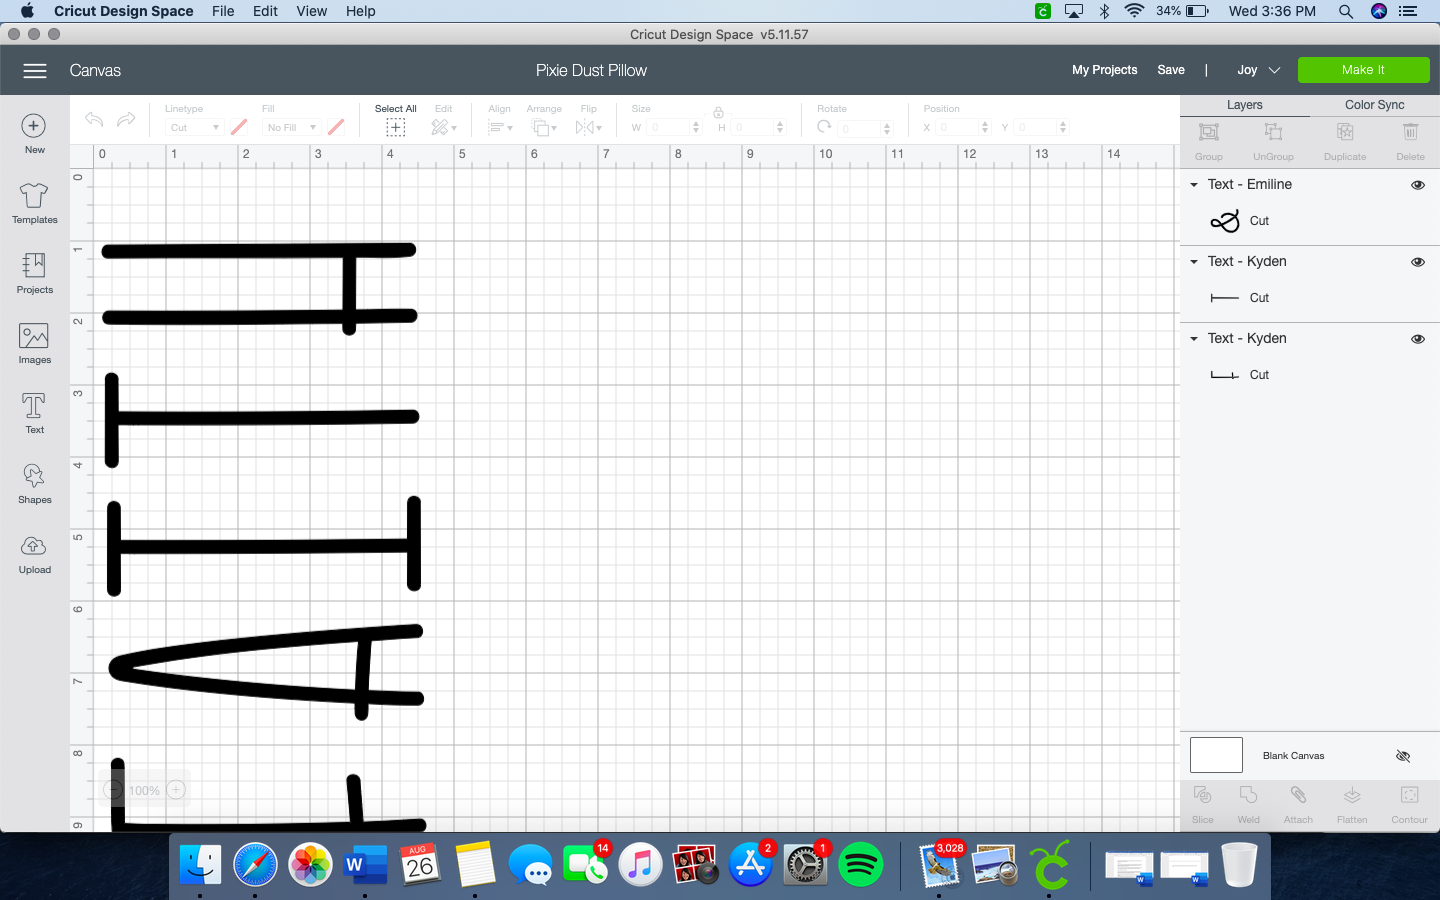
My first step was designing the pillowcase on Design Space. I had a few different pillow ideas in mind but since it was my first time using Smart Iron-On vinyl, I kept it simple.
There were a lot of quotes I could choose from but I chose a classic pixie dust one. You could do this project with any quote you’d like.
You can find which Cricut fonts I used in my Design Space canvas h e r e!
STEP TWO
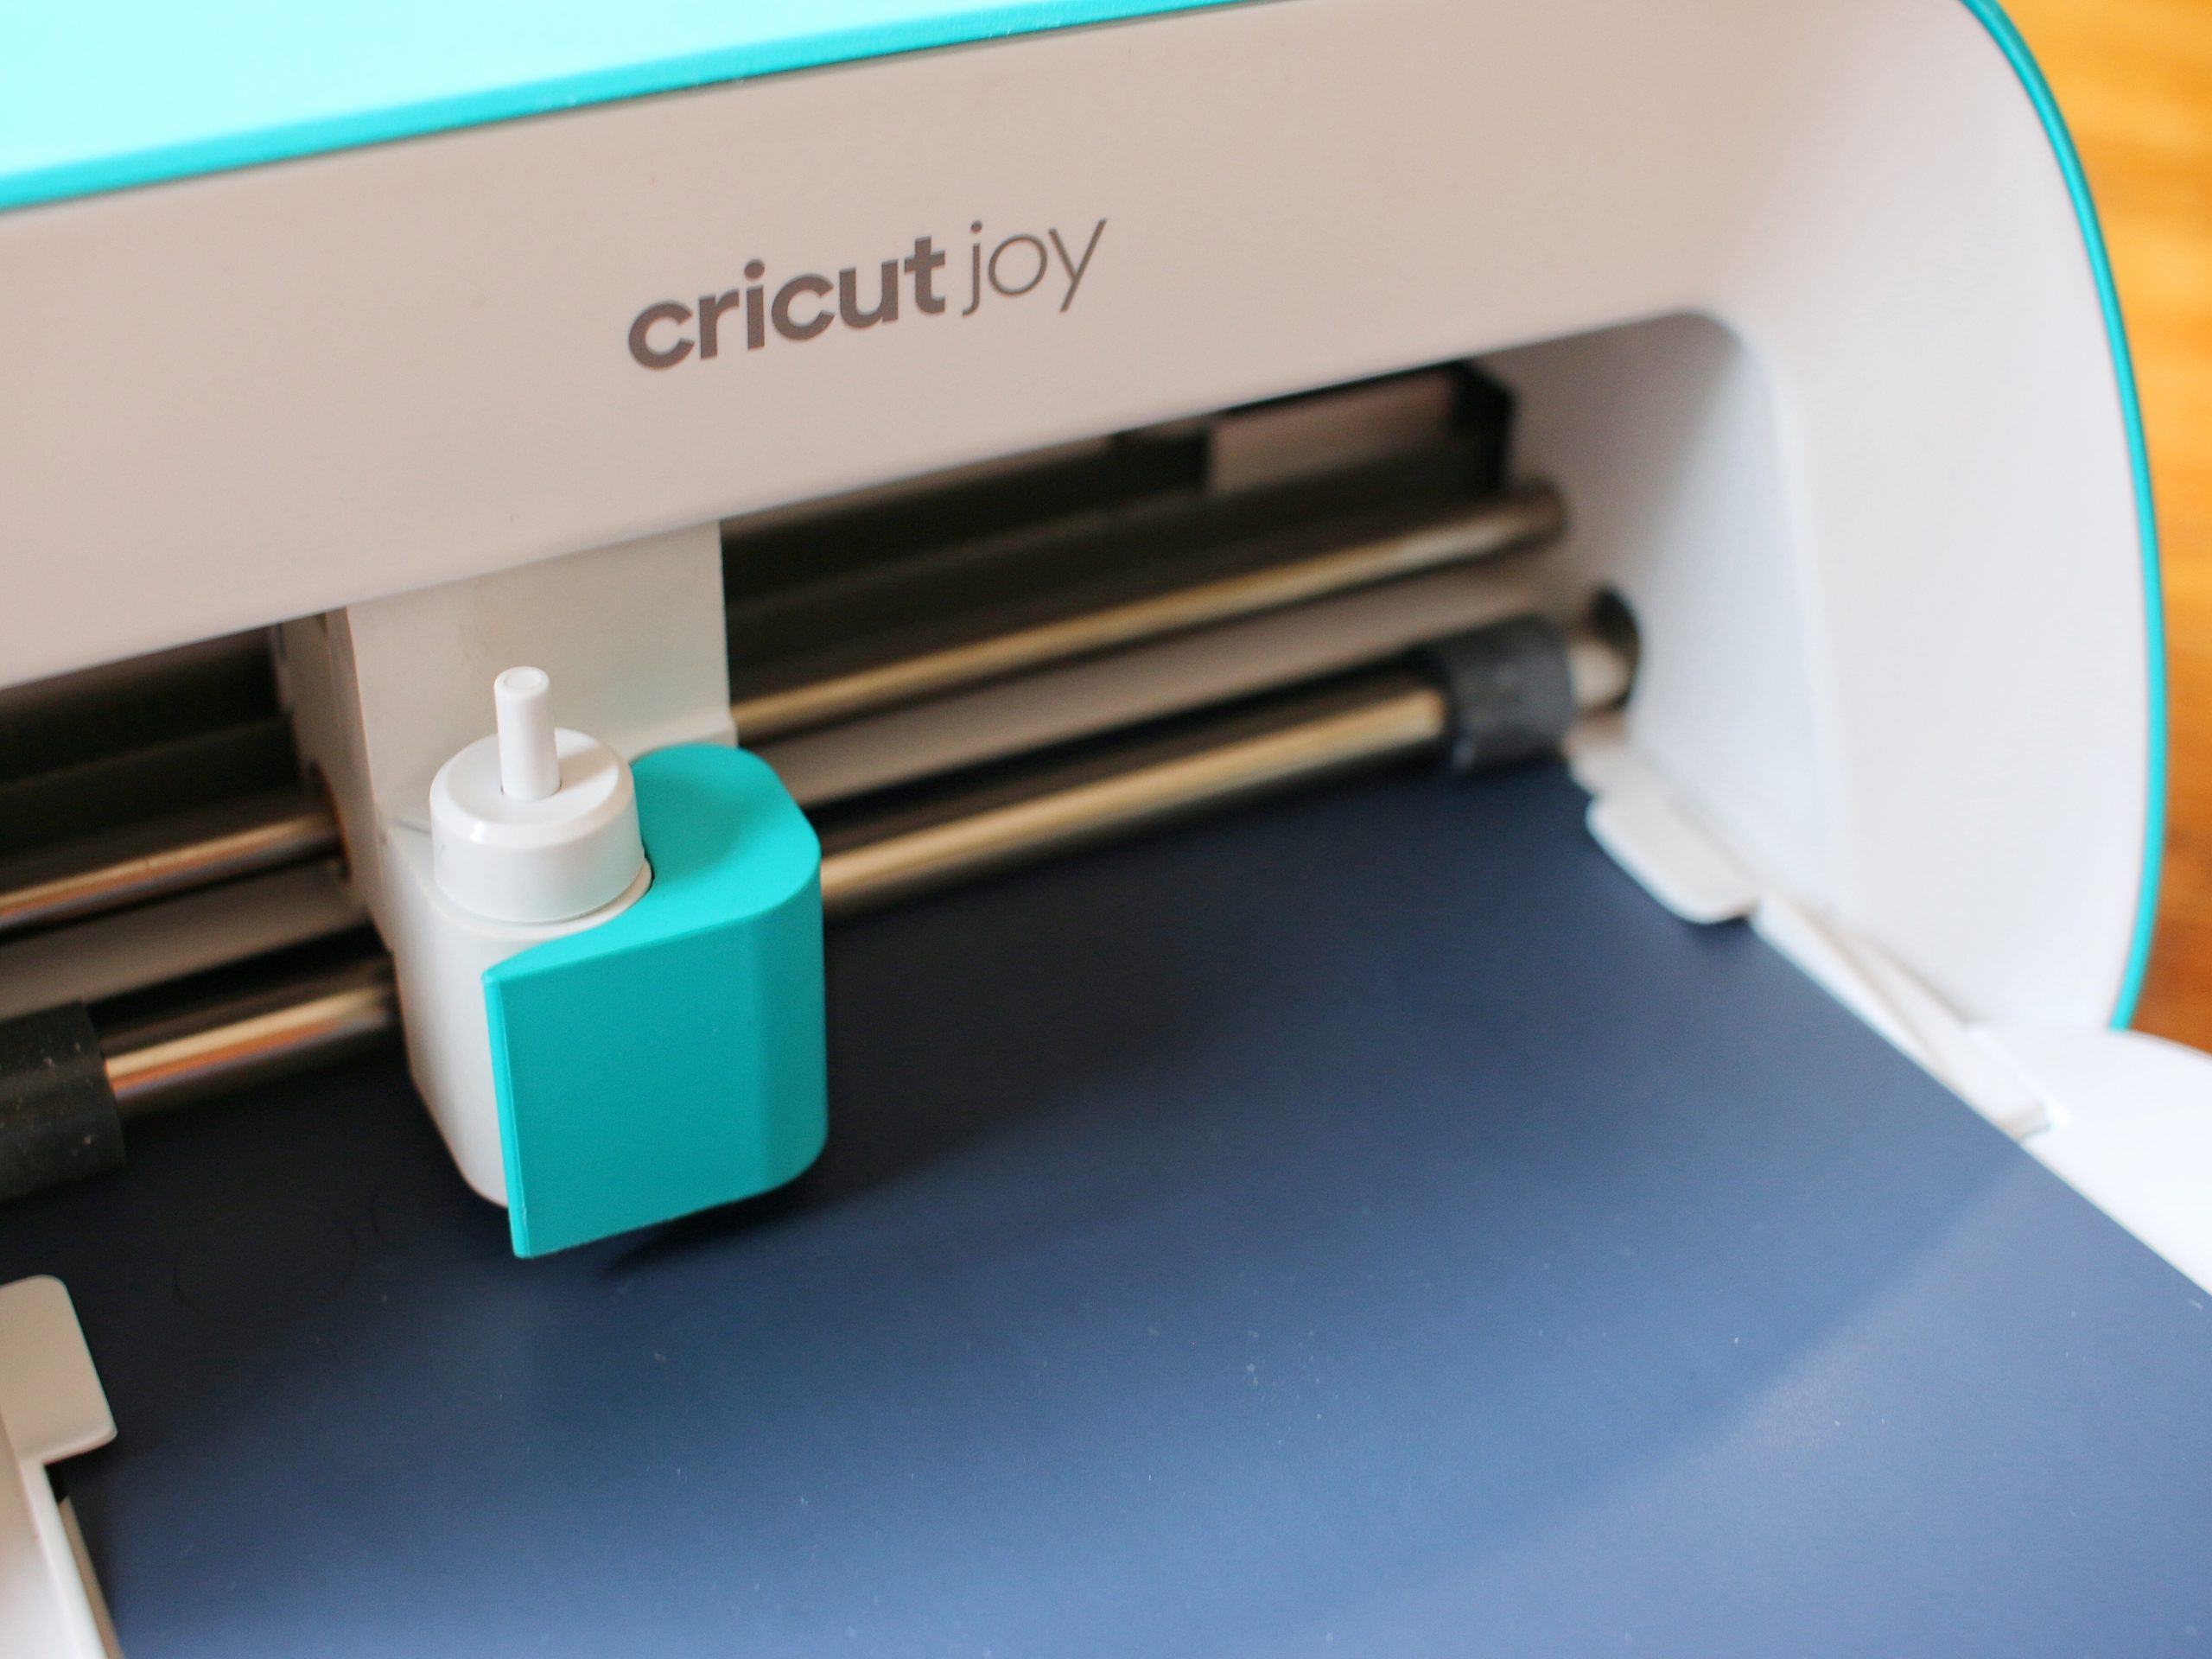
Once my design was complete I set up my Cricut Joy and began printing.
Don’t forget to make sure your pattern is mirrored for Smart Iron-On materials before you start printing!
Tip: the Cricut is always going to leave a small section of untouched vinyl at the top of your piece. I always trim this, as well as any other bigger untouched pieces, and keep them in a box for future projects that can use small pieces. You can use the Cricut Joy Cutting Mat to cut scraps.
STEP THREE

When all my words were cut I used the Weeder tool to remove the background vinyl of each piece. I find it handy to have a container beside me to put all the scraps in for easy disposal afterwards.
Keep in mind that this Smart Iron-On does have a sticky backing and you’ll want to be gentle while handling and try not to touch the sticky side too much.
Before I headed into the next step I prepared my Cricut EasyPress 2 machine, as that’s what I was going to use for this project. If you don’t have an EasyPress you can also use a regular iron.
Cricut’s website has a Cricut Heat Guide that will tell you all the settings you need to use for your particular project. You input which EasyPress you’re using, the iron-on material you’ve prepared and what kind of fabric you’re pressing it onto and whether you’re using the Cricut EasyPress mat or towel underneath and then it’ll tell you your settings!
Since the EasyPress Mat was out of stock when I got my EasyPress 2, I used a towel for this project. I got the towel down, added the pillowcase and then prepped the pillowcase by preheating it with the EasyPress for a few seconds.
STEP FOUR
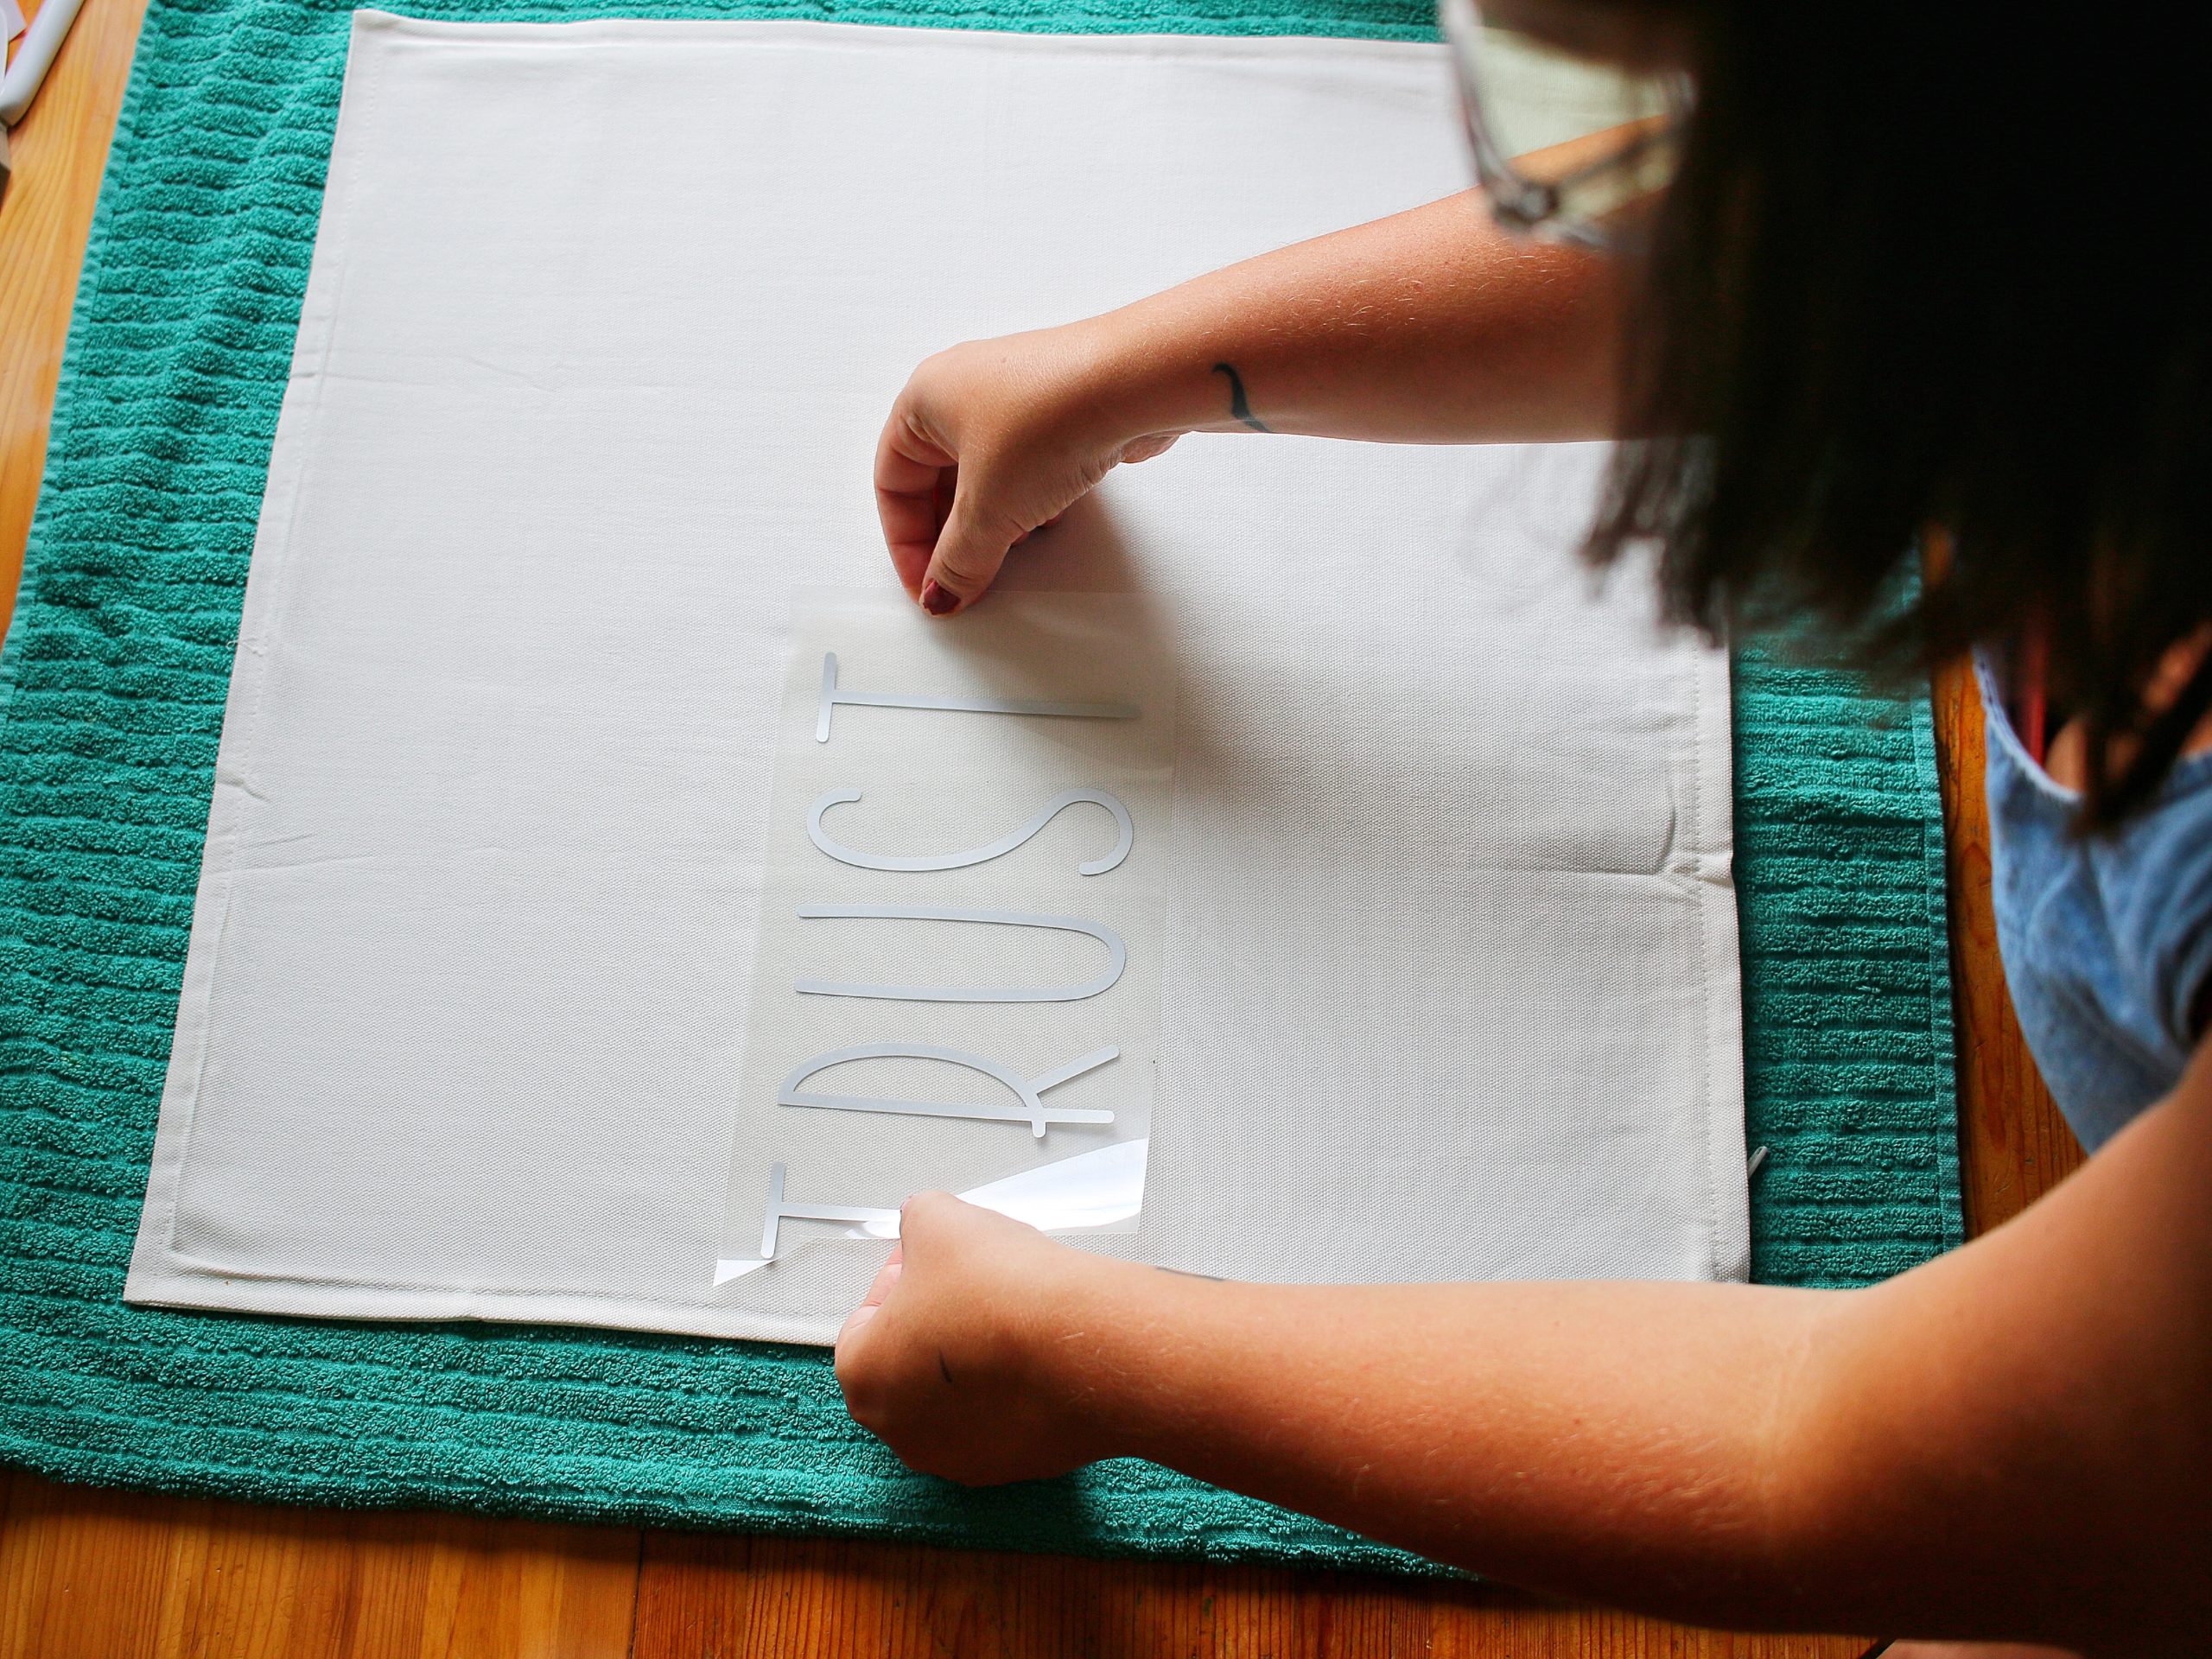
Once everything was prepped I decided on placement. Since I knew I had three separate lines I found the centre of my pillow and started with the middle word. Instead of doing it all at the same time, I did do it line by line.
Take your time to find the right placement and then press down along the Smart Iron-On. The sticky backing should help keep it in place.
STEP FIVE
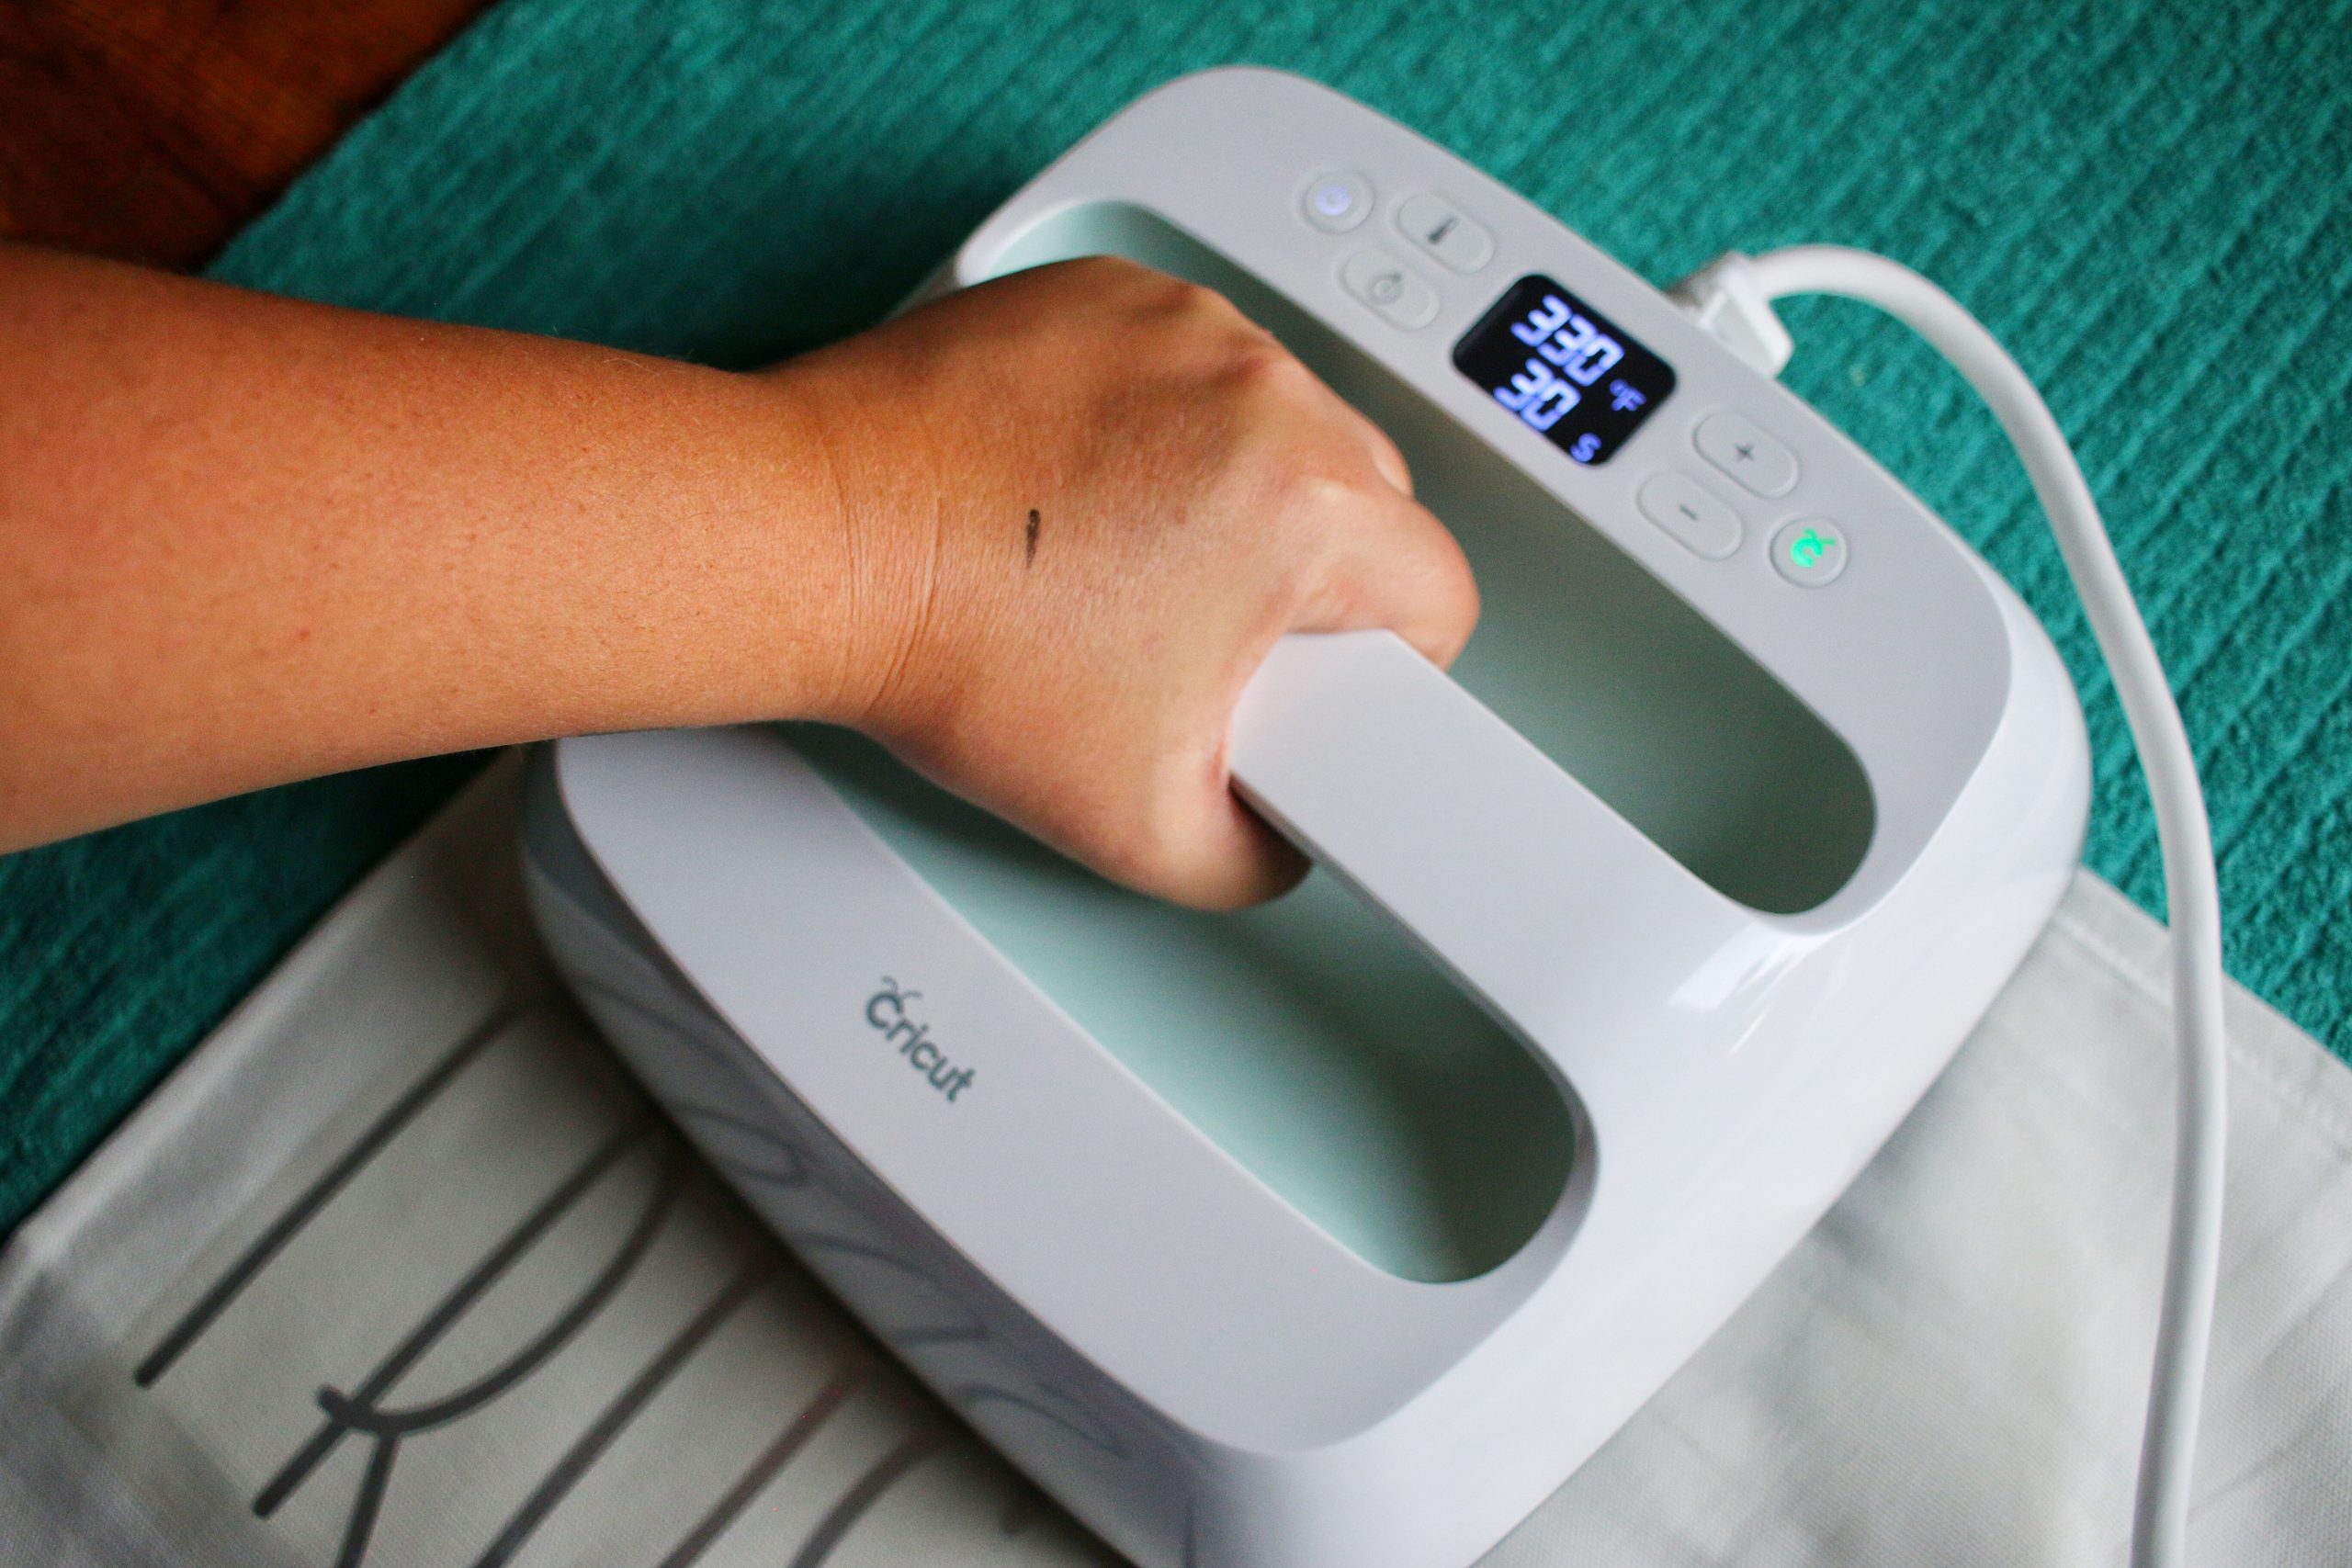
Following the Heat Guide’s suggestions, I held the EasyPress 2 down until the timer was done.
Certain materials need to be removed right away and other’s need to wait until they’re cooled to peel. The Heat Guide will tell you this too!
I repeated these steps for each line until I was done. Be aware that bare vinyl will stick to our EasyPress (or iron) so if you’ve removed the backing of a previous section you’ll want to cover it with parchment paper or similar.
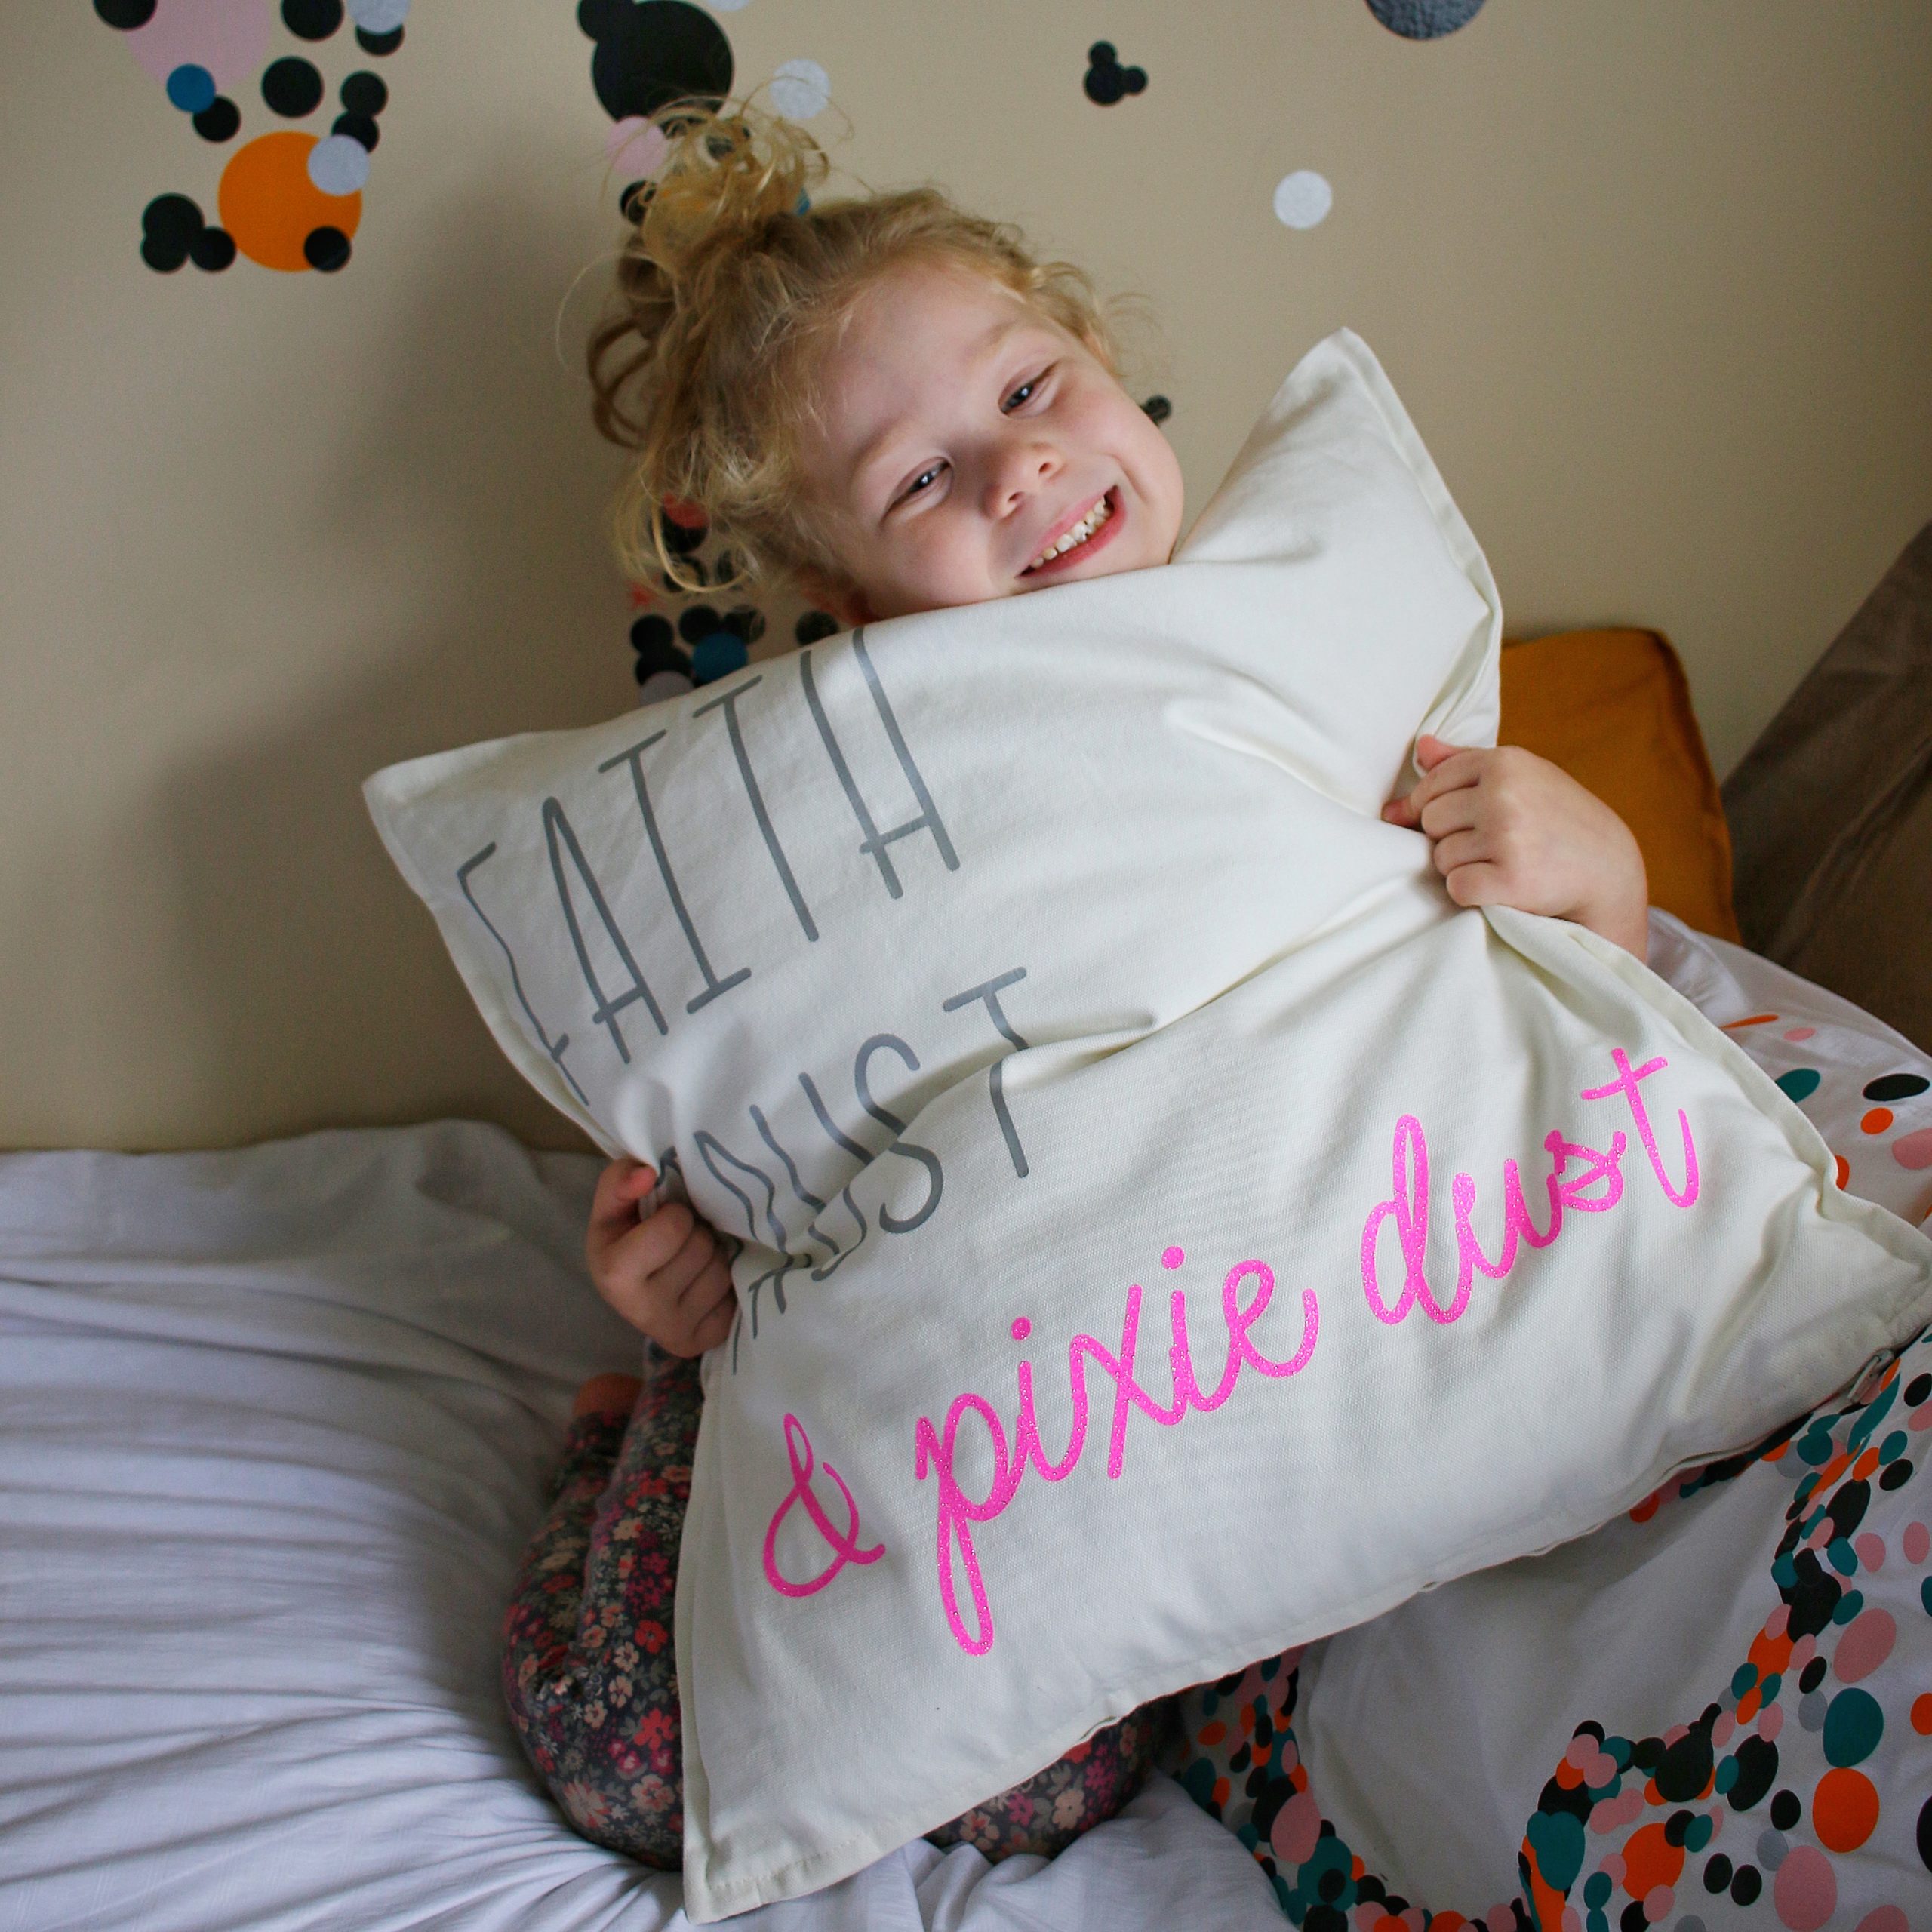
Here’s the finished result!
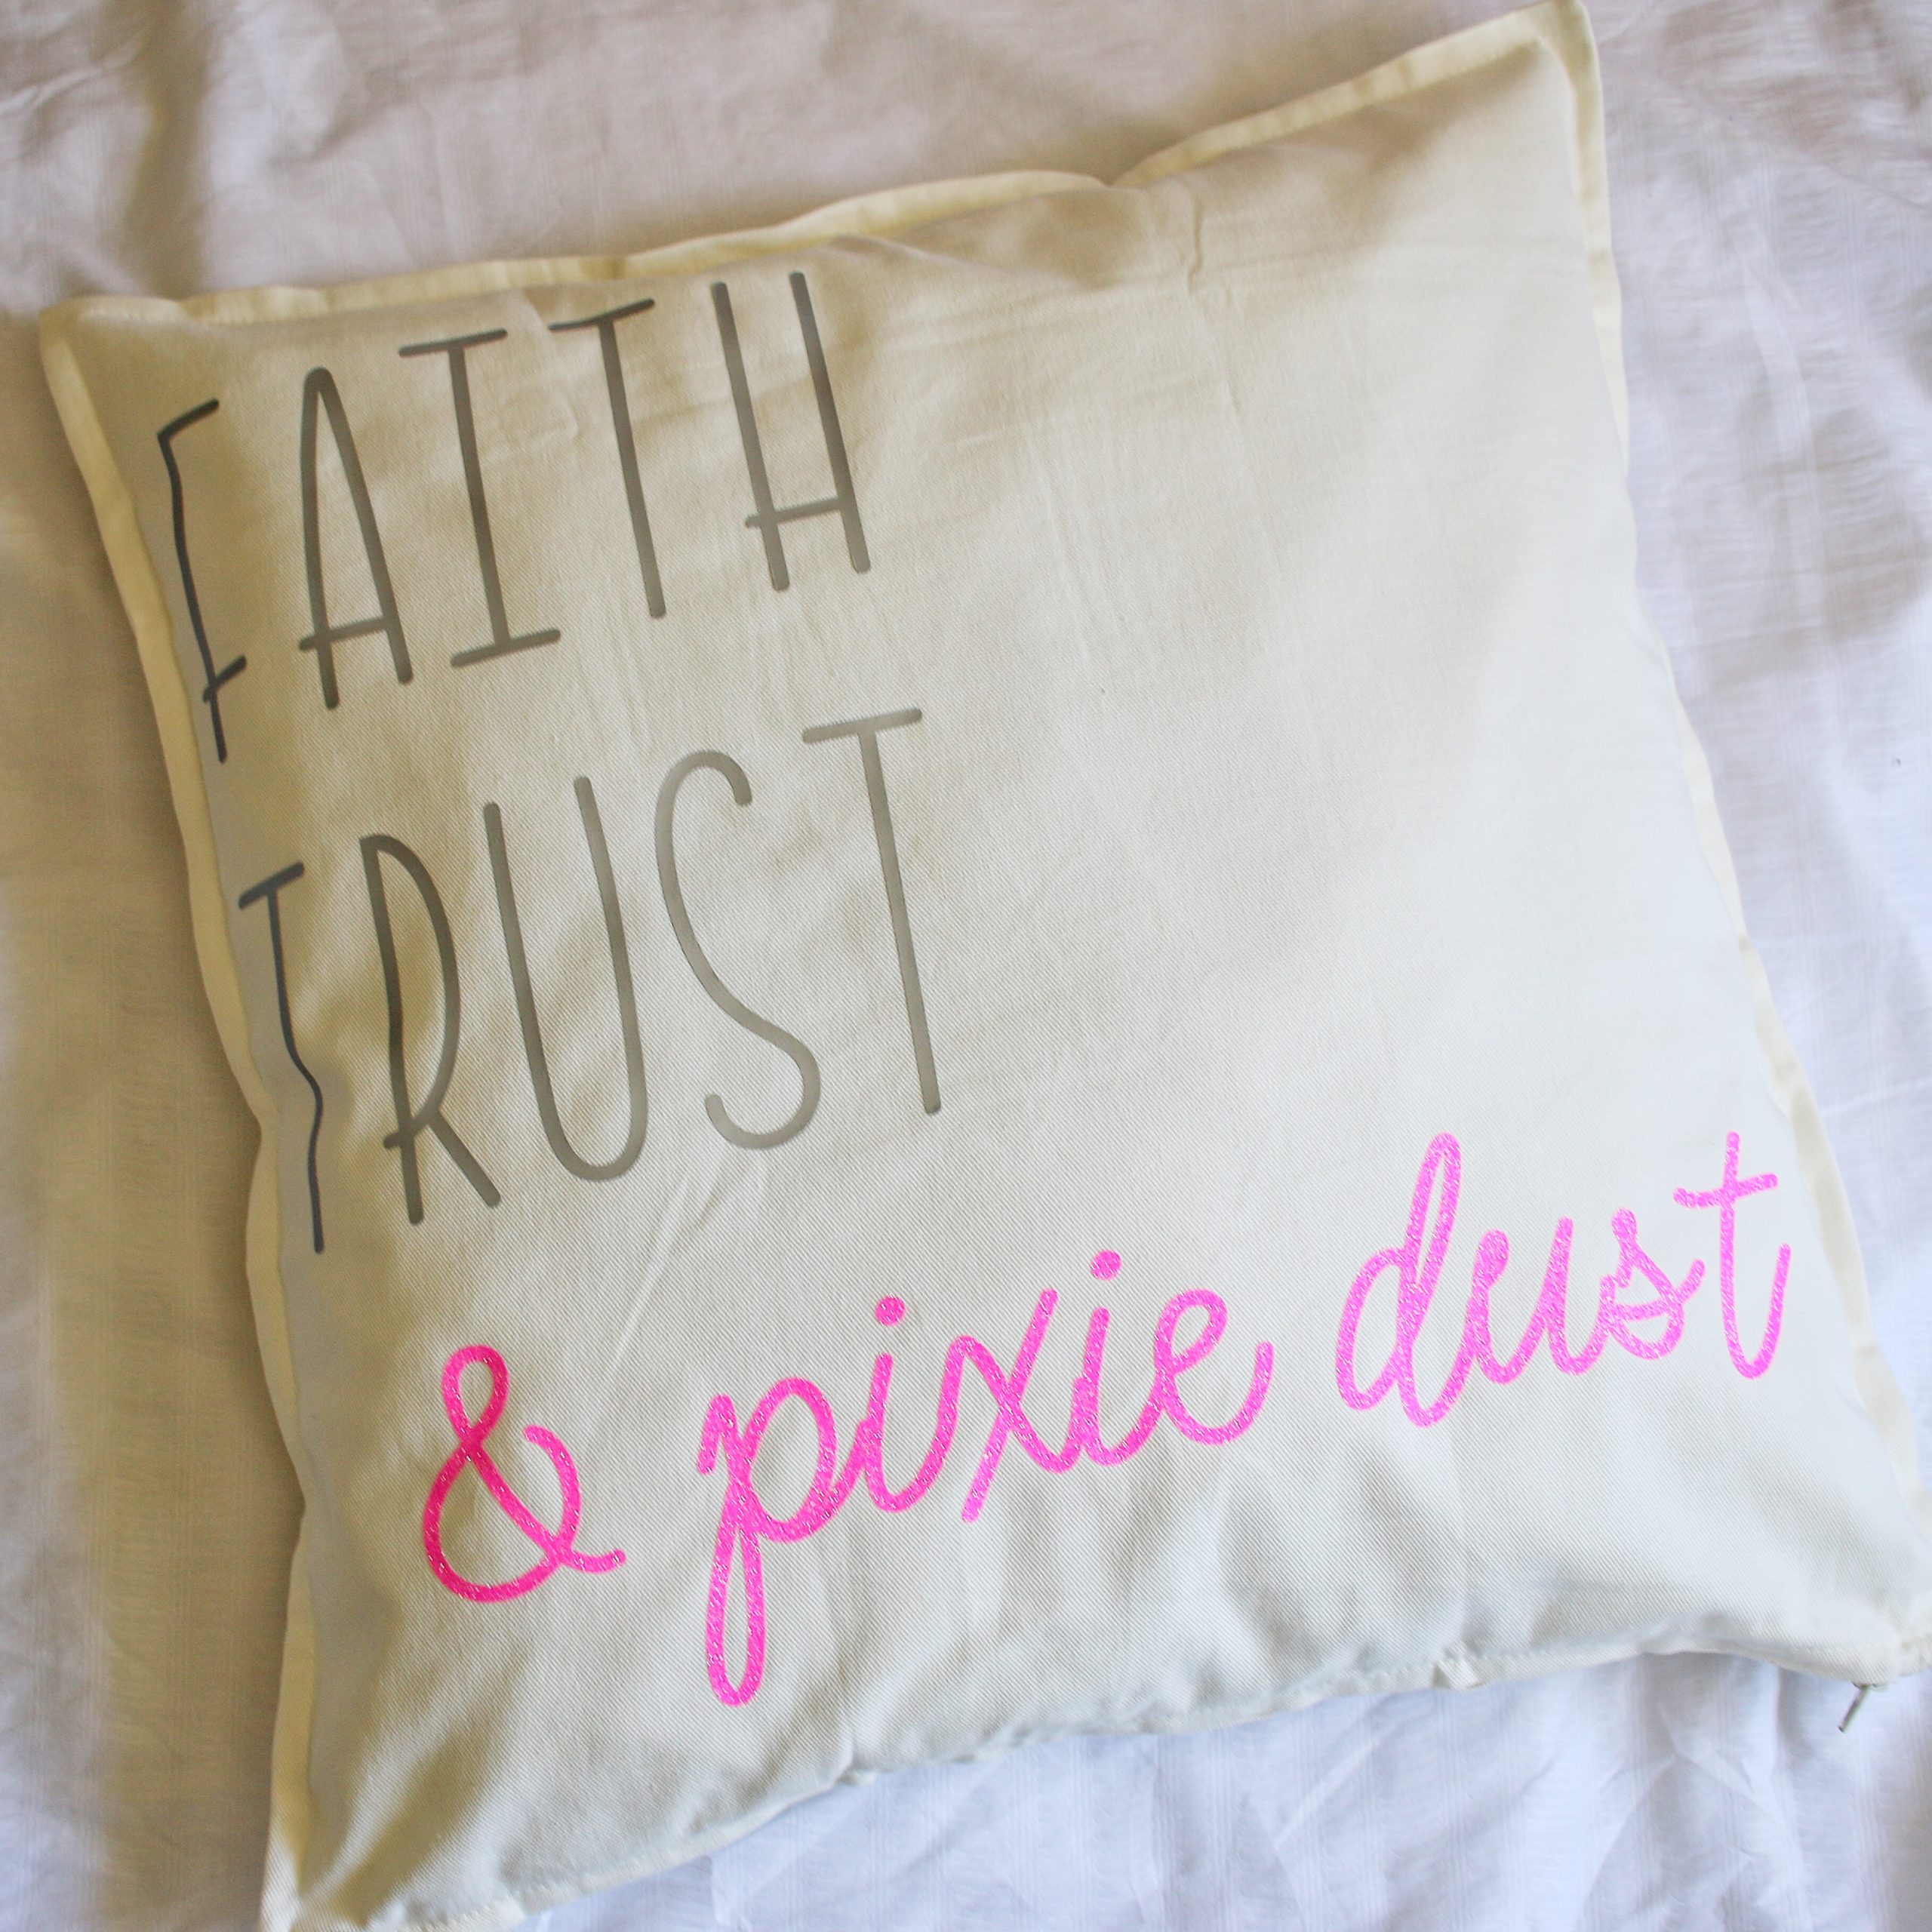
It was such a simple project to pull together and took me under an hour to finish, but kiddo was SO excited to see it on her bed!
There we have it – five reasons why I love my Cricut Joy and a fun project for you to try. Be sure to check out my other Cricut projects below as well as the Cricut blog for more inspiration.
14 Back To School Ideas To Make With A Cricut
September 4, 2020 at 3:28 pm[…] FIVE REASONS I LOVE MY Cricut Joy […]
DIY Mickey Mouse Pillow using the Cricut Joy
September 16, 2020 at 7:08 pm[…] 5 REASONS I LOVE MY CRICUT JOY […]
DIY Star Wars Wall Art (Using the Cricut Joy)
October 20, 2020 at 2:46 pm[…] FIVE REASONS I LOVE MY CRICUT JOY! […]
DIY Ornaments Using Cricut Scraps - Being This Mama
November 30, 2020 at 11:06 pm[…] FIVE REASONS I LOVE MY CRICUT JOY! […]